Create a digital download
Before you can start building your digital download, you need to set up a school. Follow this guide to get yourself a free account and create a school, if you haven’t already.
Once you are signed in using an admin account, go to the dashboard by clicking on the Dashboard option from the drop down menu located on the top right corner of your school.
The dashboard looks like the following.
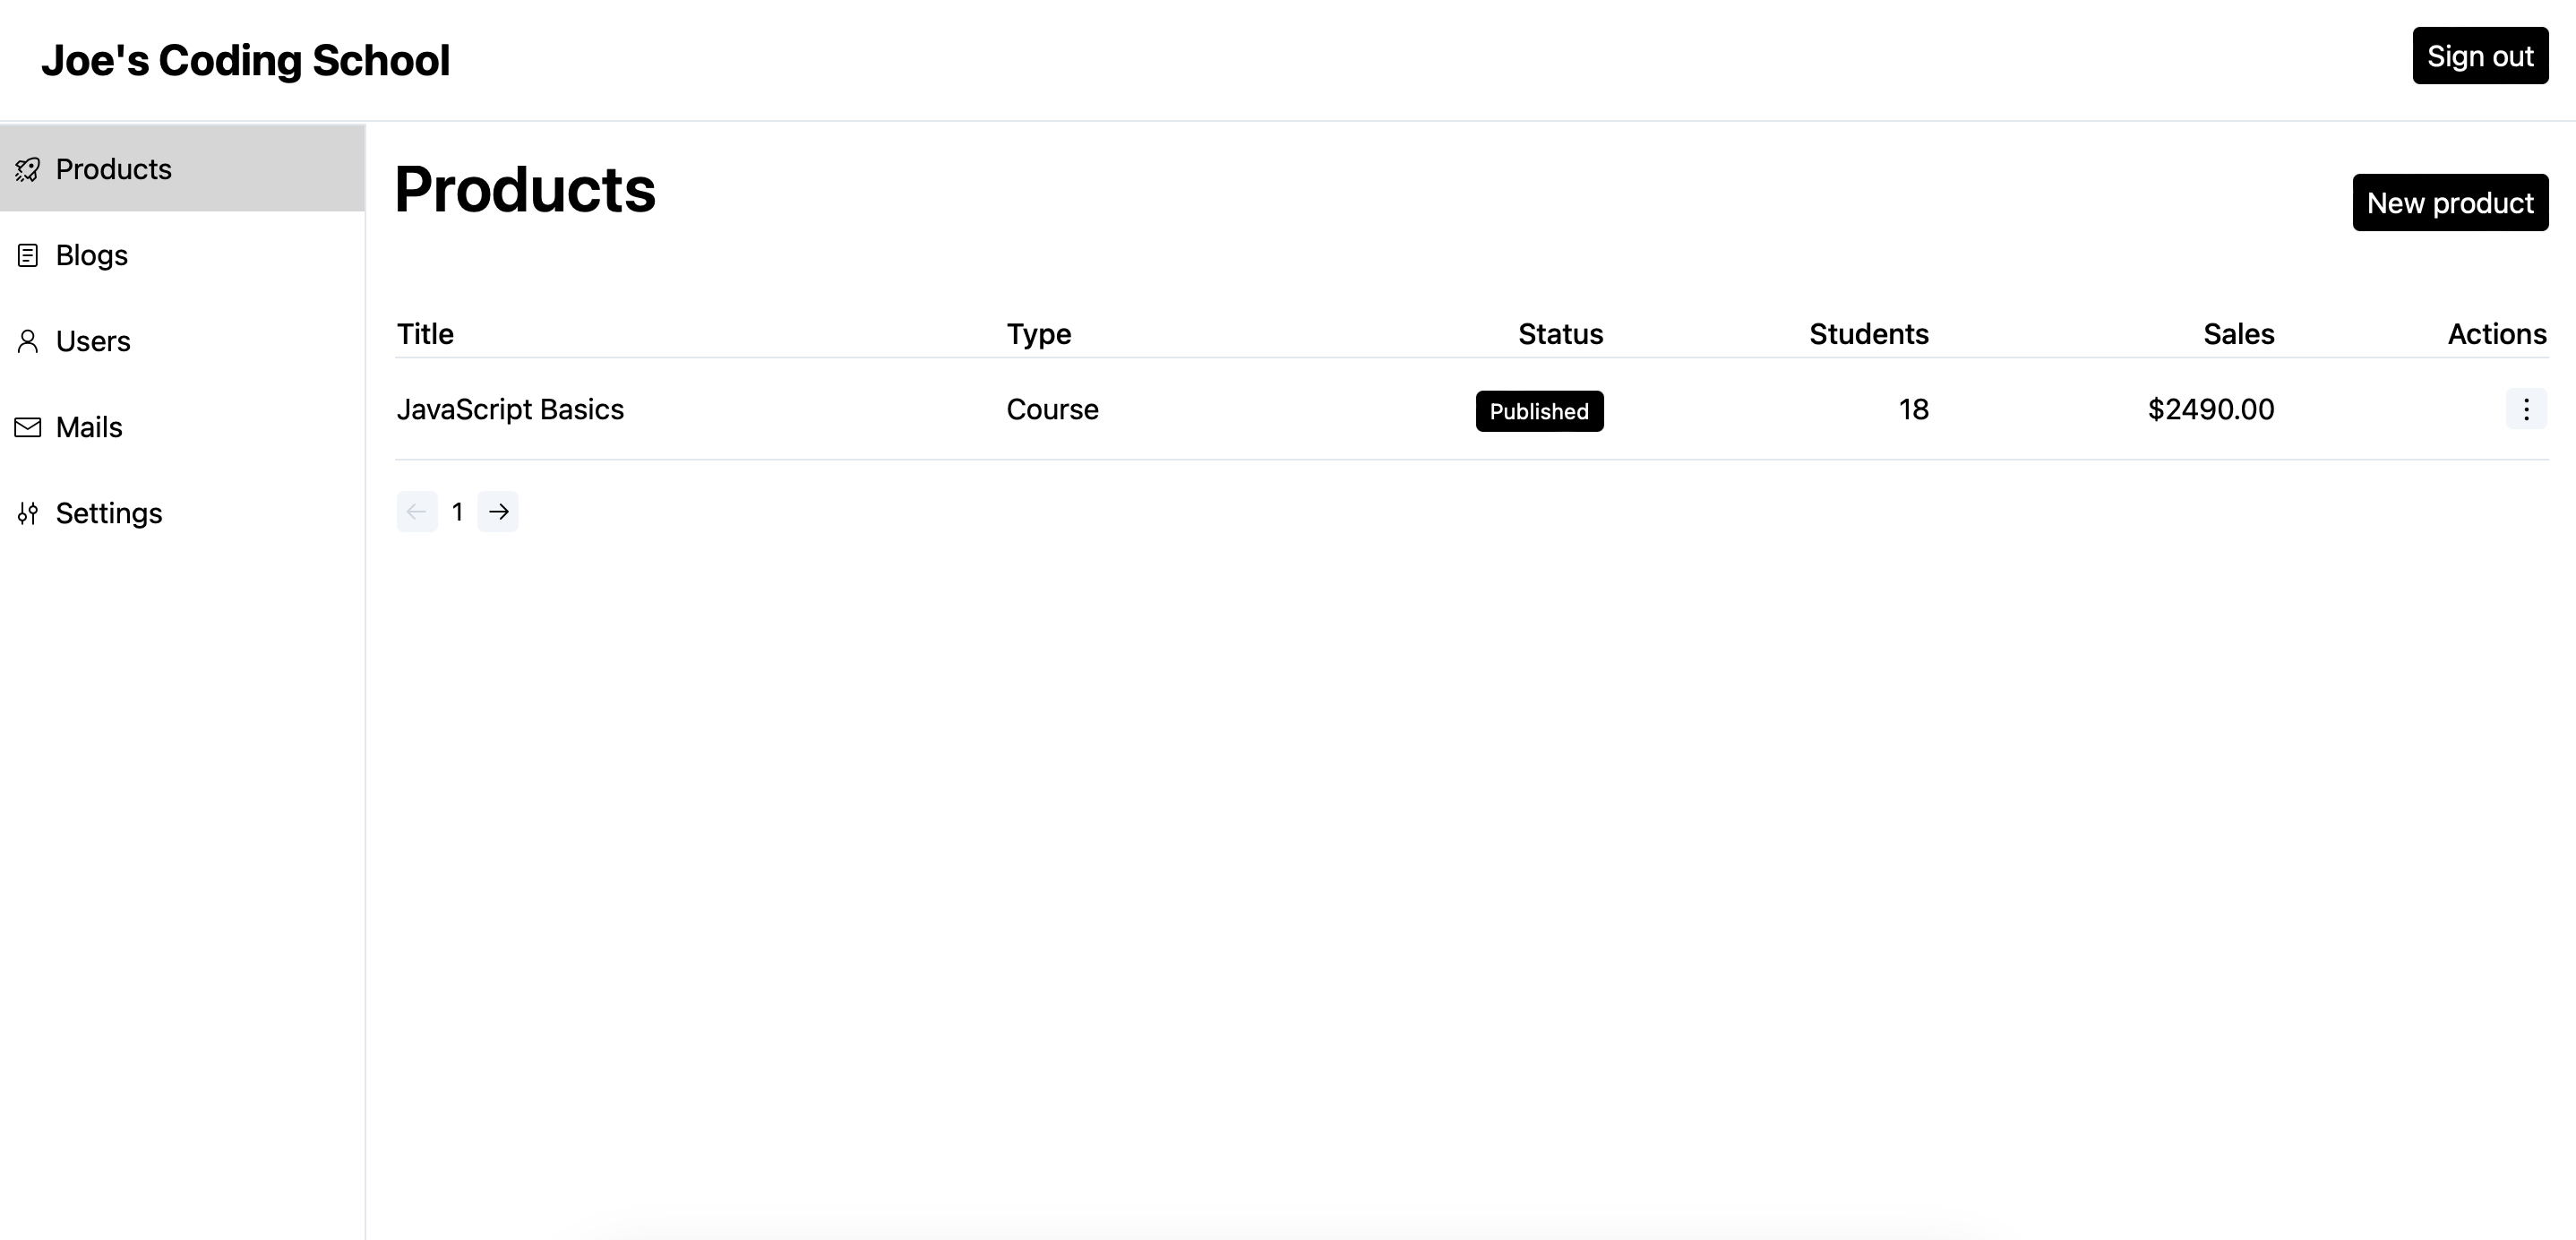
Both courses and digital downloads are categorized as products and will be shown under the
Productsscreen.
Steps to create a digital download
We will create a free download for your audience. You can always make it a paid one once you understand the process.
- Click on the
New productbutton. - Set a title and select
Downloadfrom the dropdown. Click continue.

- Once your download is created, you will get to see the following screen.
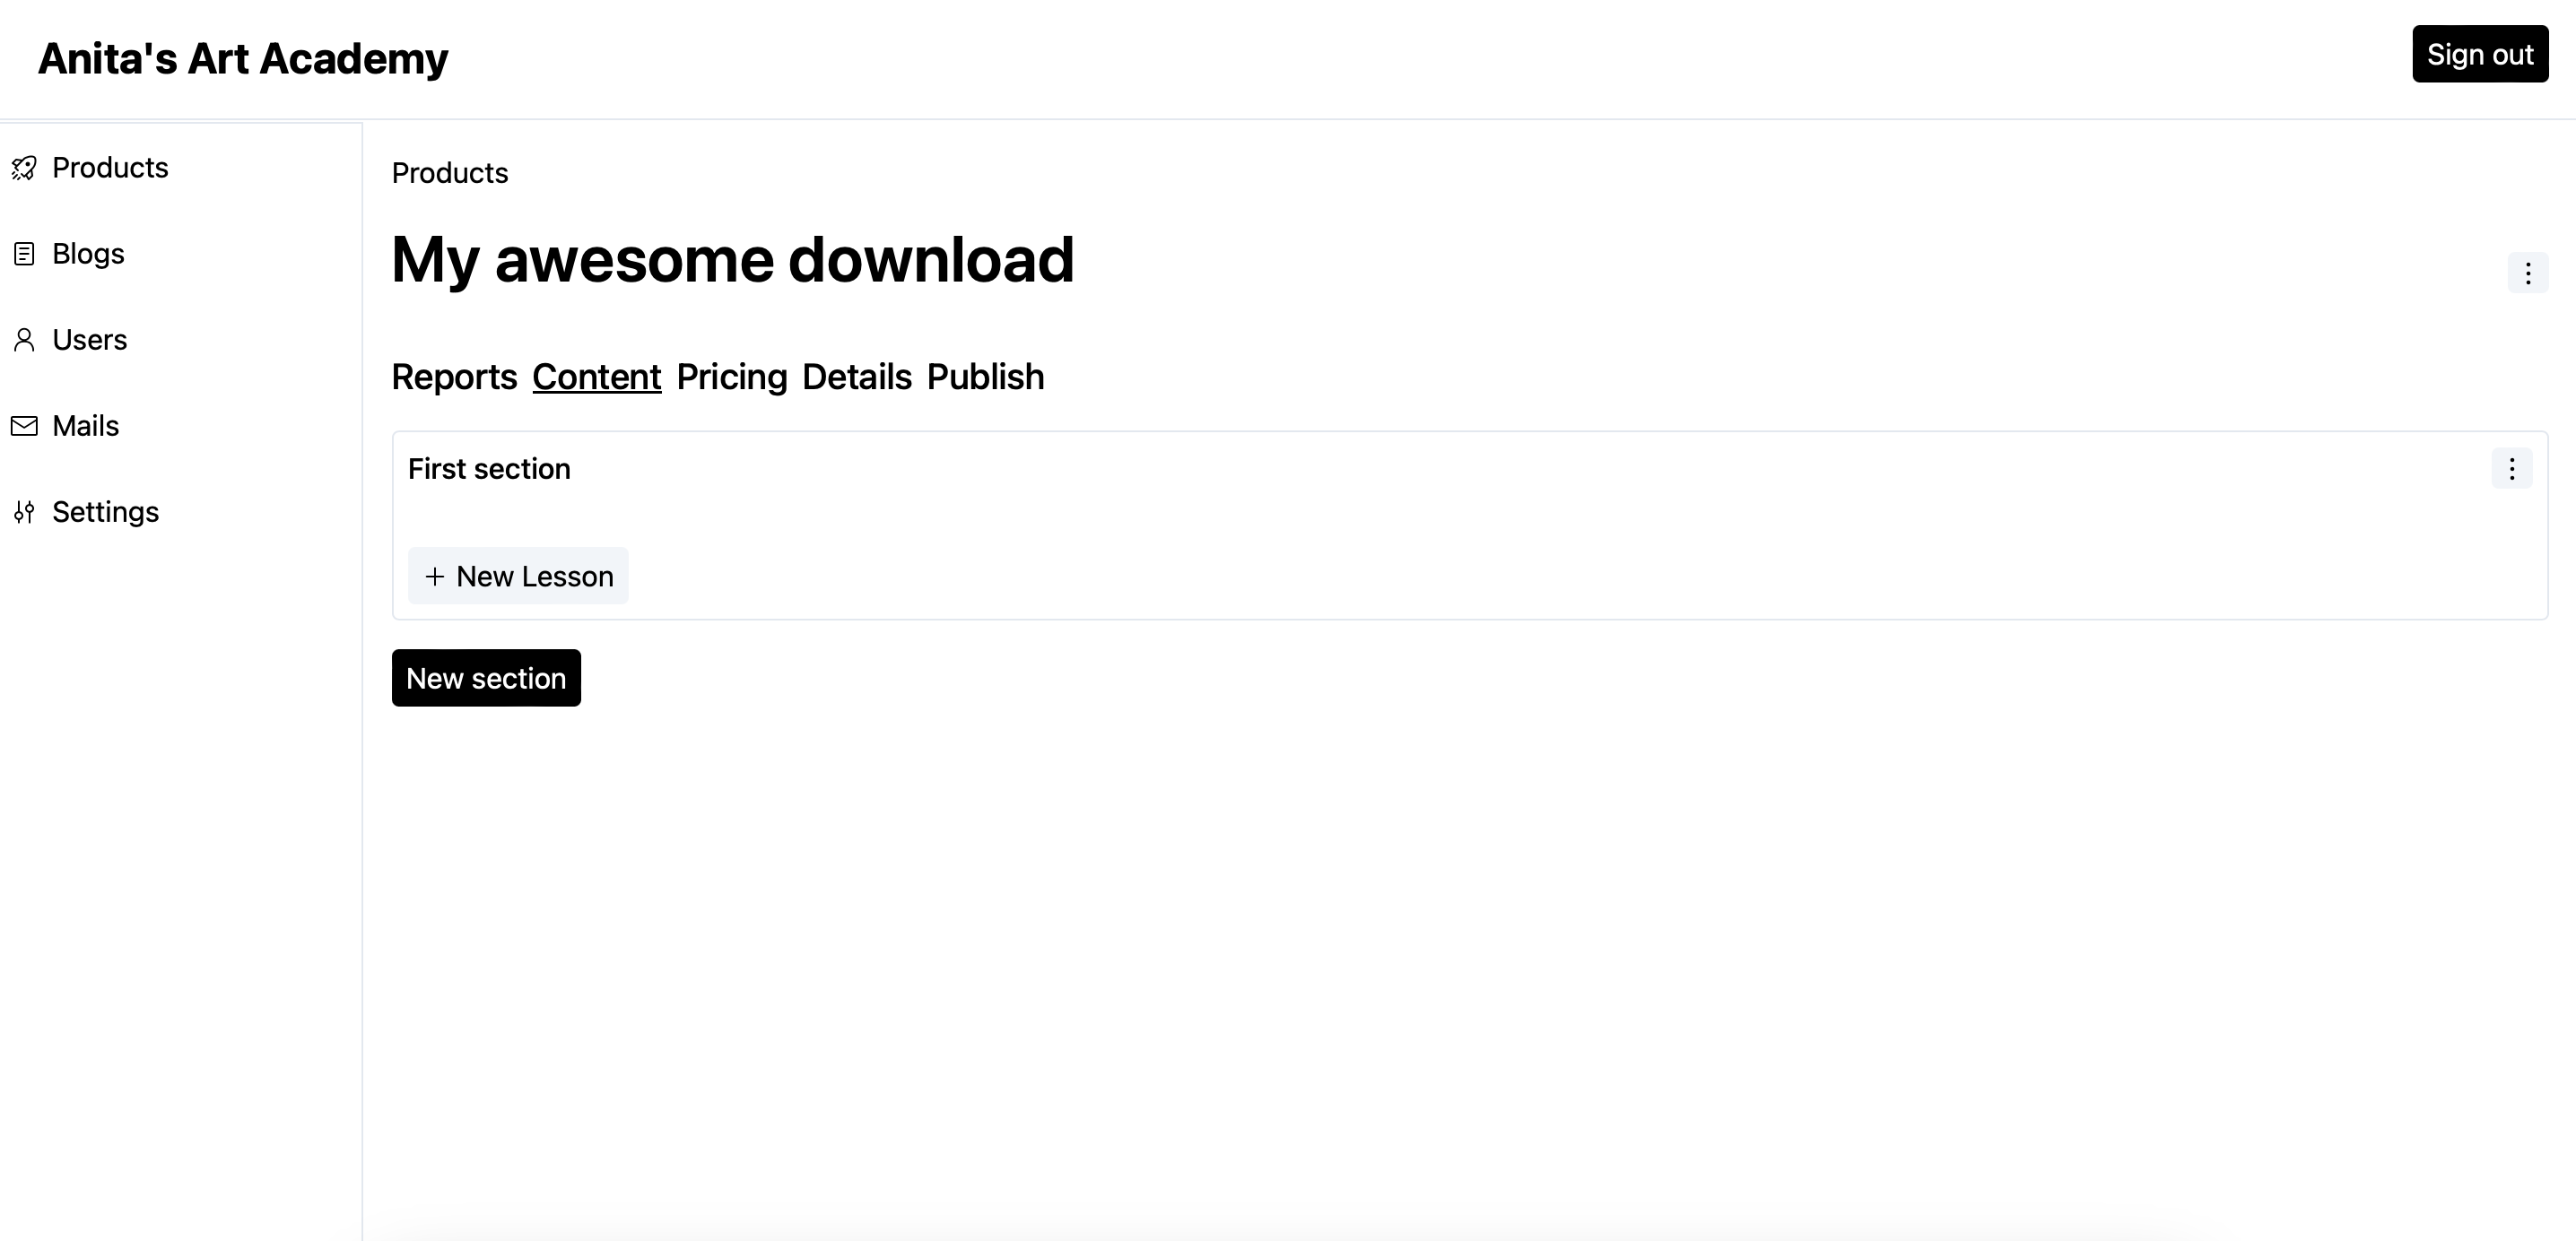
- Let’s add some content to your download. Click on the
New lessonbutton to add a new file. - On the
New Lessonscreen, select a file, turn off the preview toggle and clickSave.

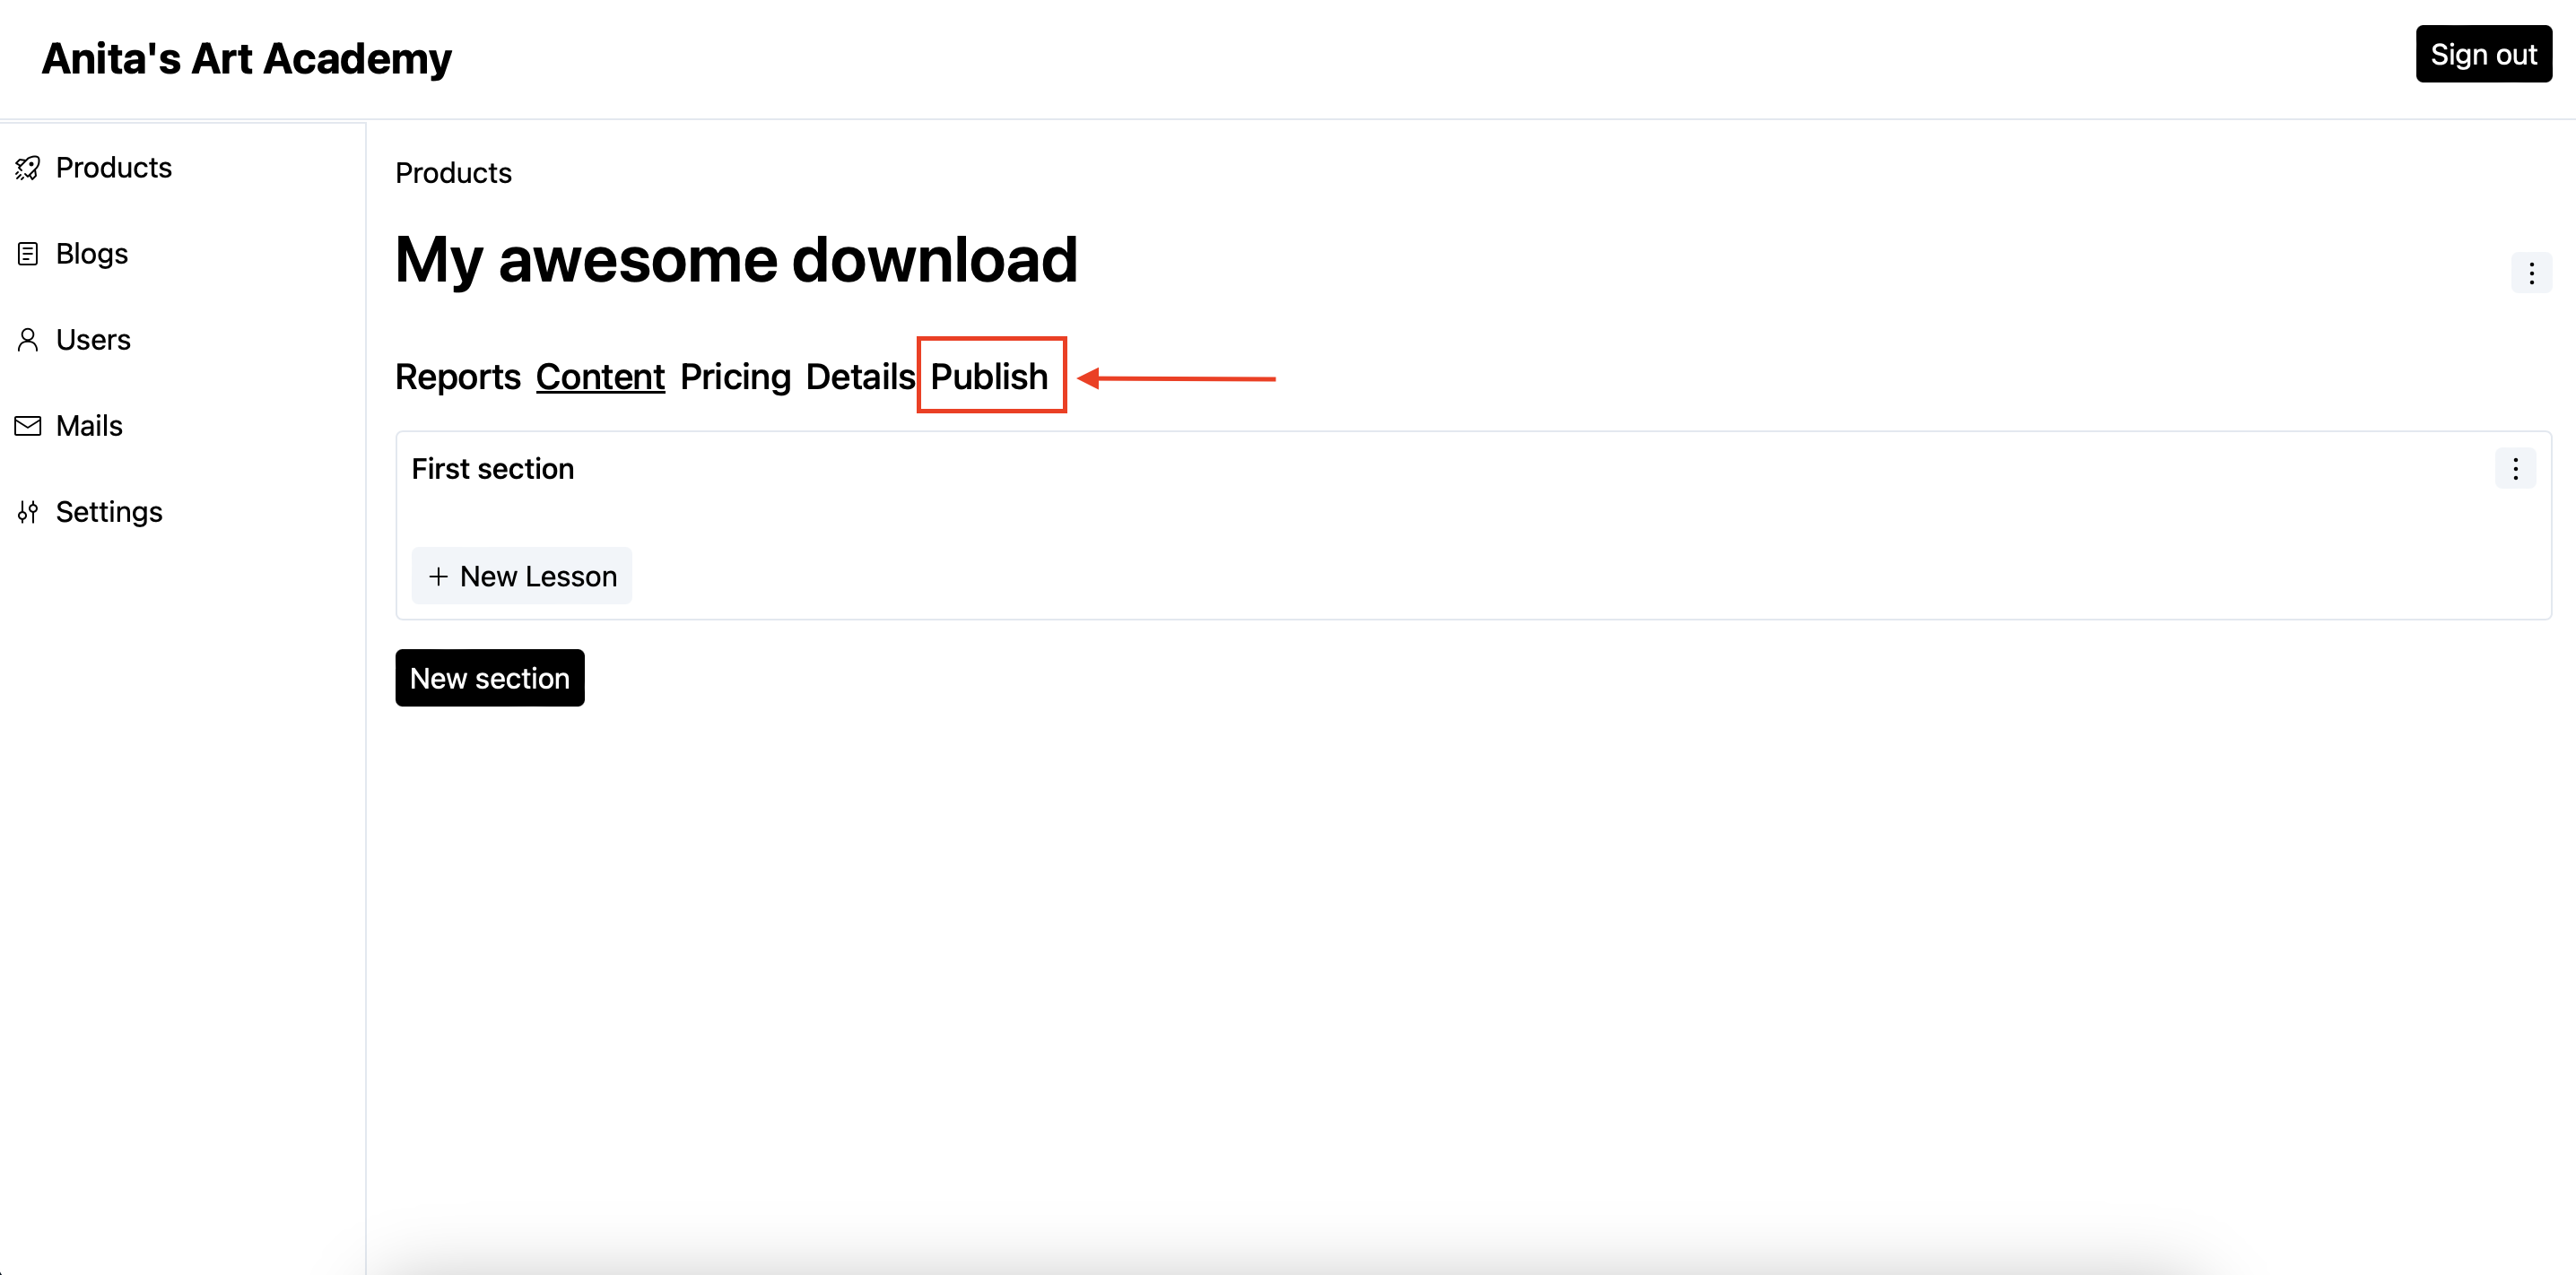
Now that we have added some content to the course, it’s time to publish. By default, any new product is in the Draft state.
- Click on the
Publishtab.
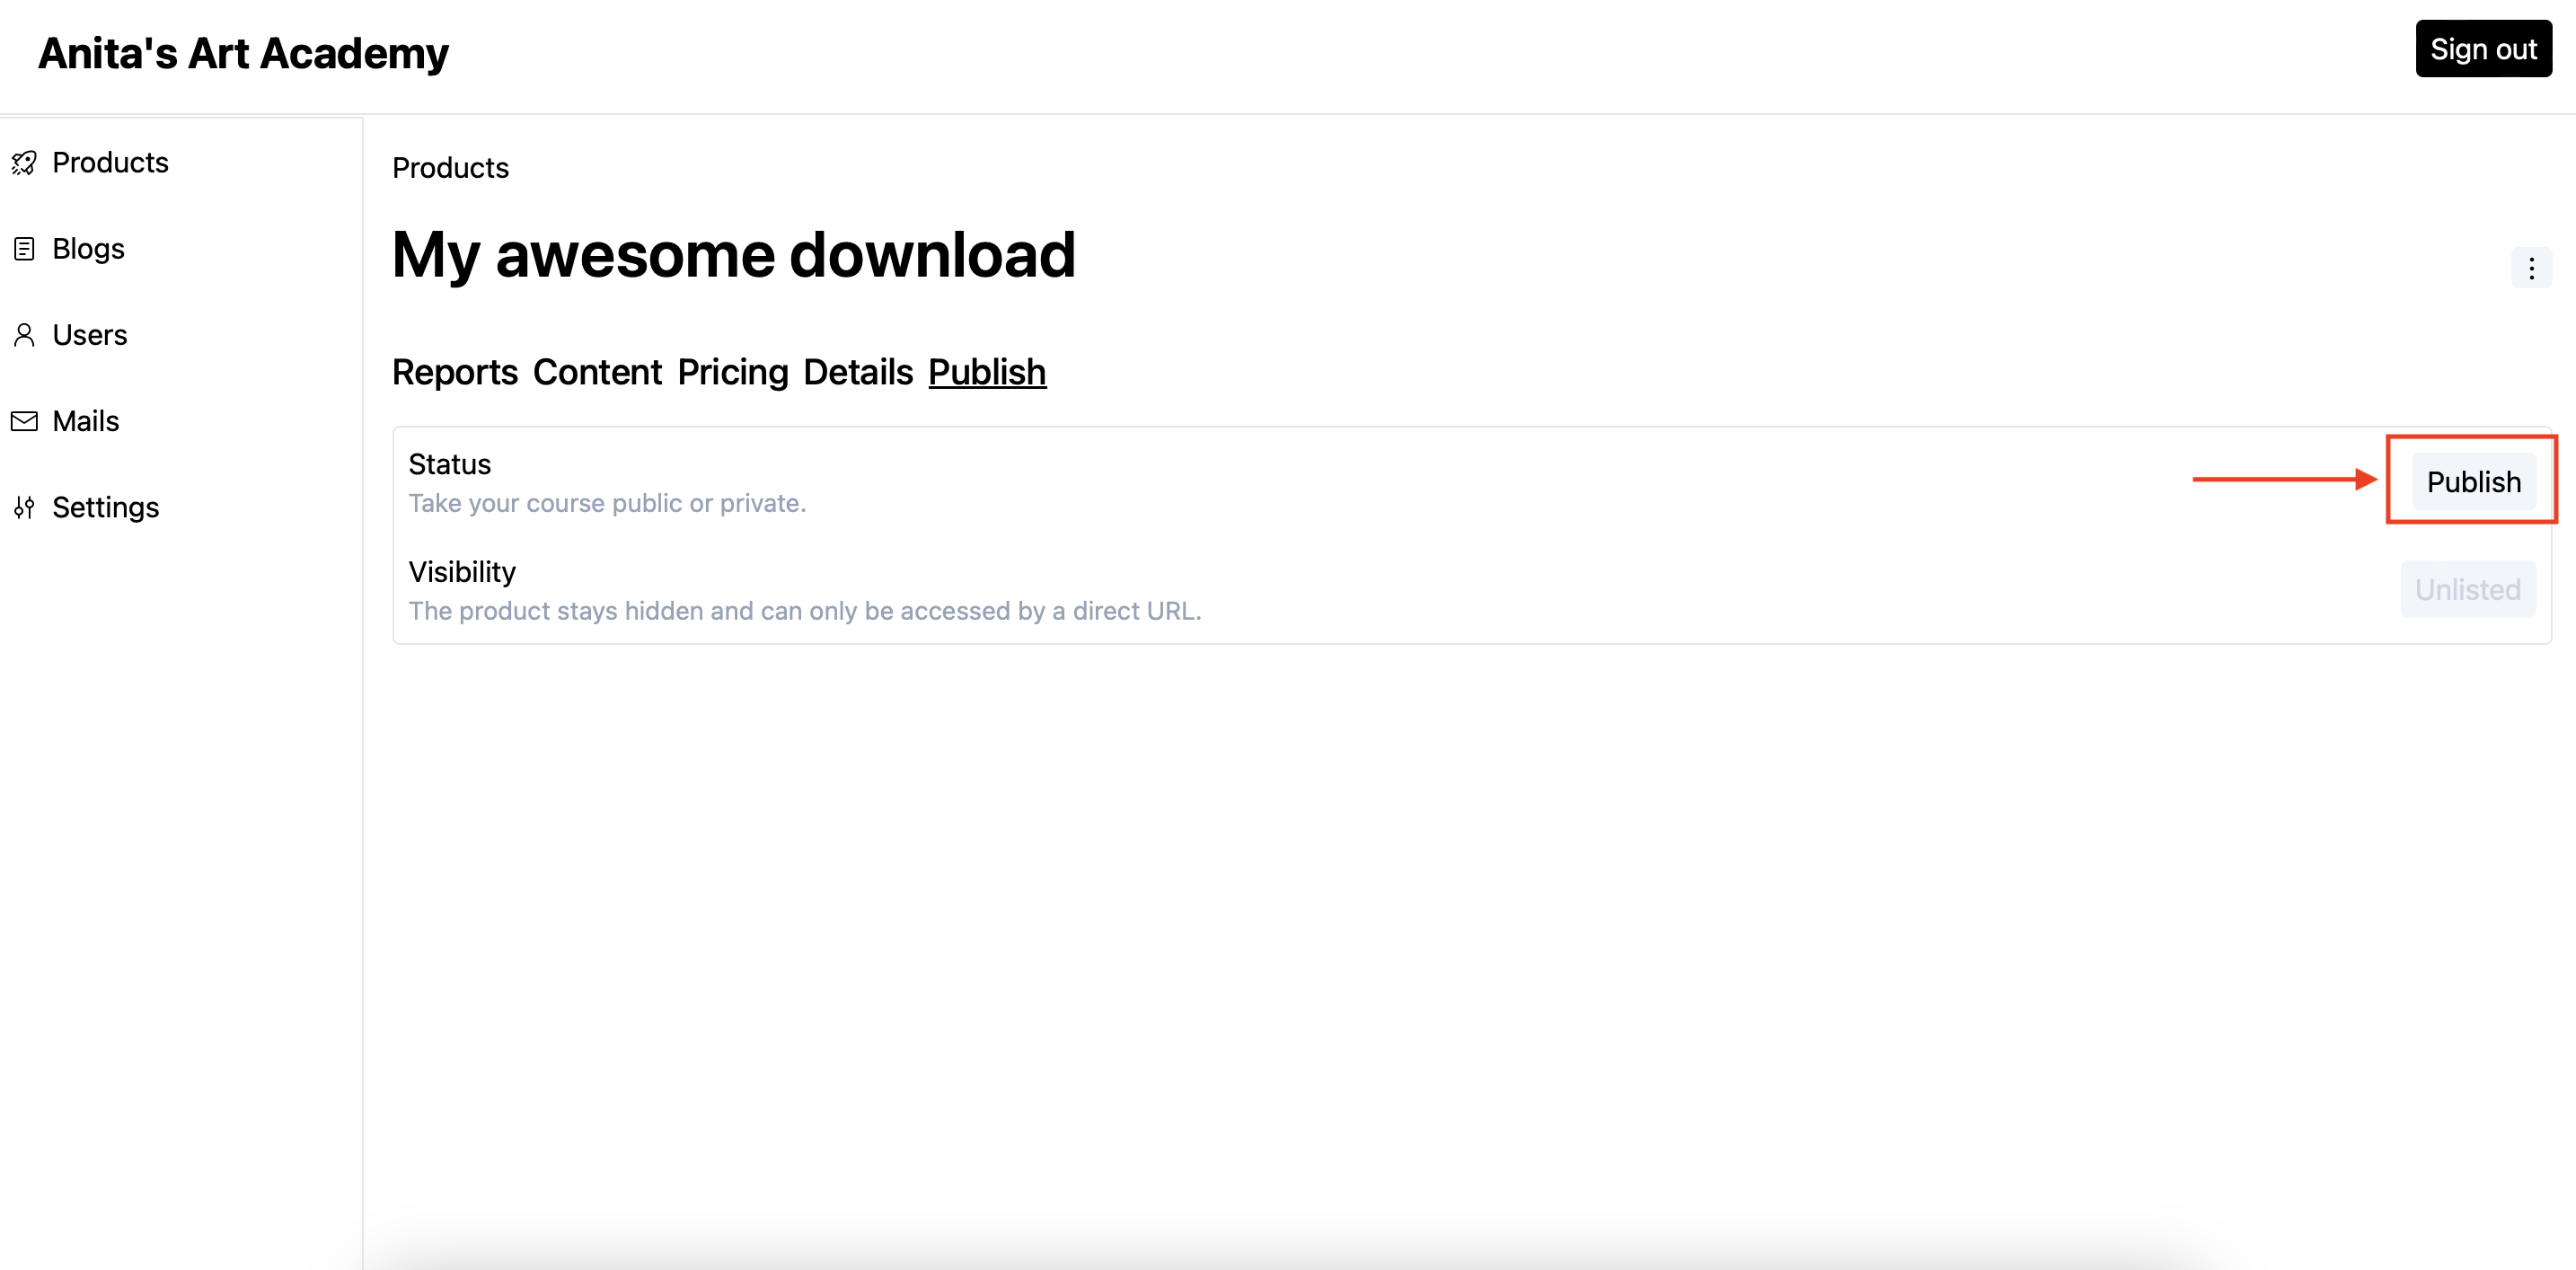
- Click on the
Publishbutton to make your digital download available to the users.
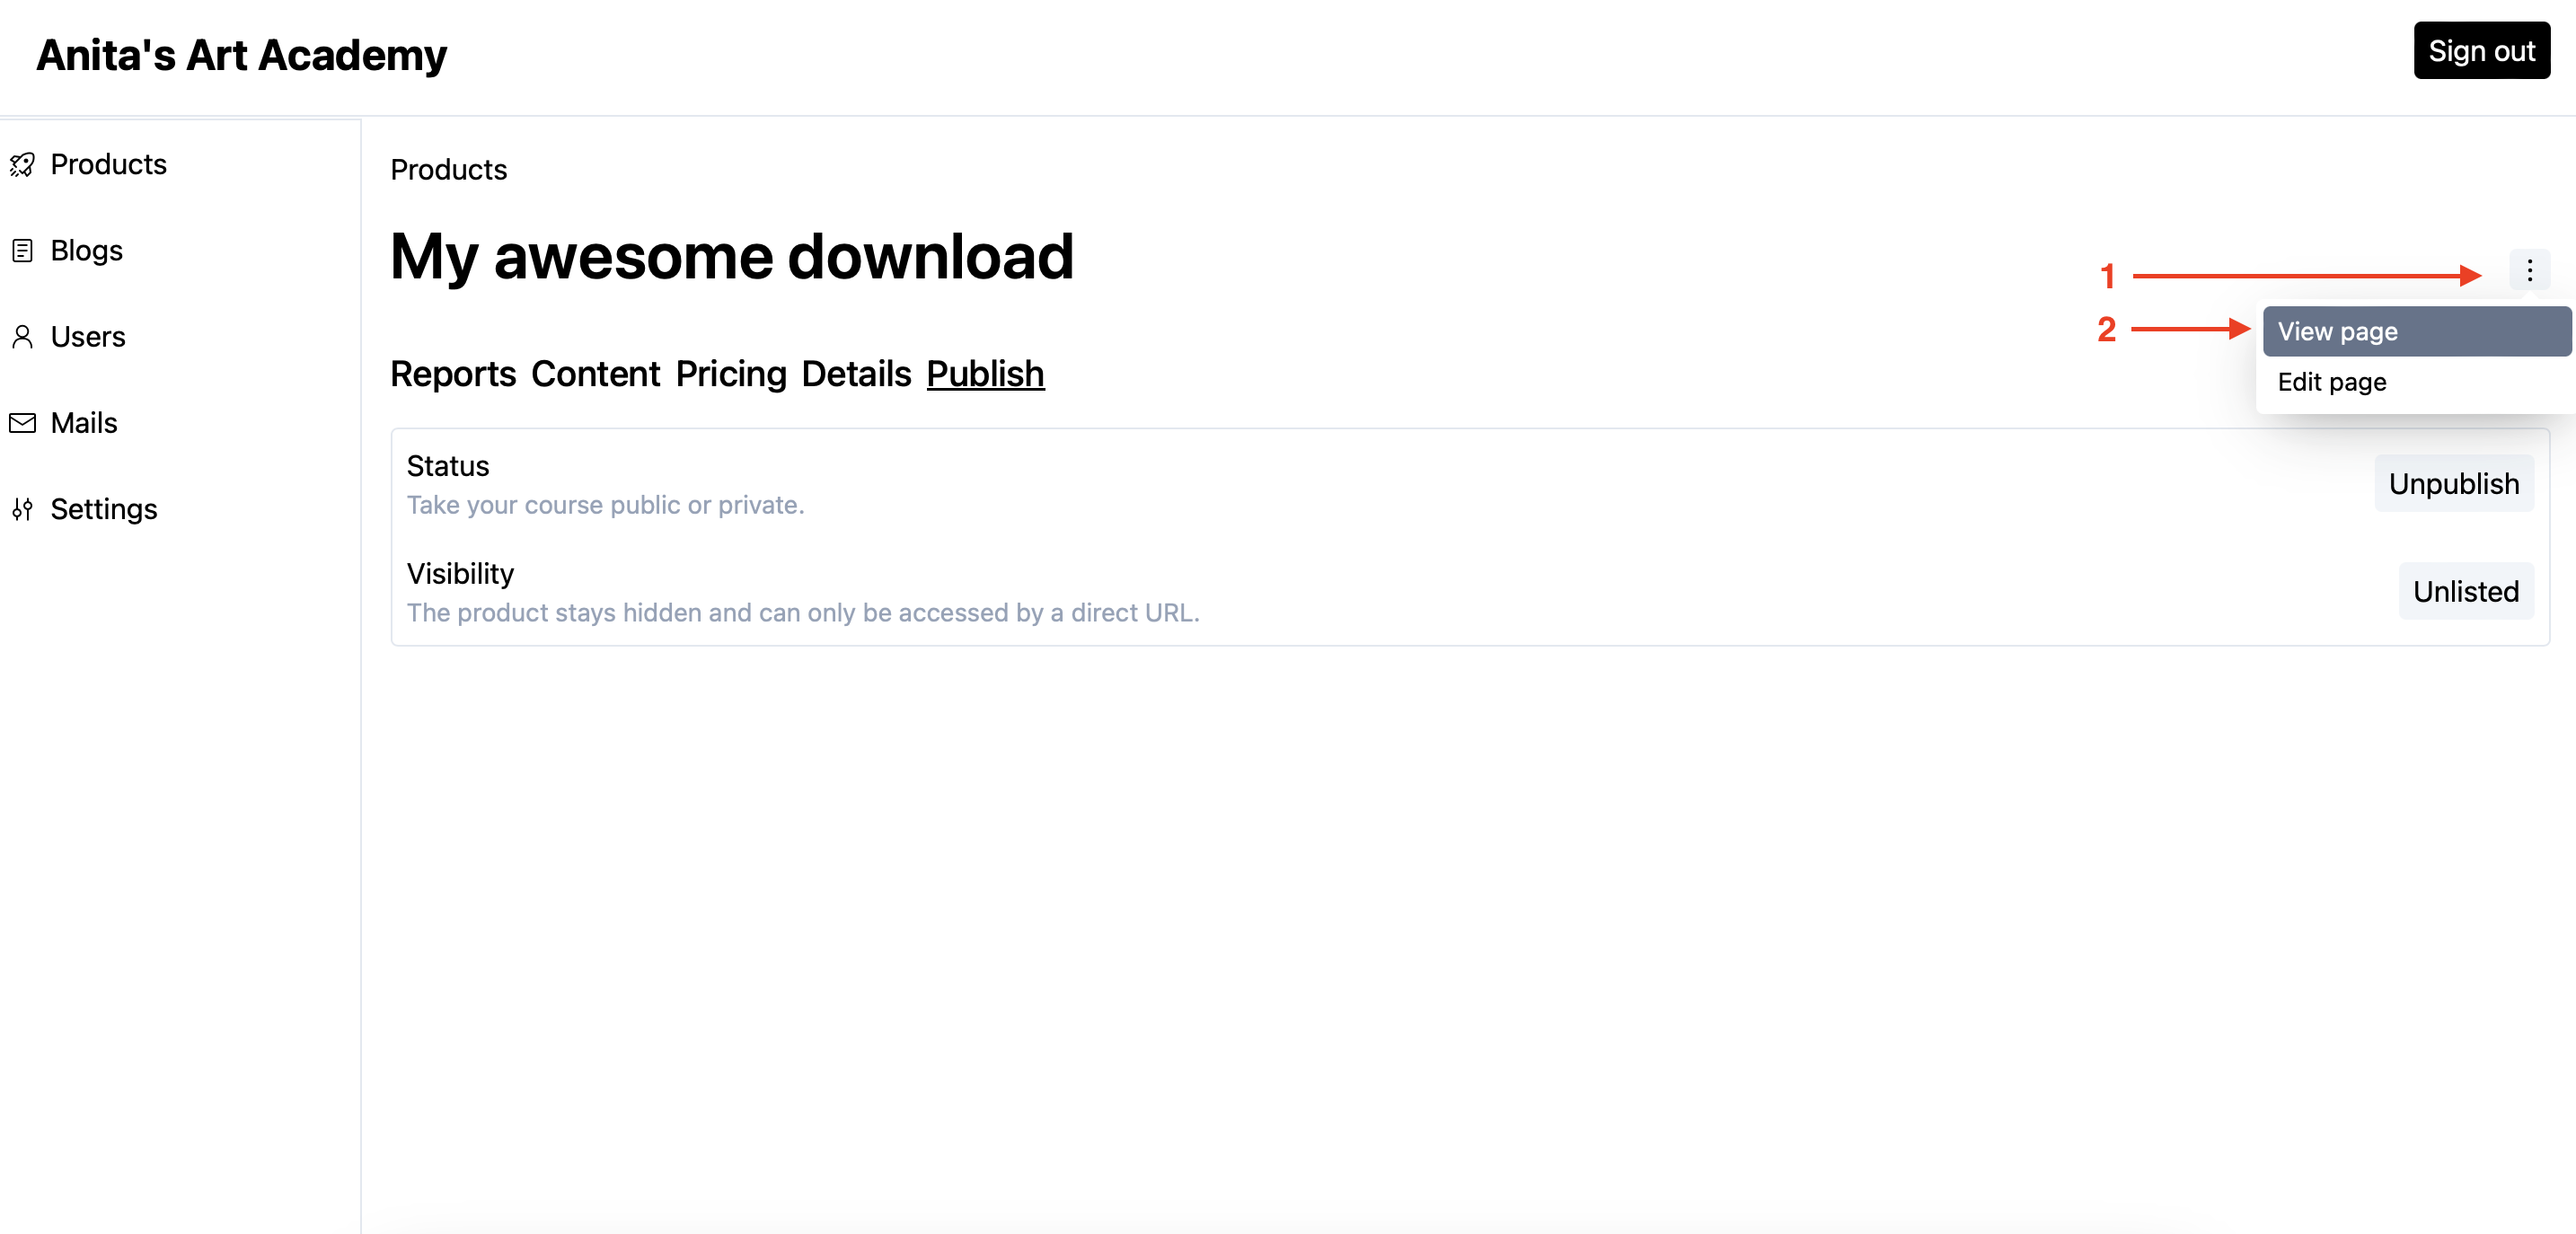
- Voila! Your digital download is now live! You can checkout its sales page by clicking the three dots menu on the right and then selecting the
View pageoption.
- This is how your sales will look initially. It is barebones as of now. Visit our page builder guide to make it enticing.
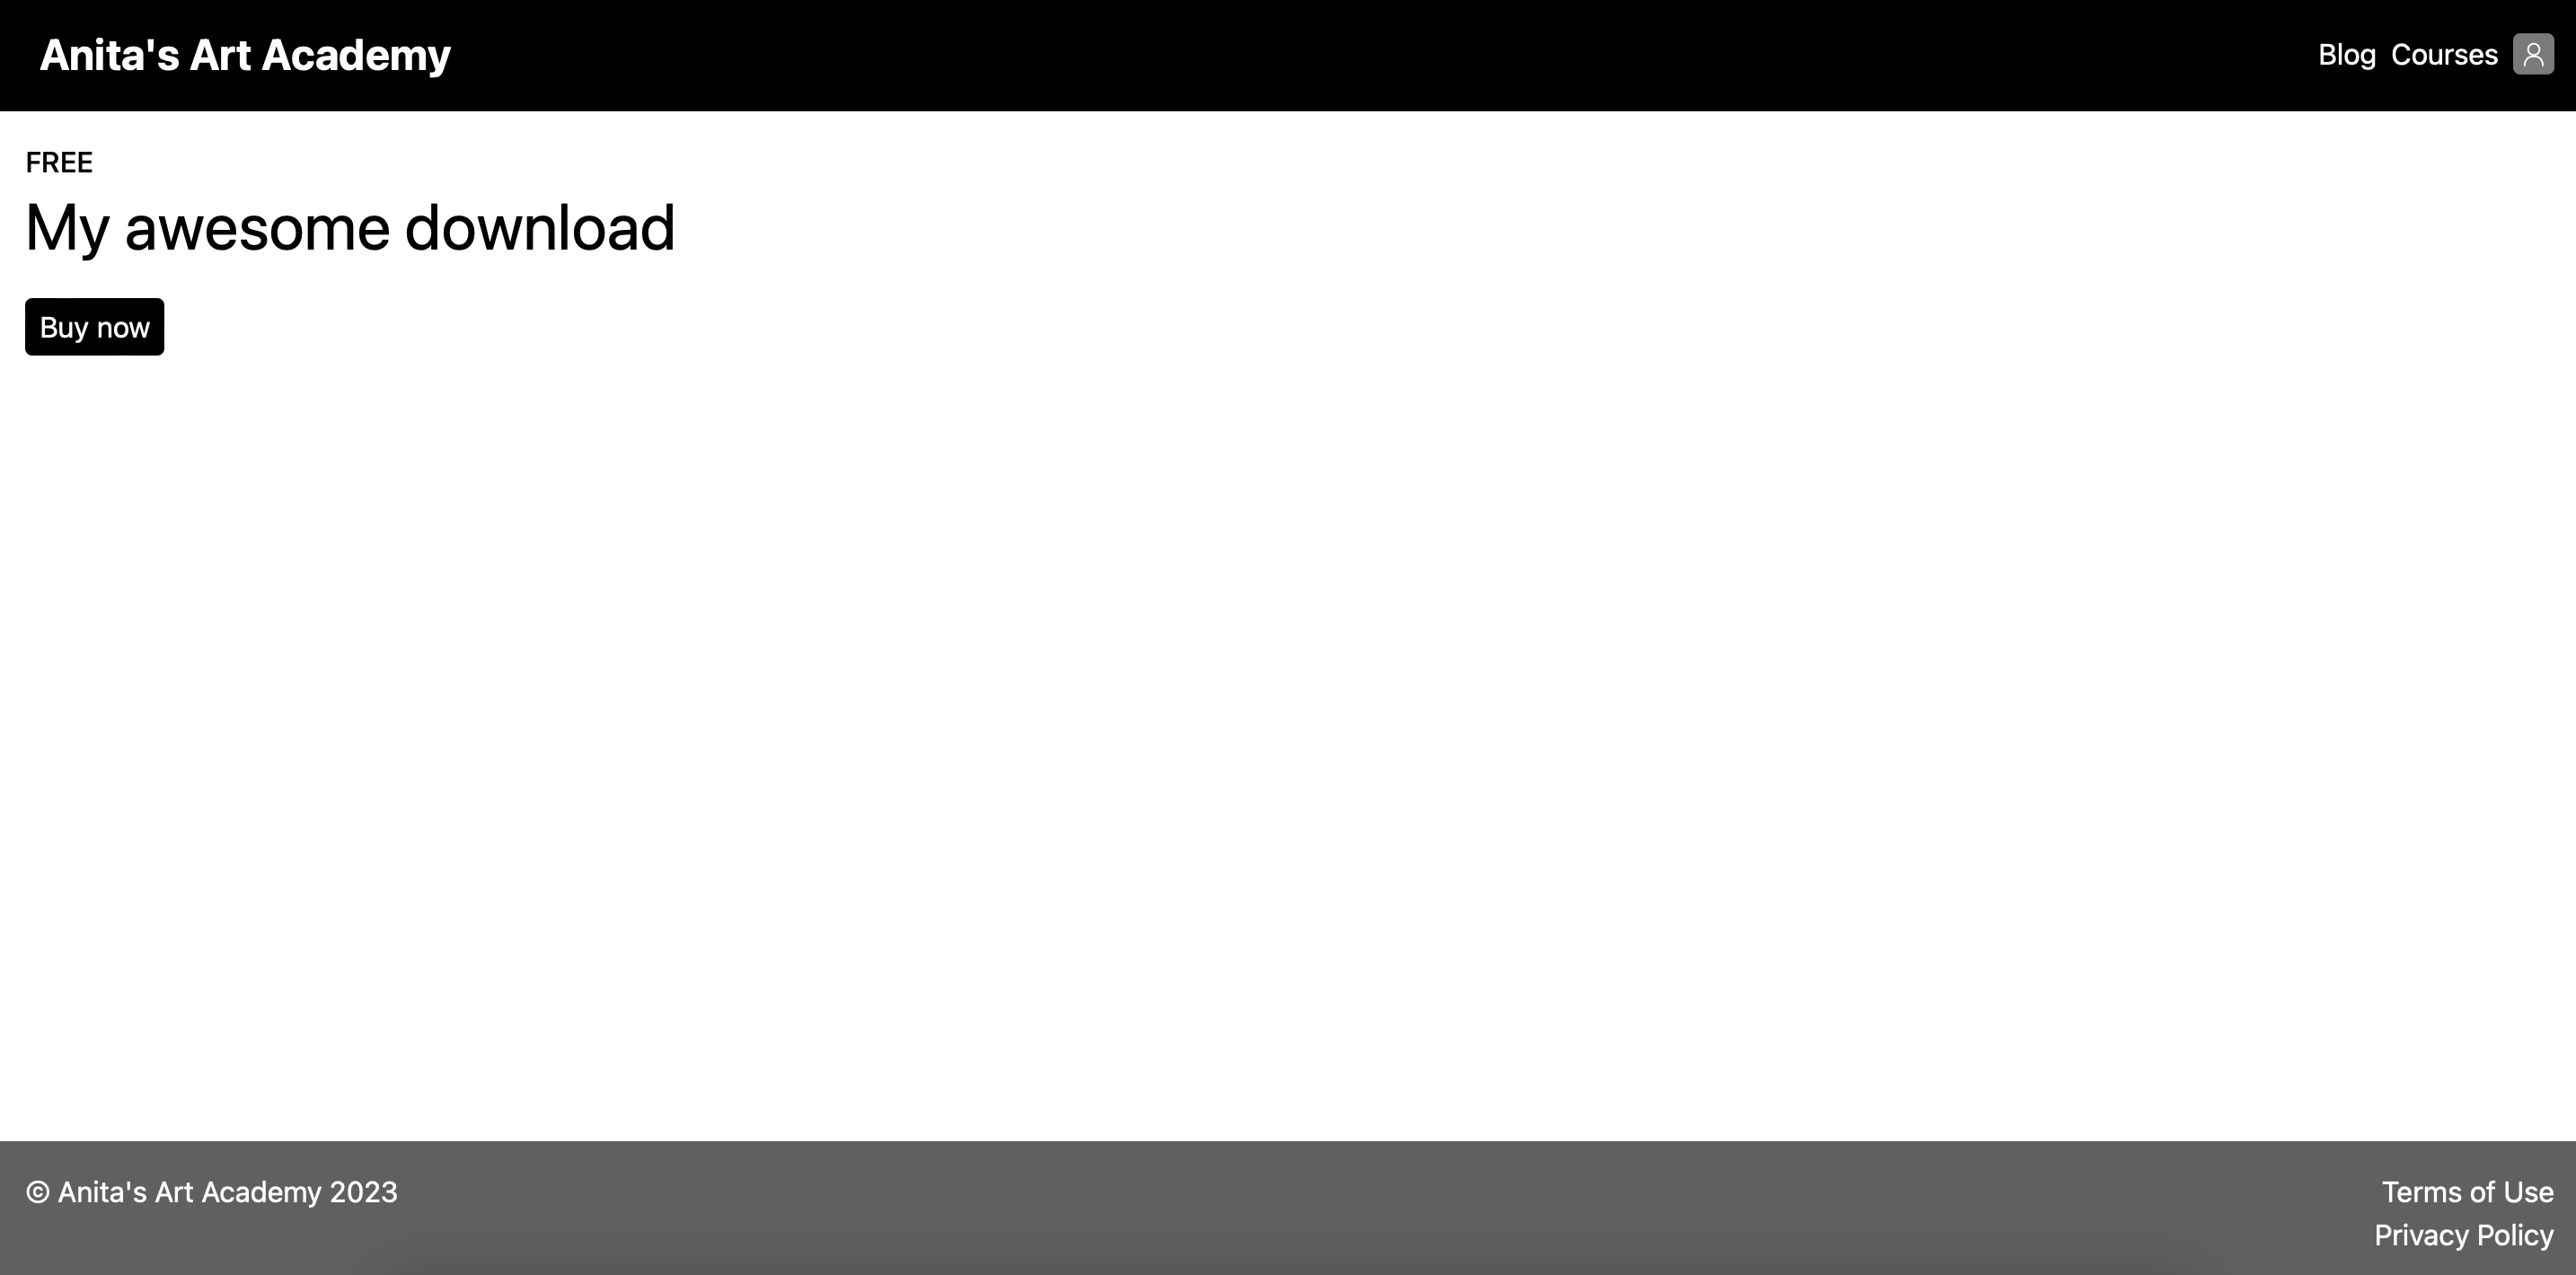
- To share your digital download with your audience, simply copy the URL and share it. When your users click on the
Buy nowbutton, they will be redirected to the login screen so that they can add the course into their accounts.
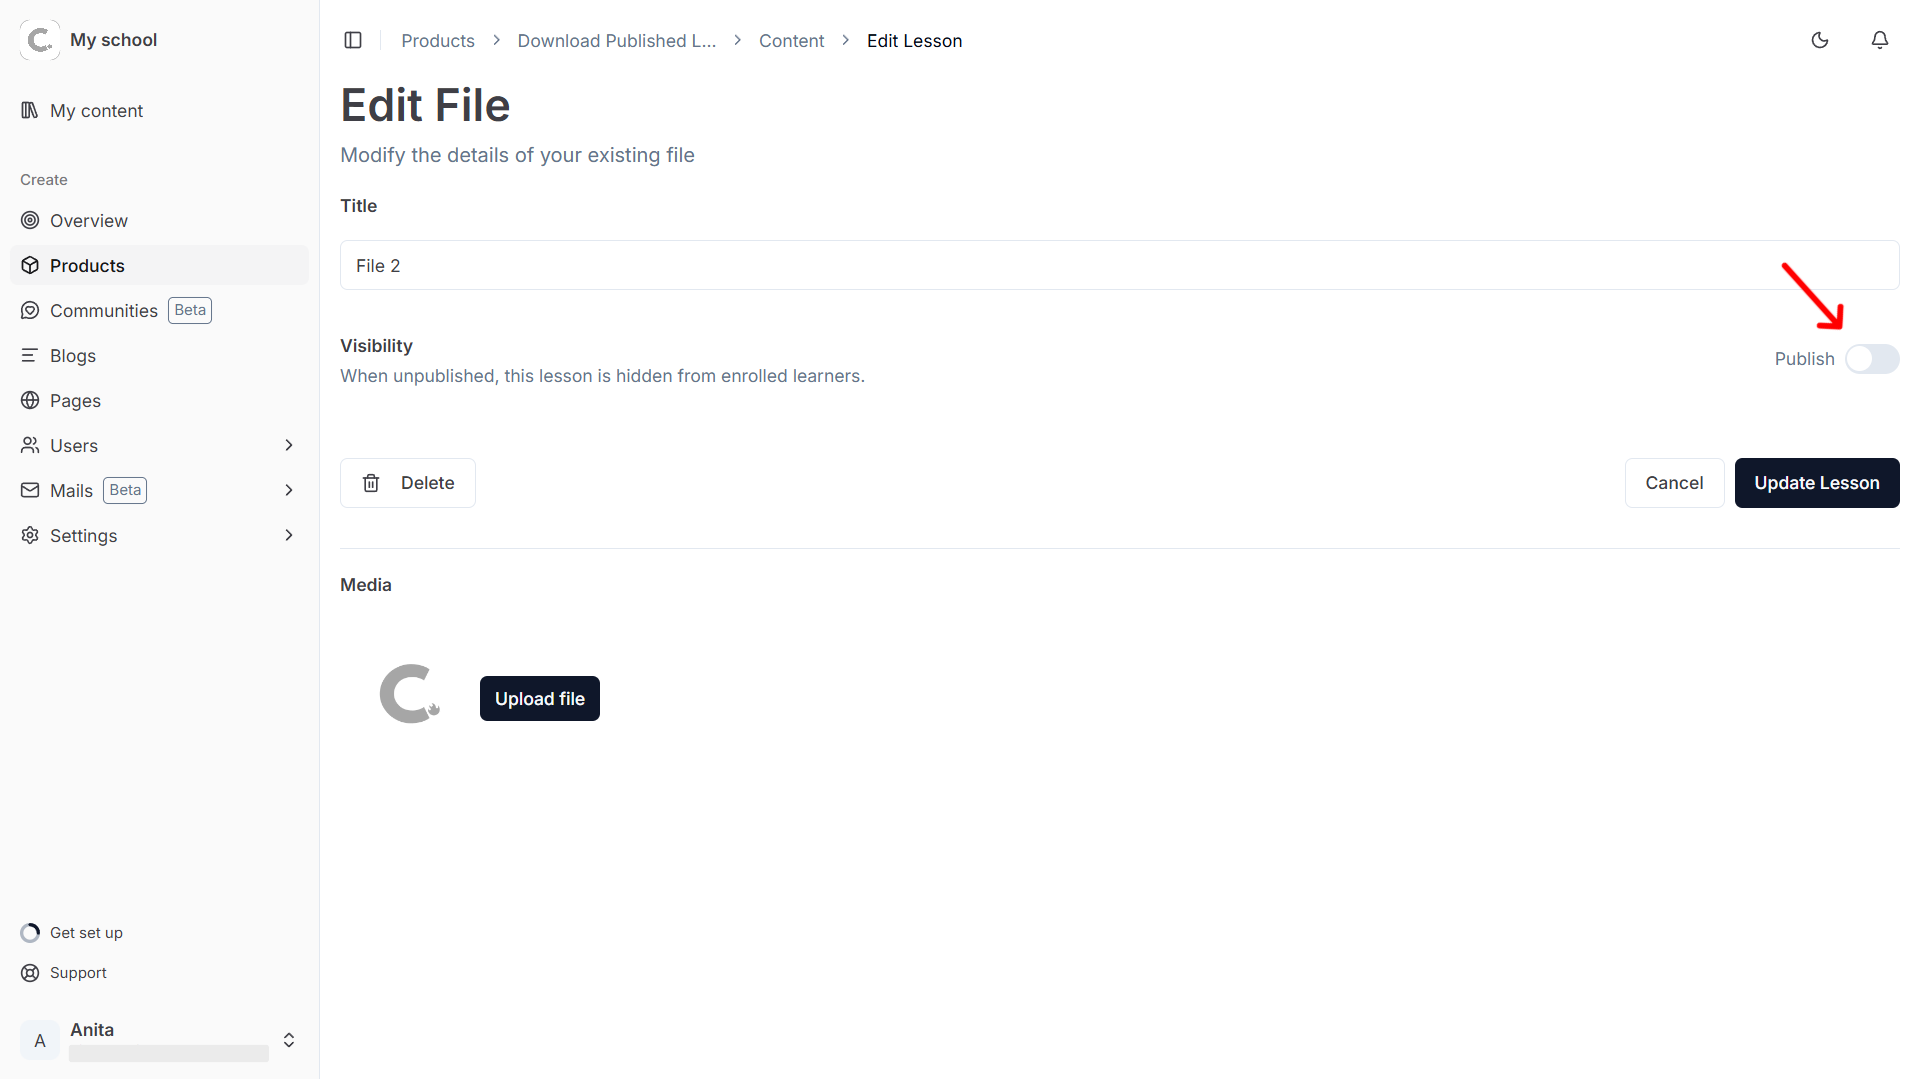
Control file visibility
By default, files are unpublished i.e., it will not be included in the ZIP download. To included it in the ZIP file, toggle the Publish switch as shown.
Stuck somewhere?
We are always here for you. Come chat with us in our Discord channel or send a tweet at @CourseLit.