Create a Community
Before you can start building your community, you need to set up a school. Follow this guide to get yourself a free account and create a school, if you haven’t already.
Once you are signed in with an admin account, go to the dashboard by clicking on the Dashboard option from the dropdown menu located in the top right corner of your school.
The feature is currently in beta, which means you may encounter bugs. Please report them in our Discord group if you run into any.
Steps to create a community
-
Log in to your account and go to the dashboard.
-
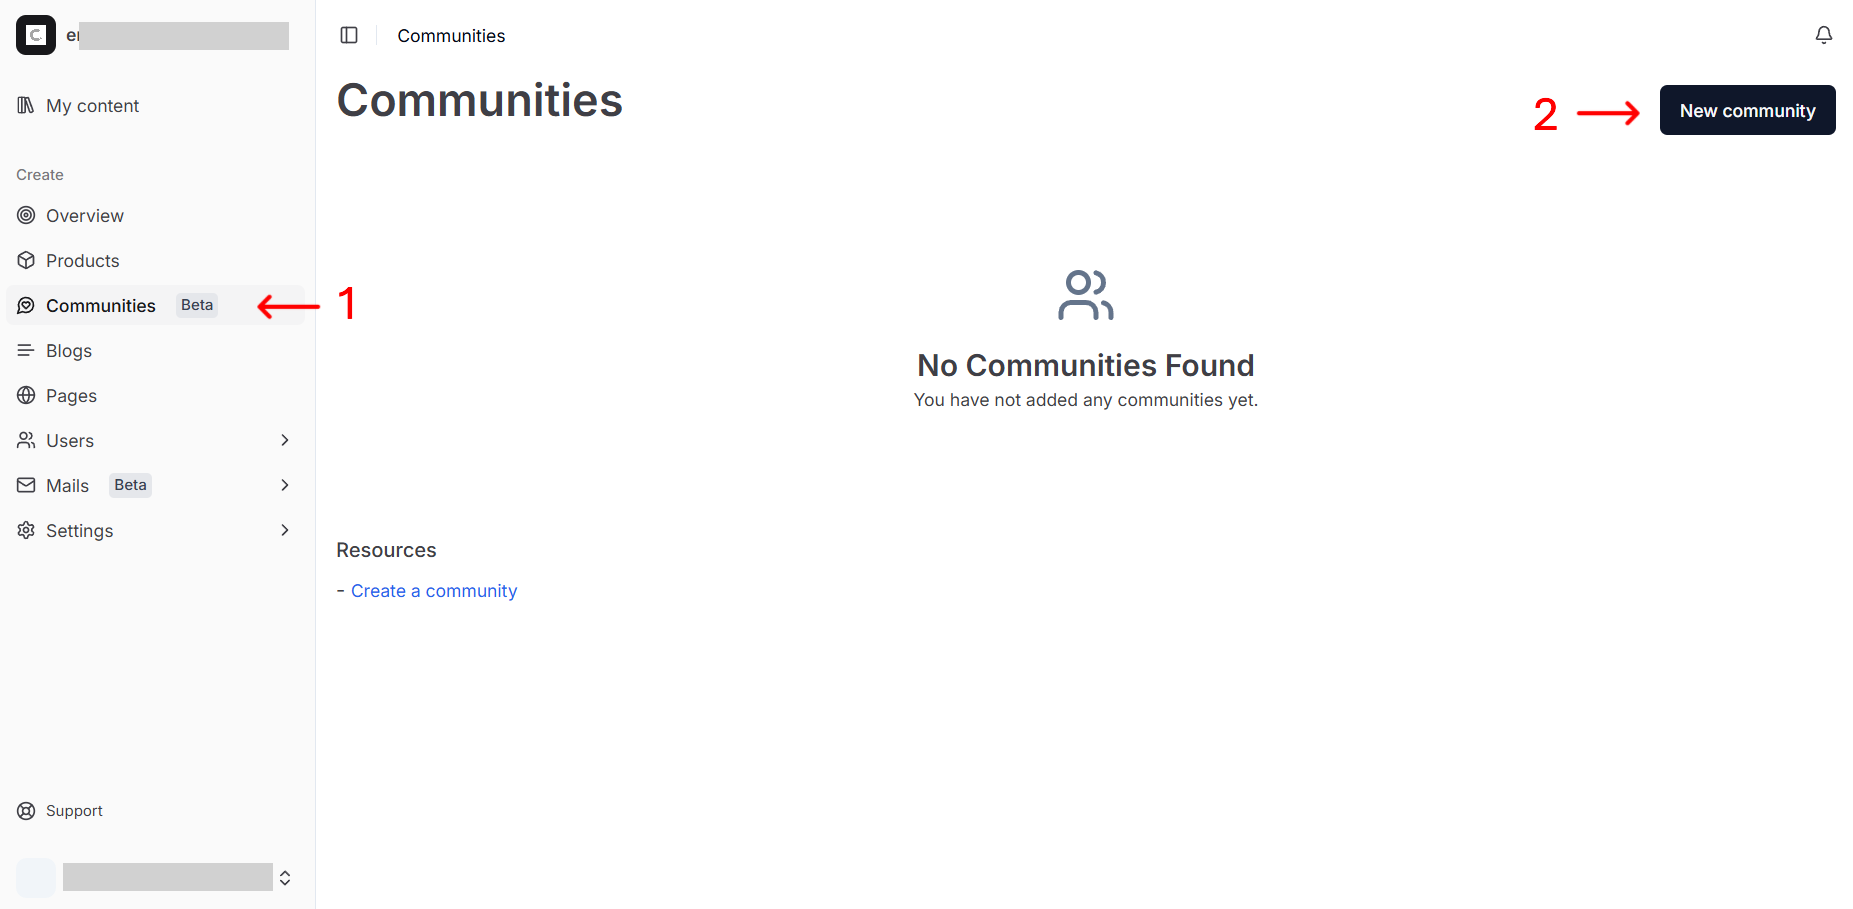
Click on the Communities option in the left-side navigation area.
-
In the Communities section, click on the New community button. You will be directed to a form where you can set up your new community.
-
Enter the community’s name and click
Create.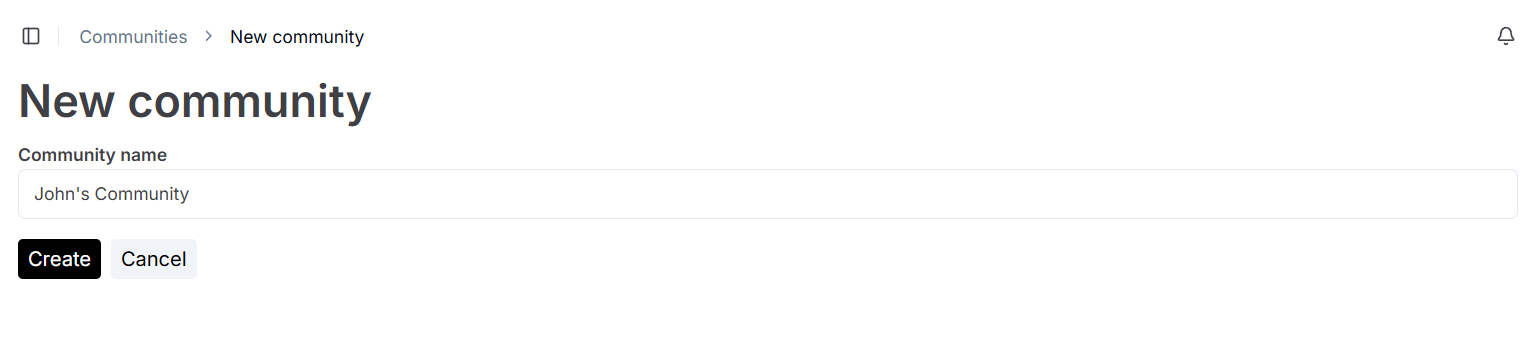
-
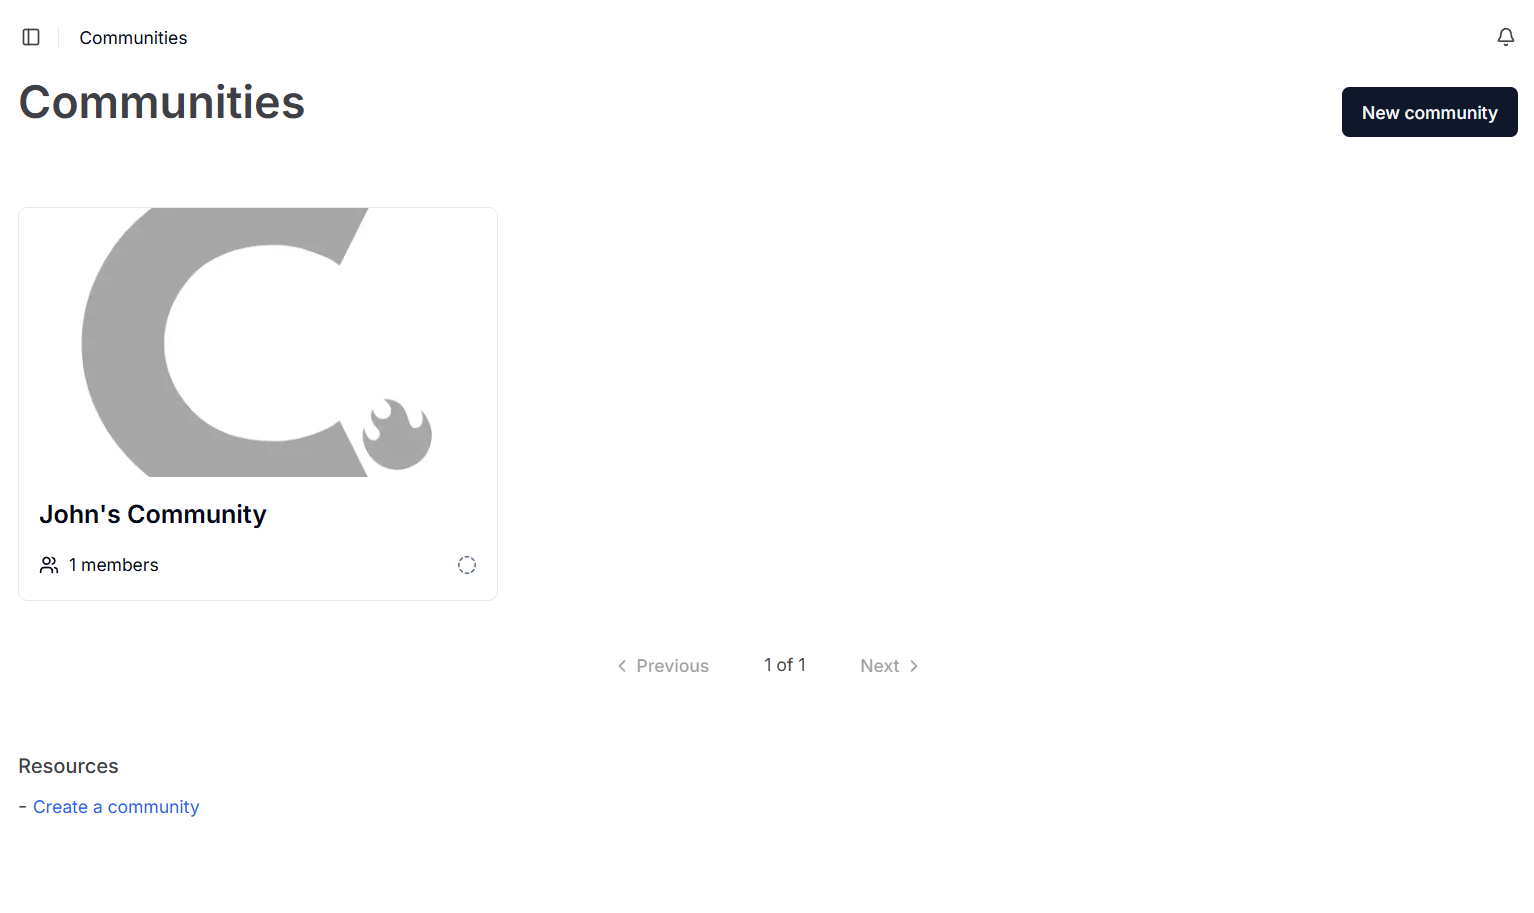
After successful creation, you will be taken back to the Communities screen. Click on the newly-created community’s card to go to the community.
-
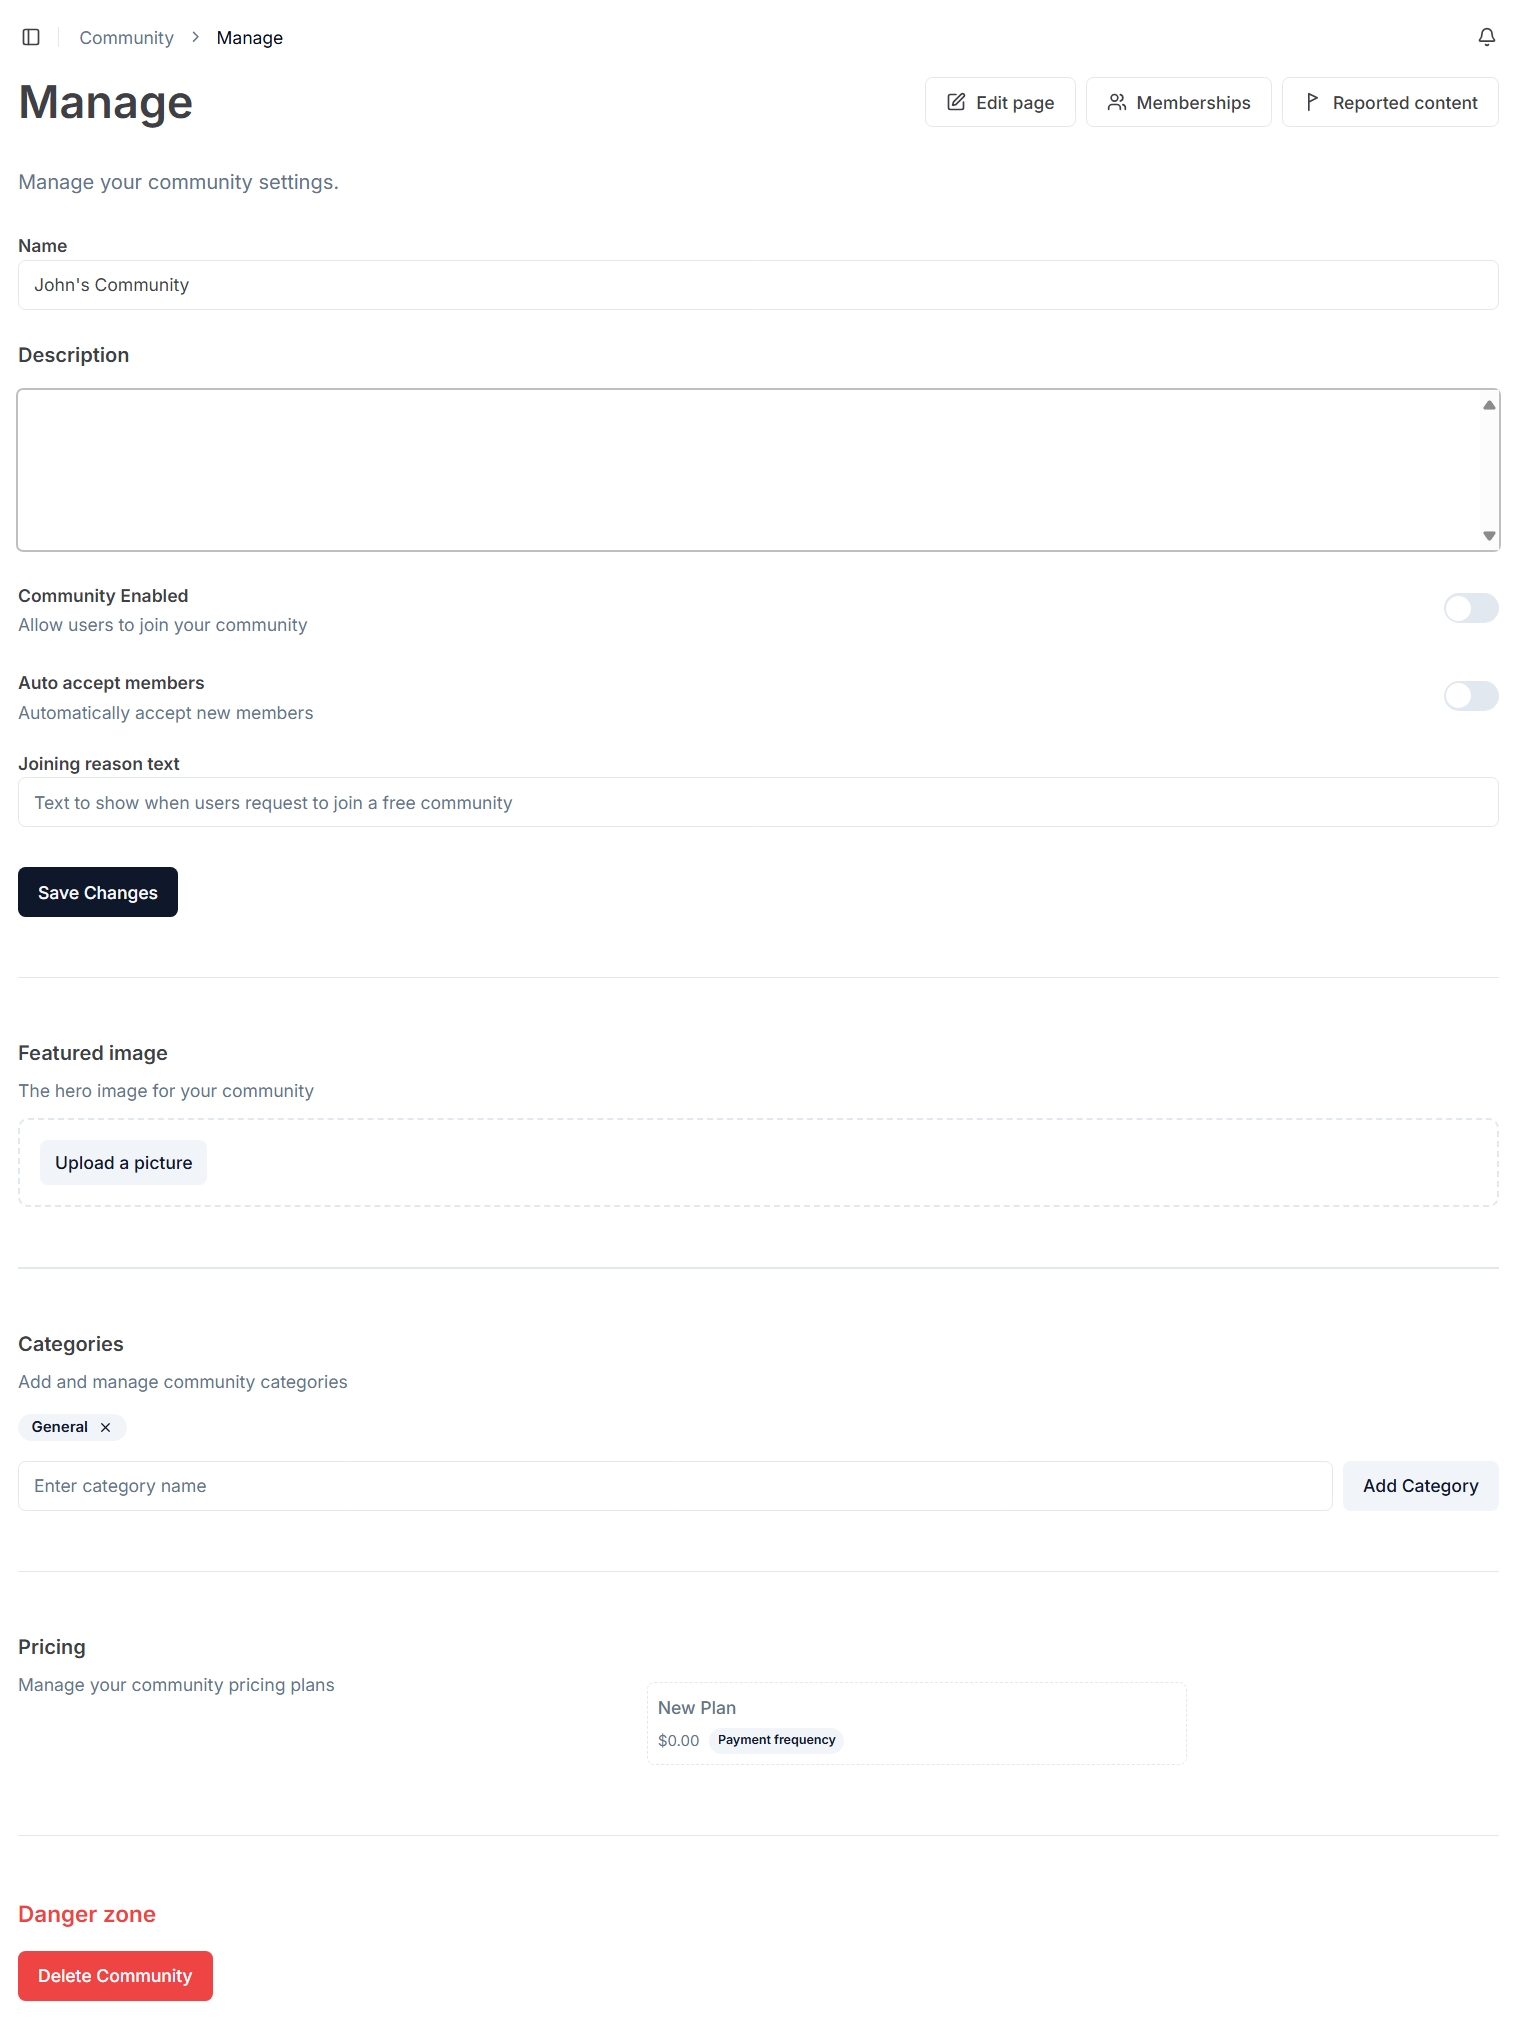
Click on the
Managebutton to navigate to the community’s management area. From here, you can configure all the settings related to the community.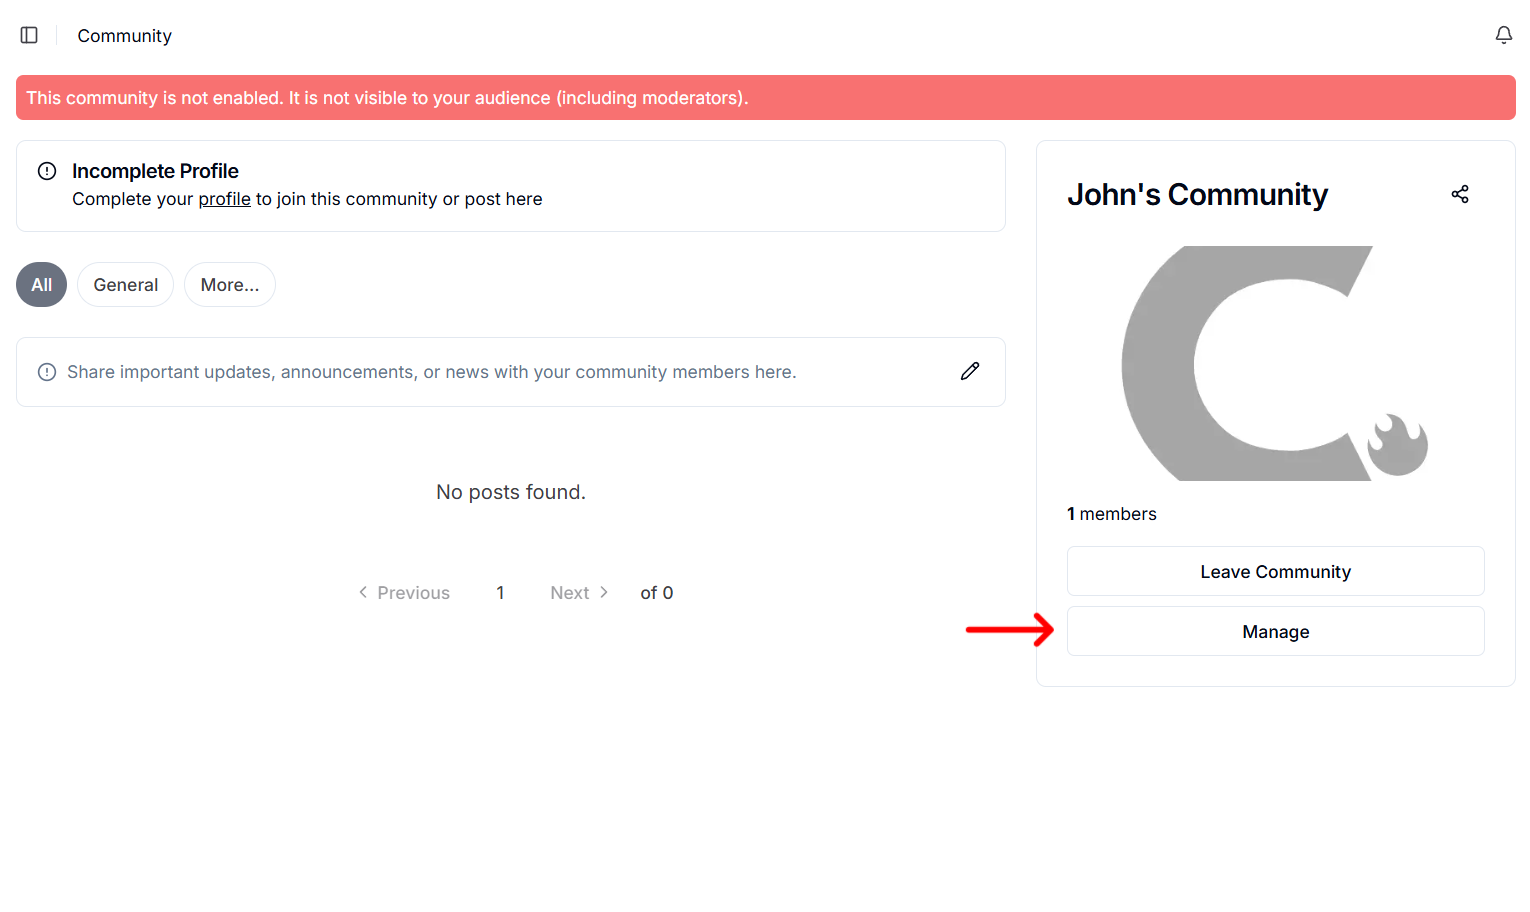
The community isn’t live yet—you’ll see a red ribbon at the top as a reminder.
-
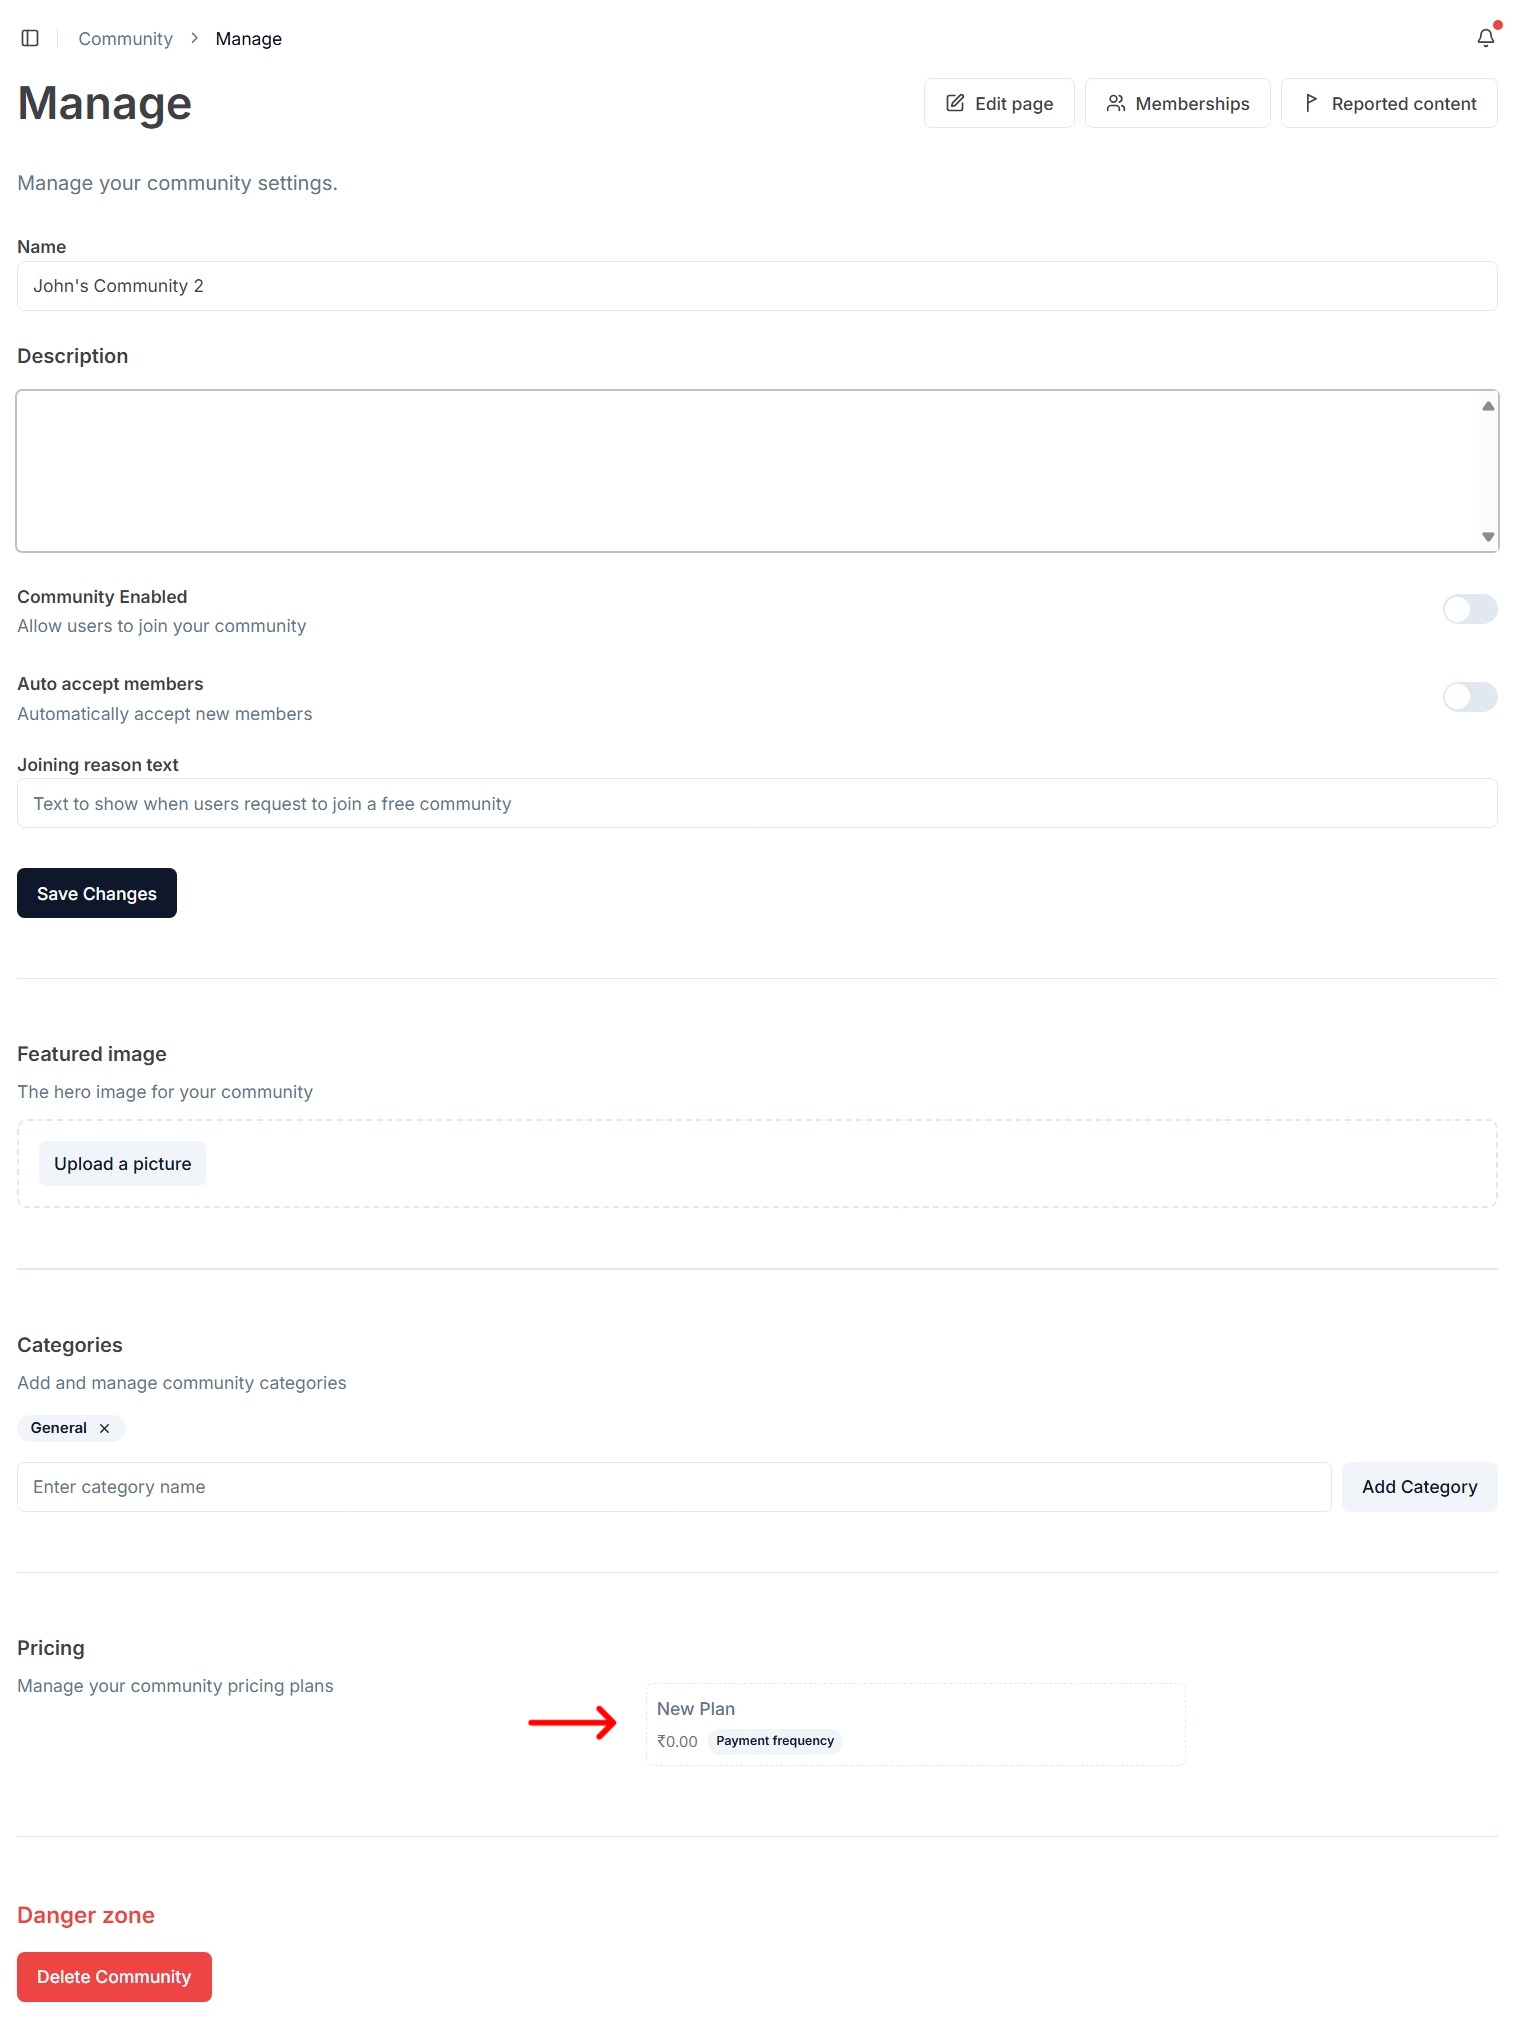
To make the community live, you must first add a payment plan. Without a payment plan, a community cannot be made live.
-
Scroll down to the Pricing section and click on the
New Planbutton.
-
In the New Payment Plan screen, fill in the details of the plan and choose a pricing scheme. The four available options are:
- Free: Offer a free option.
- One-time: Offer a one-time payment option.
- Subscription: Offer a monthly (or yearly) subscription plan.
- EMI: Offer a plan with multiple installments
-
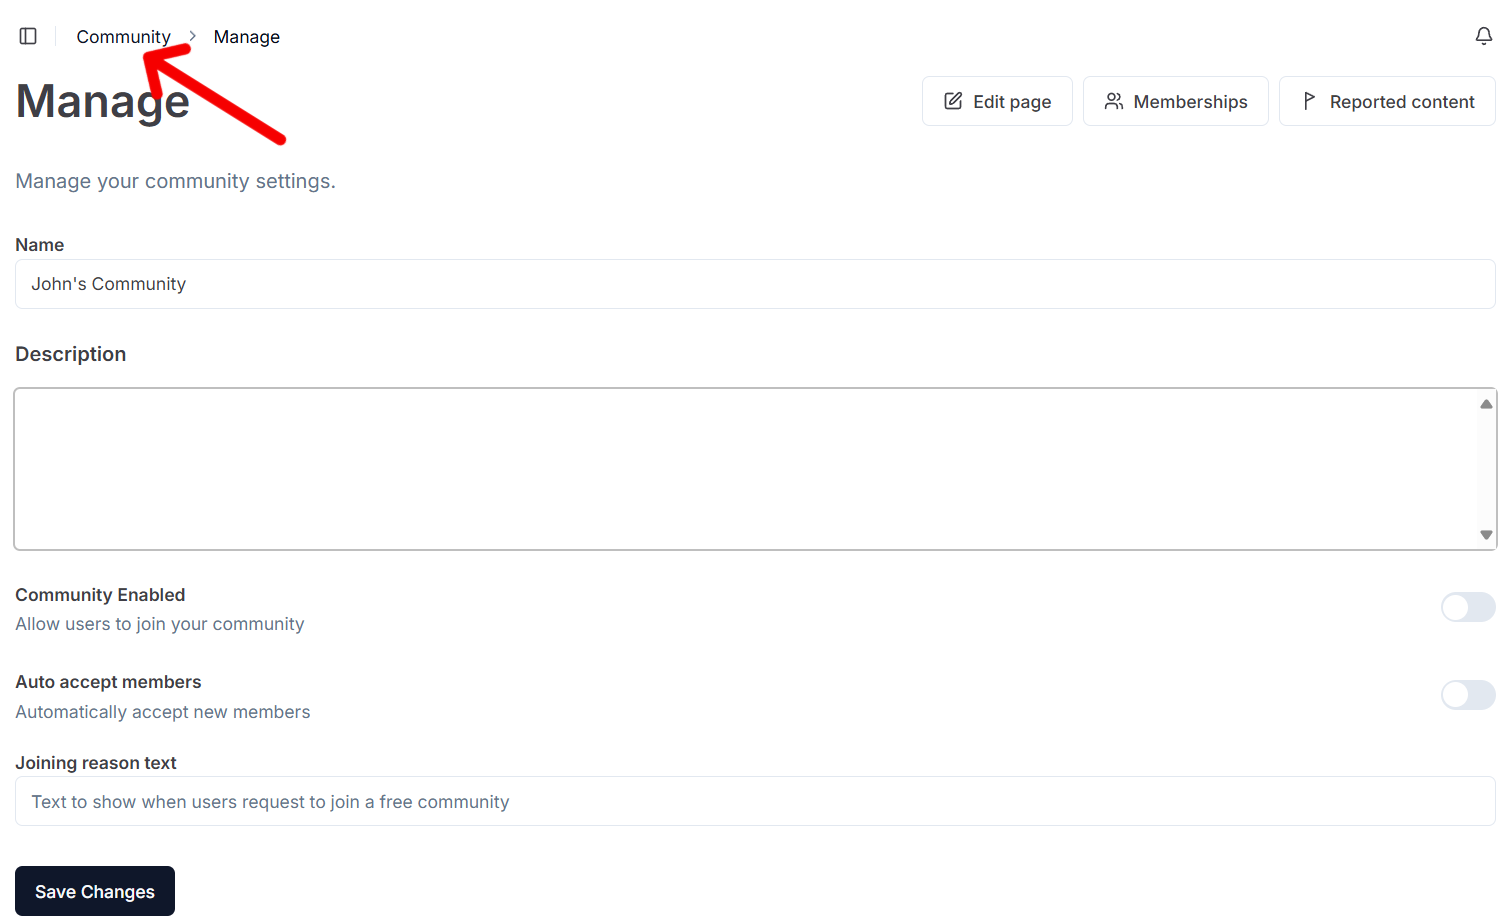
After setting the pricing, click
Save. This will open the payment plan in edit mode. Navigate back to the community’sManagescreen by clicking on the breadcrumb at the top. -
Toggle the
Community Enabledswitch and clickSave changes. This will make the community live.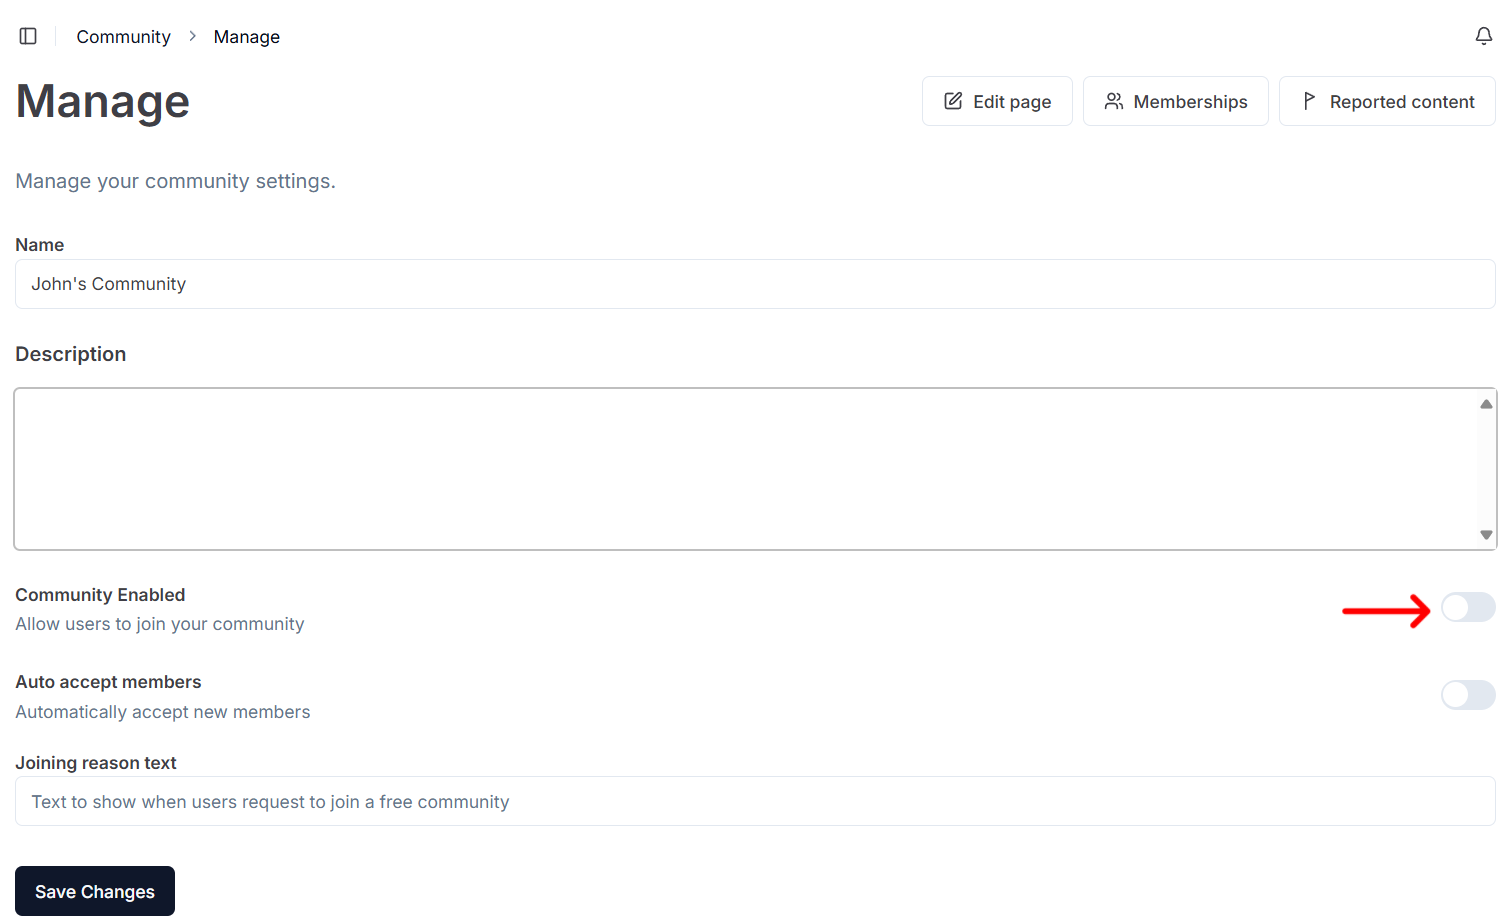
-
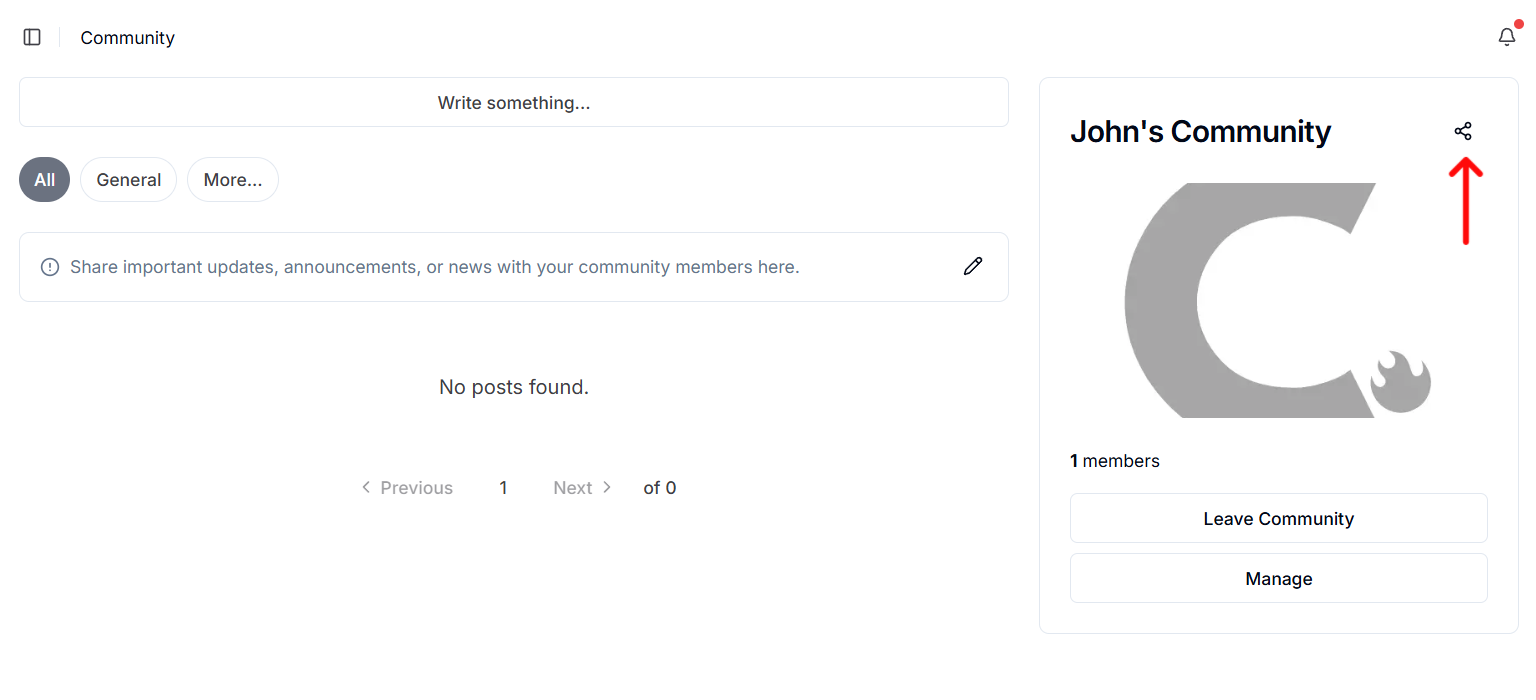
Return to the community’s home screen using the breadcrumb at the top, then click on the share icon to copy the community’s URL to the clipboard.
-
Start sharing the community’s URL with your network.
Next Steps
Now that you are the proud owner of your community, learn how to perform other administrative actions.
Stuck somewhere?
We are always here for you. Come chat with us in our Discord channel or send a tweet at @CourseLit.