Create a course
Before you can start building your course, you need to set up a school. Follow this guide to get yourself a free account and create a school, if you haven’t already.
Once you are signed in using an admin account, go to the dashboard by clicking on the Dashboard option from the drop down menu located on the top right corner of your school.
The dashboard looks like the following.
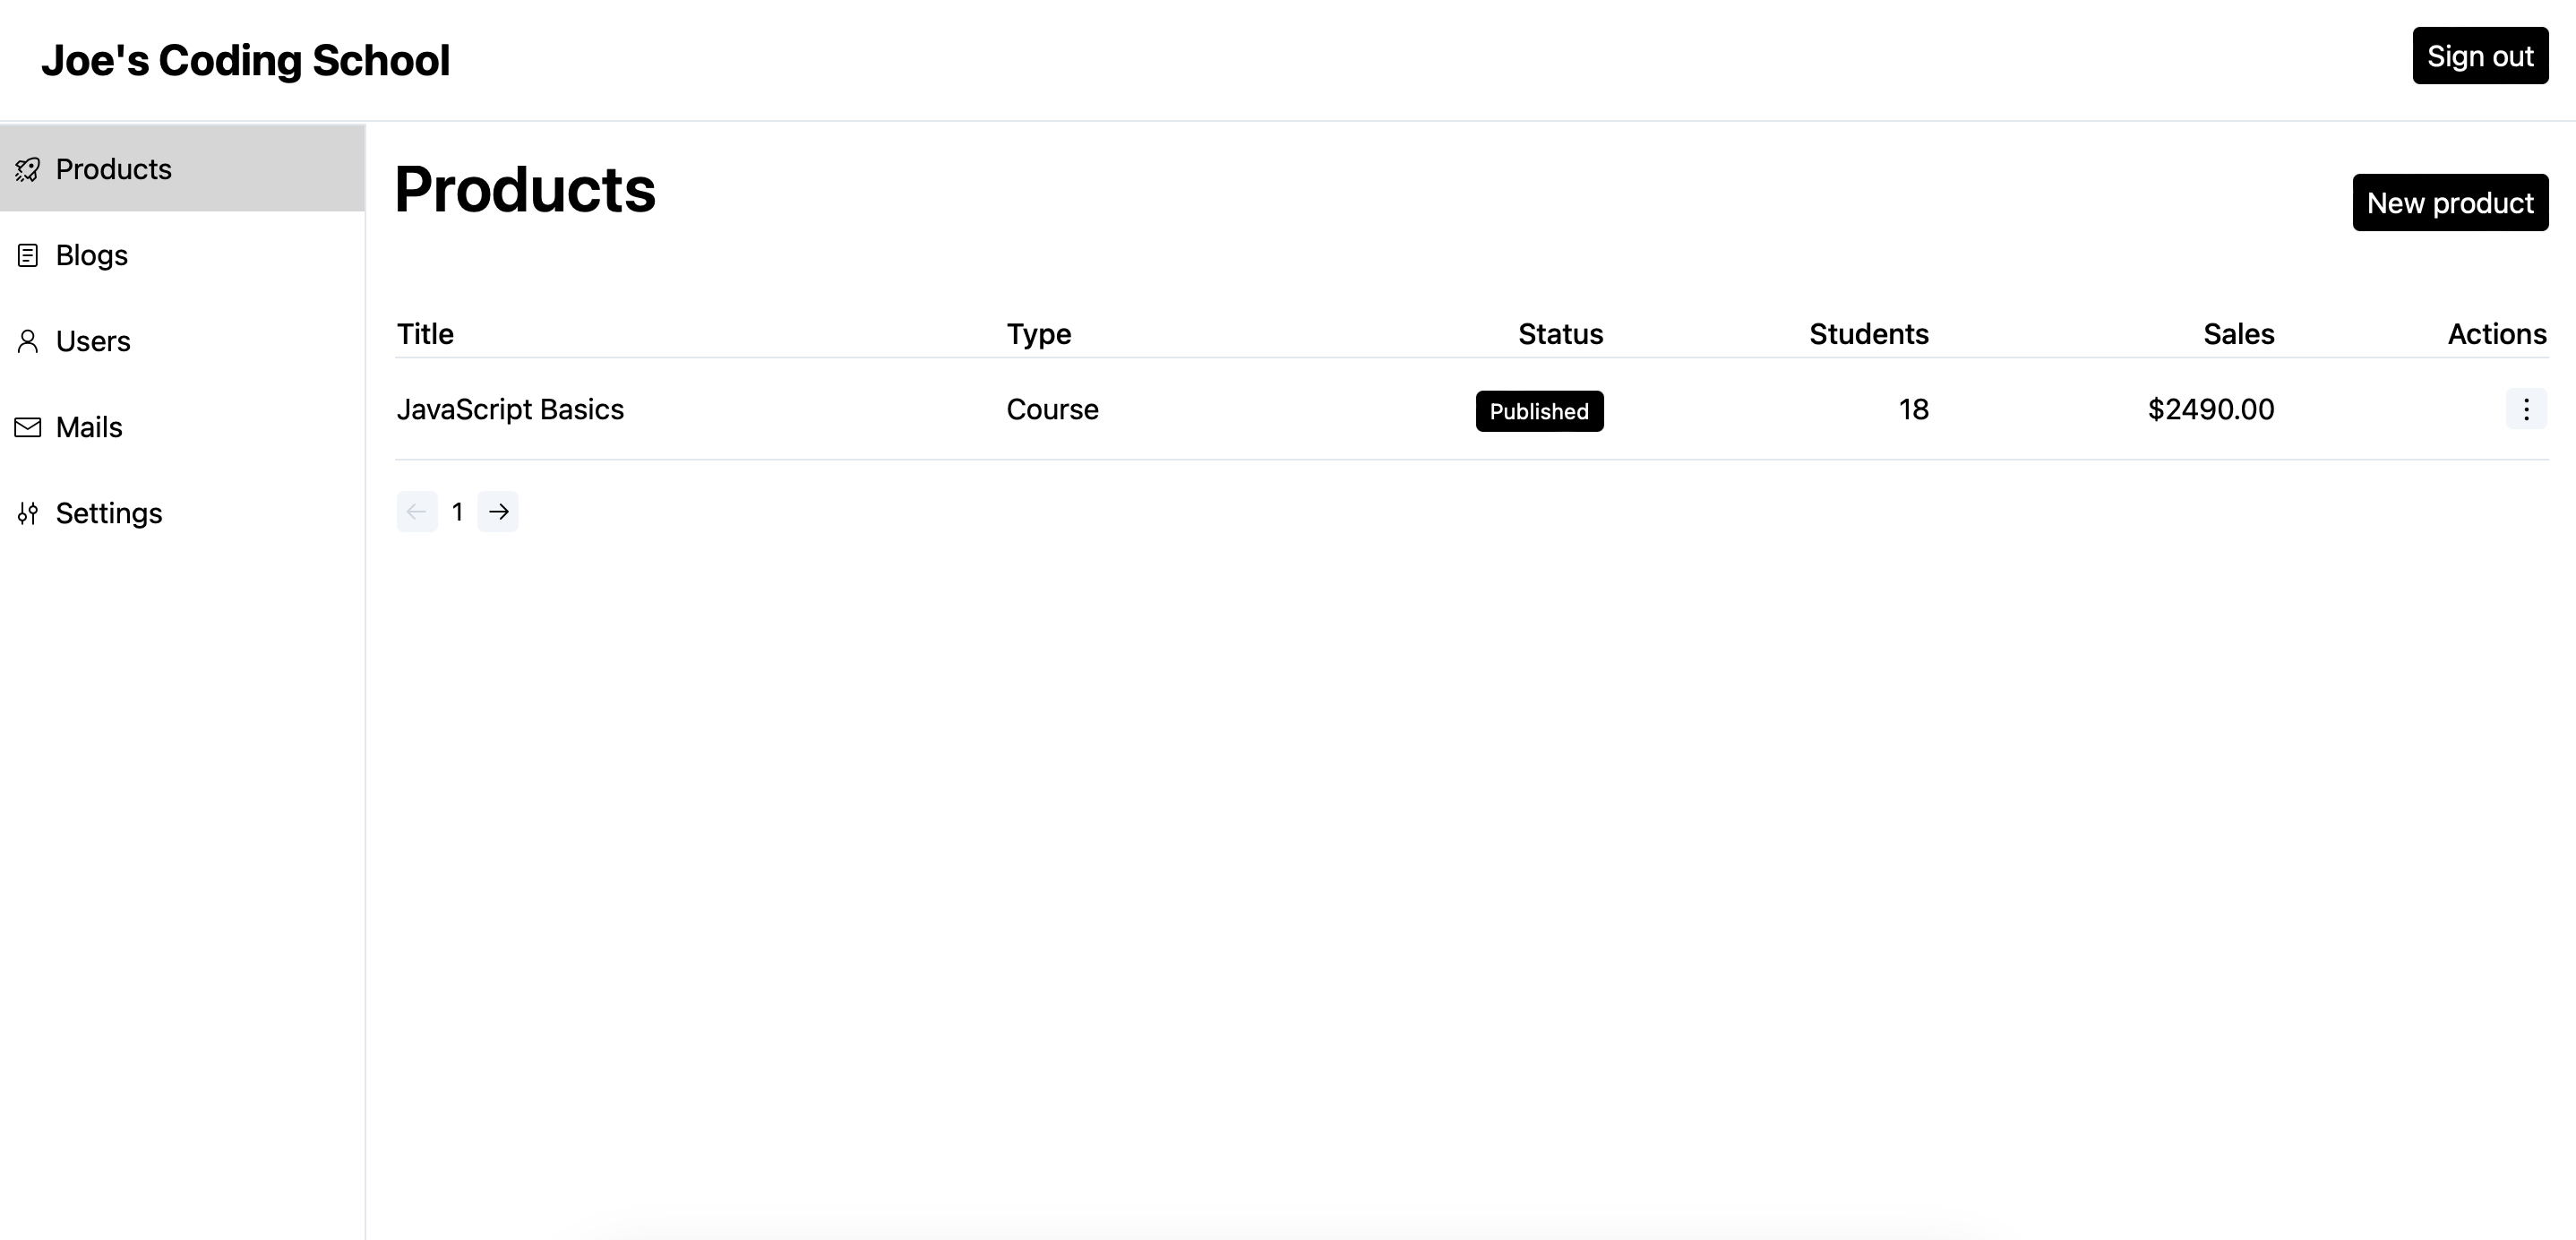
Both courses and digital downloads are categorized as products and will be shown under the
Productsscreen.
Steps to create an online course
We will create a free course for your audience. You can always make it a paid one once you understand the process.
-
Click on the
New productbutton. -
Set a title and select
Coursefrom the dropdown. Click continue.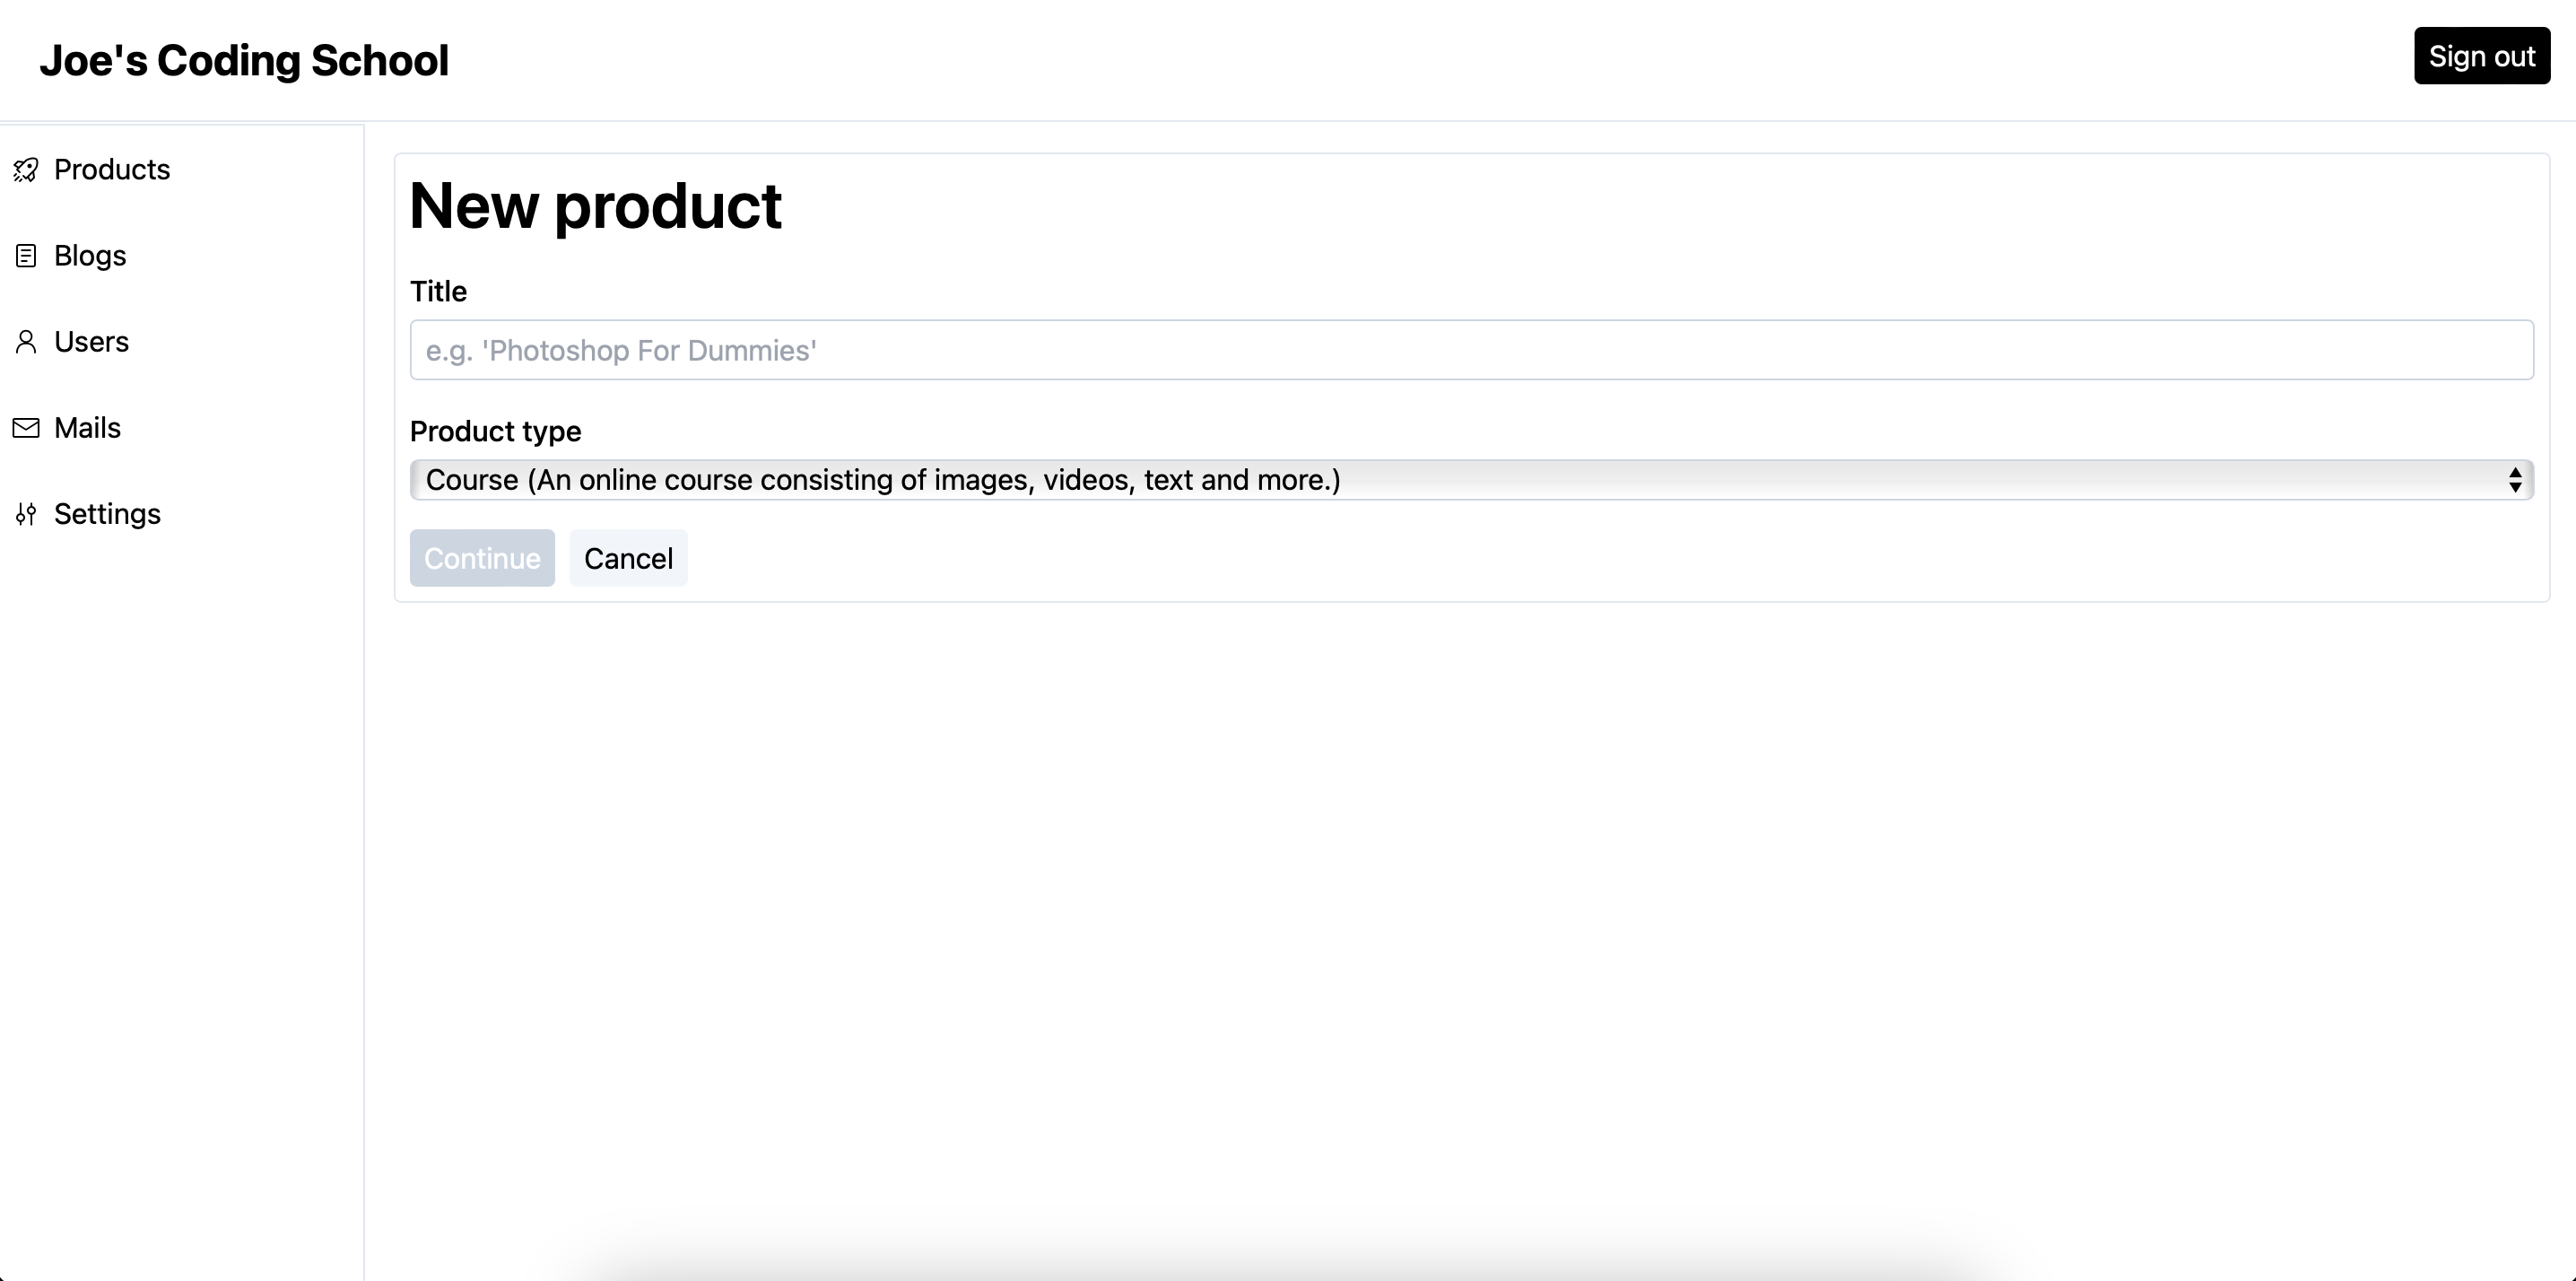
-
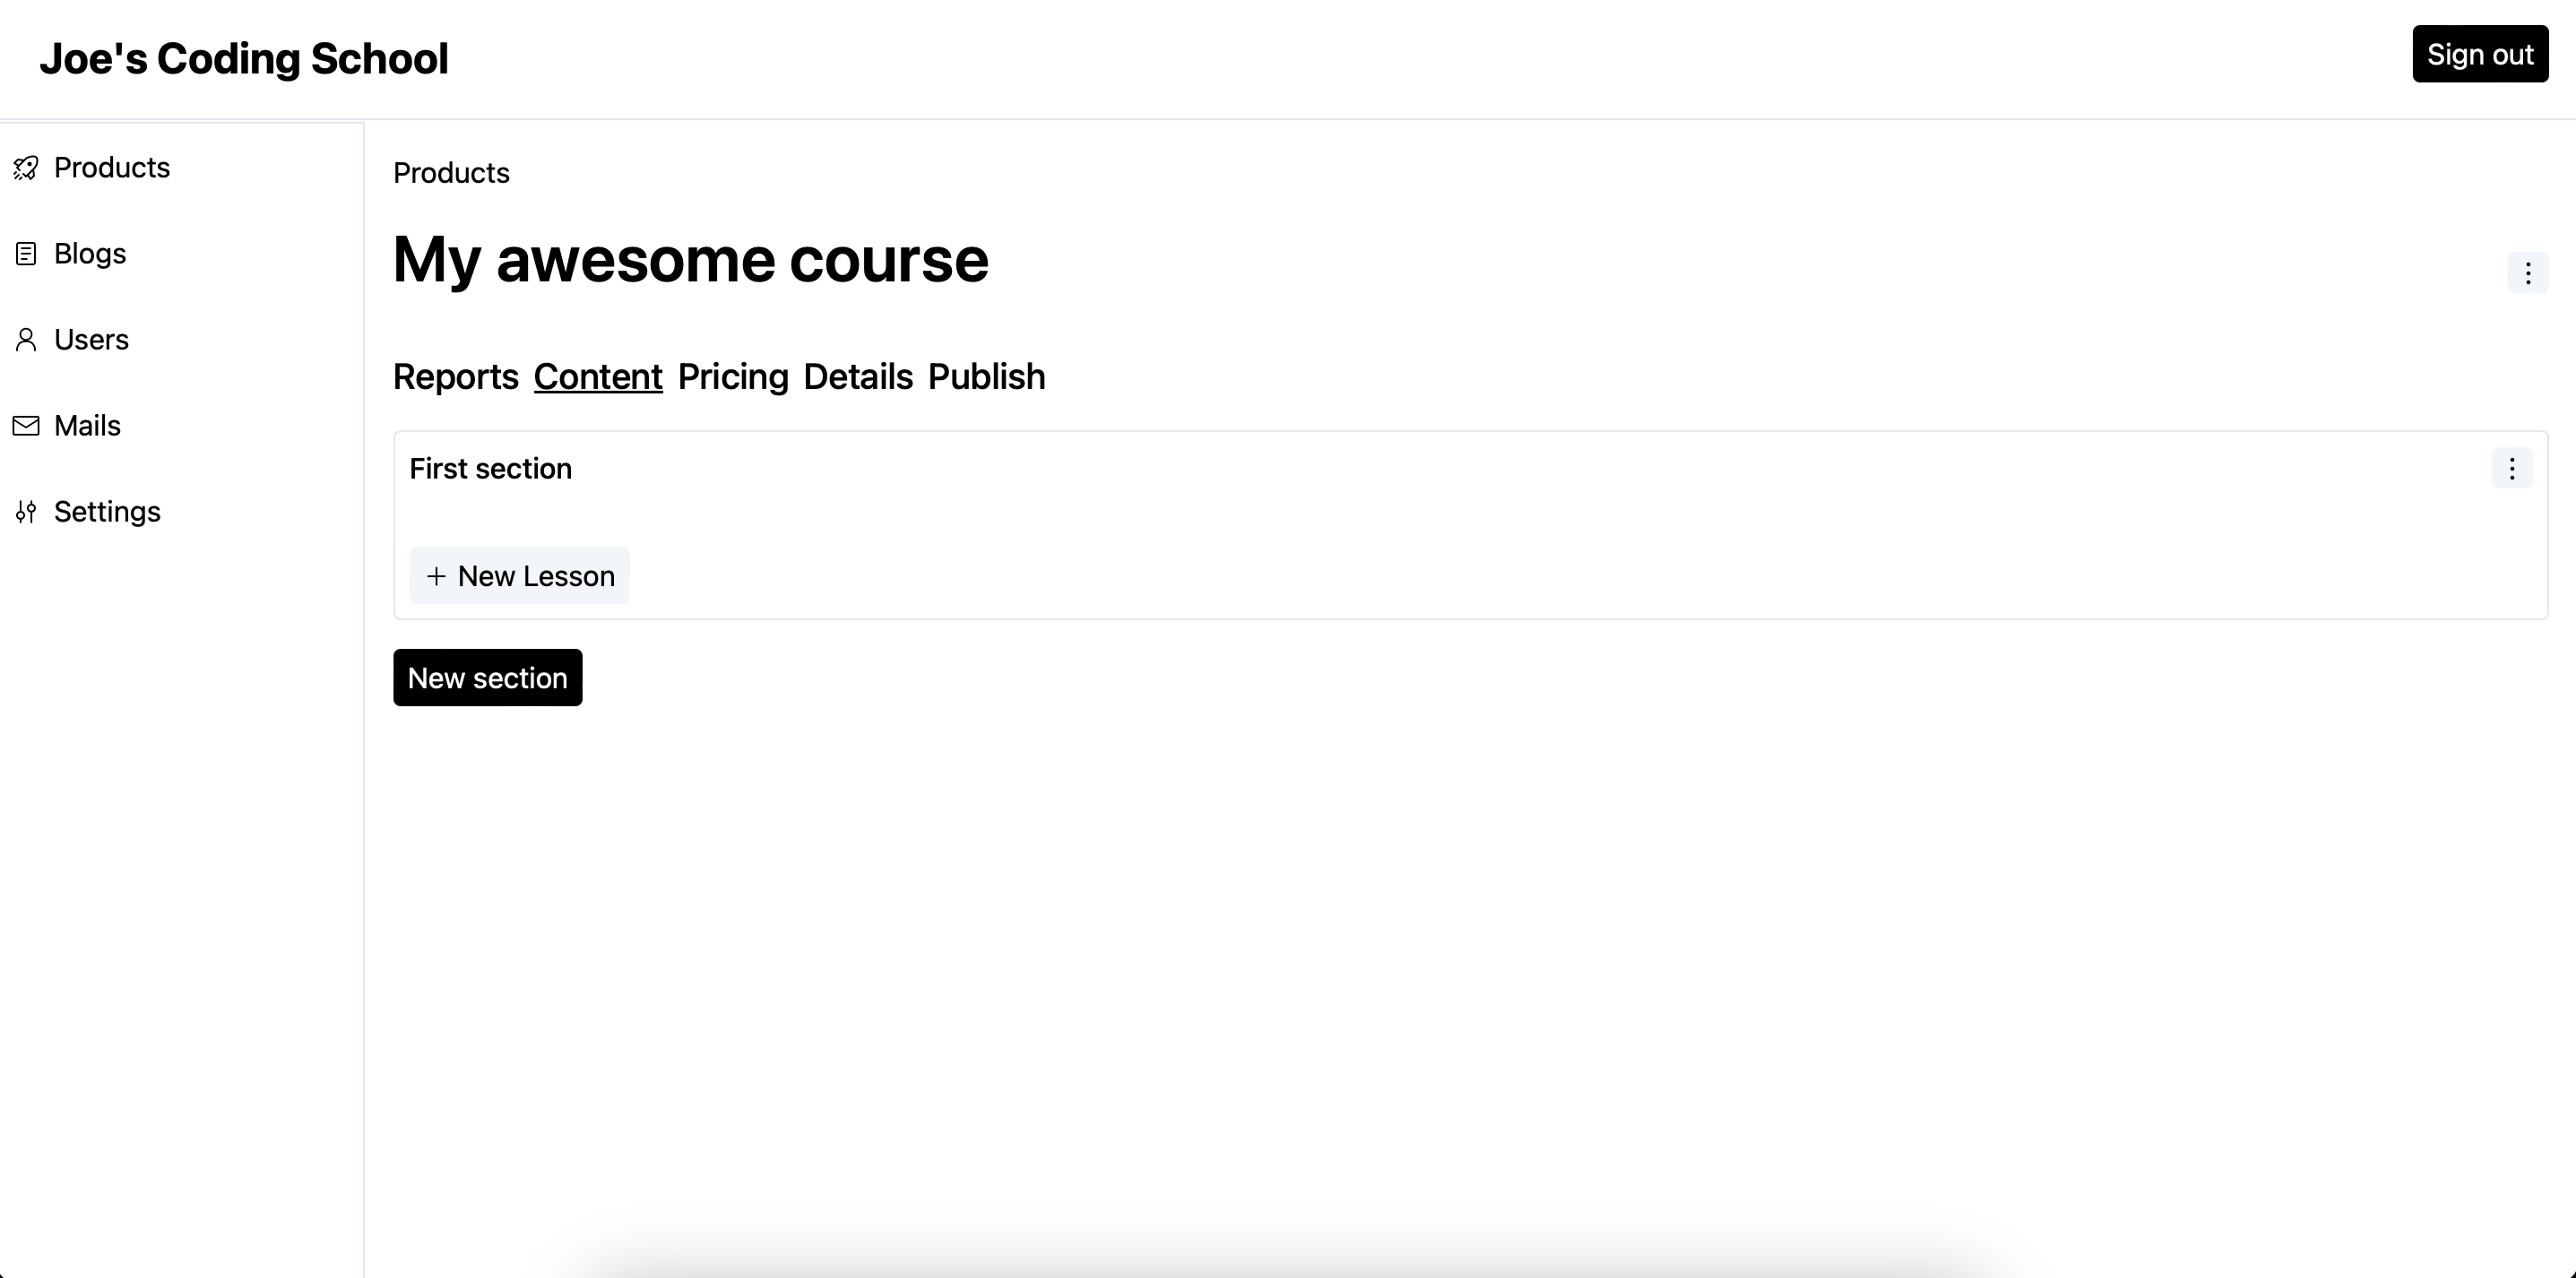
Once your course is created, you will get to see the following screen.
-
Let’s add some content in your course. Click on the
Edit contentbutton to add a lesson to the first section of the course. A section is a collection of lessons. -
On the
Contentscreen, click on theAdd lessonbutton to create a new lesson.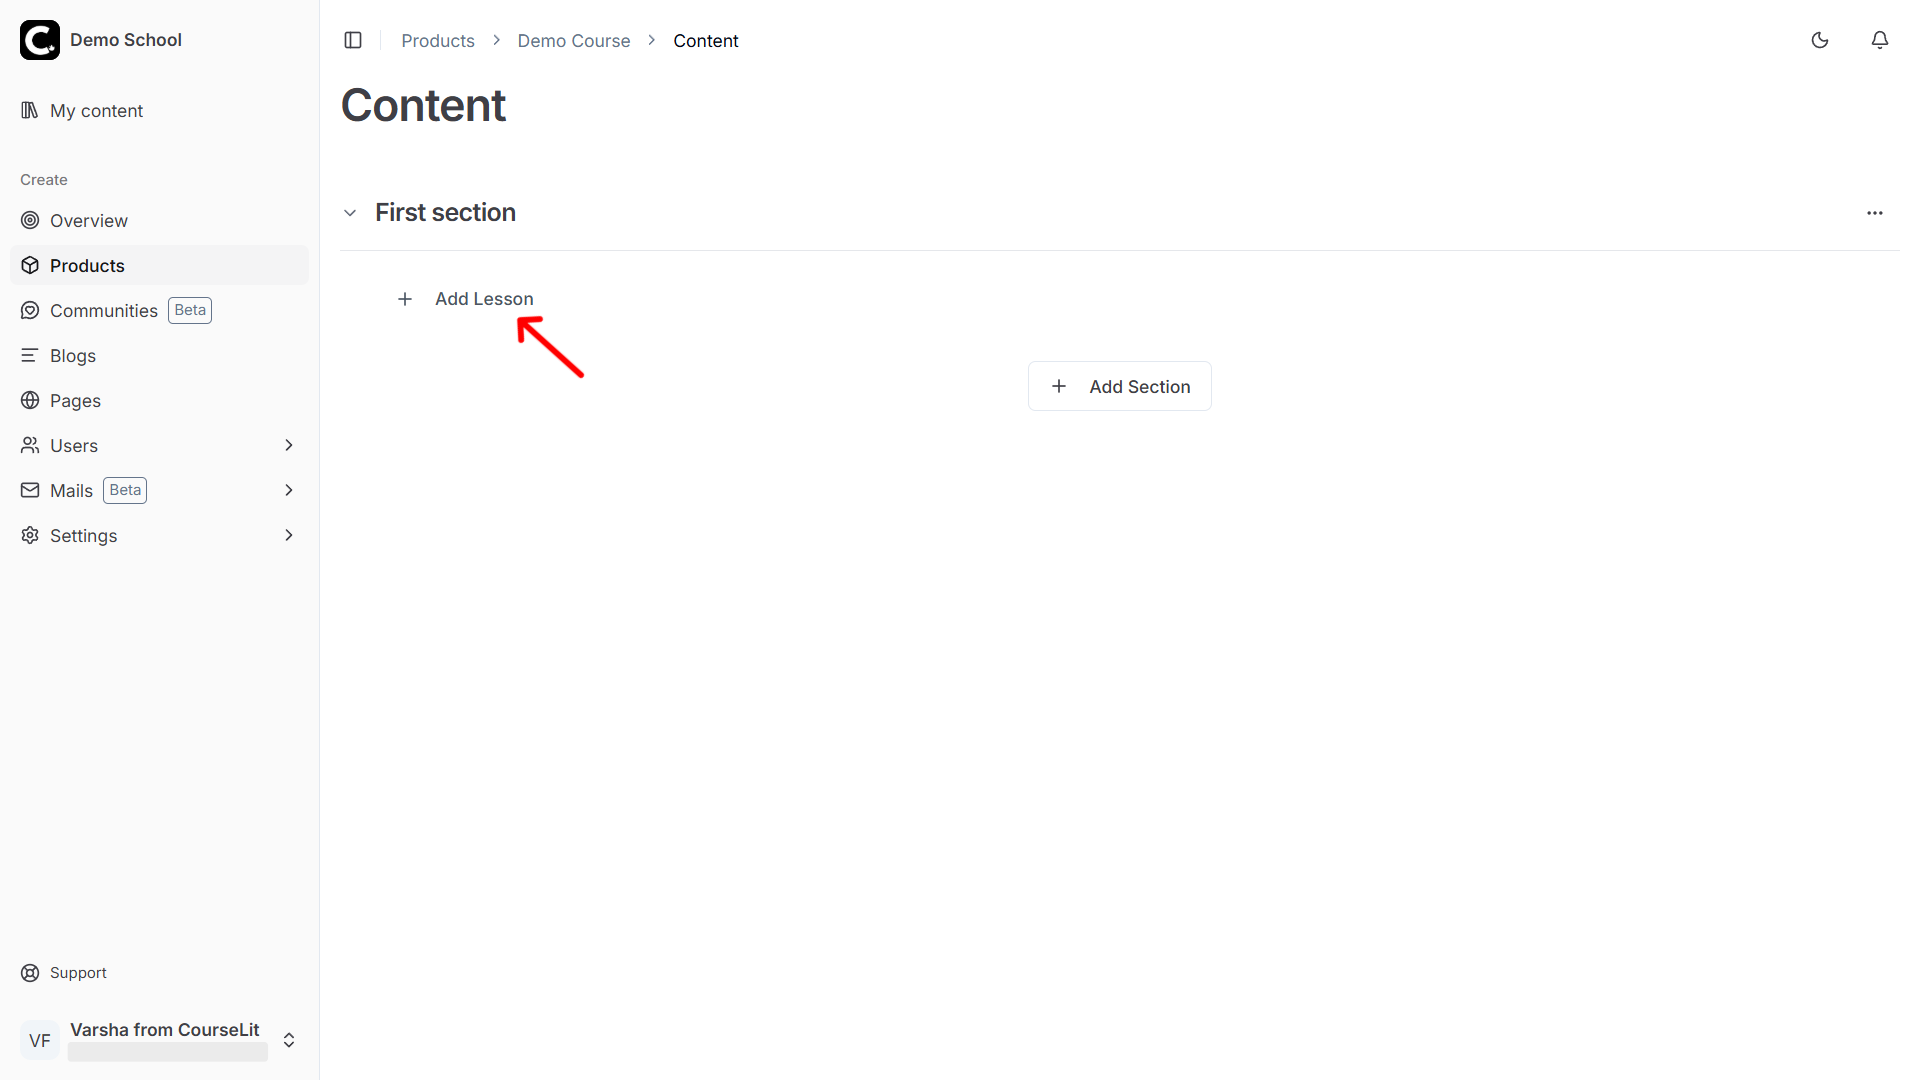
-
On the
New Lessonscreen,Textlesson type is selected by default. Let’s create a text lesson.Add the title and the main content of the text lesson. Click
Save lesson.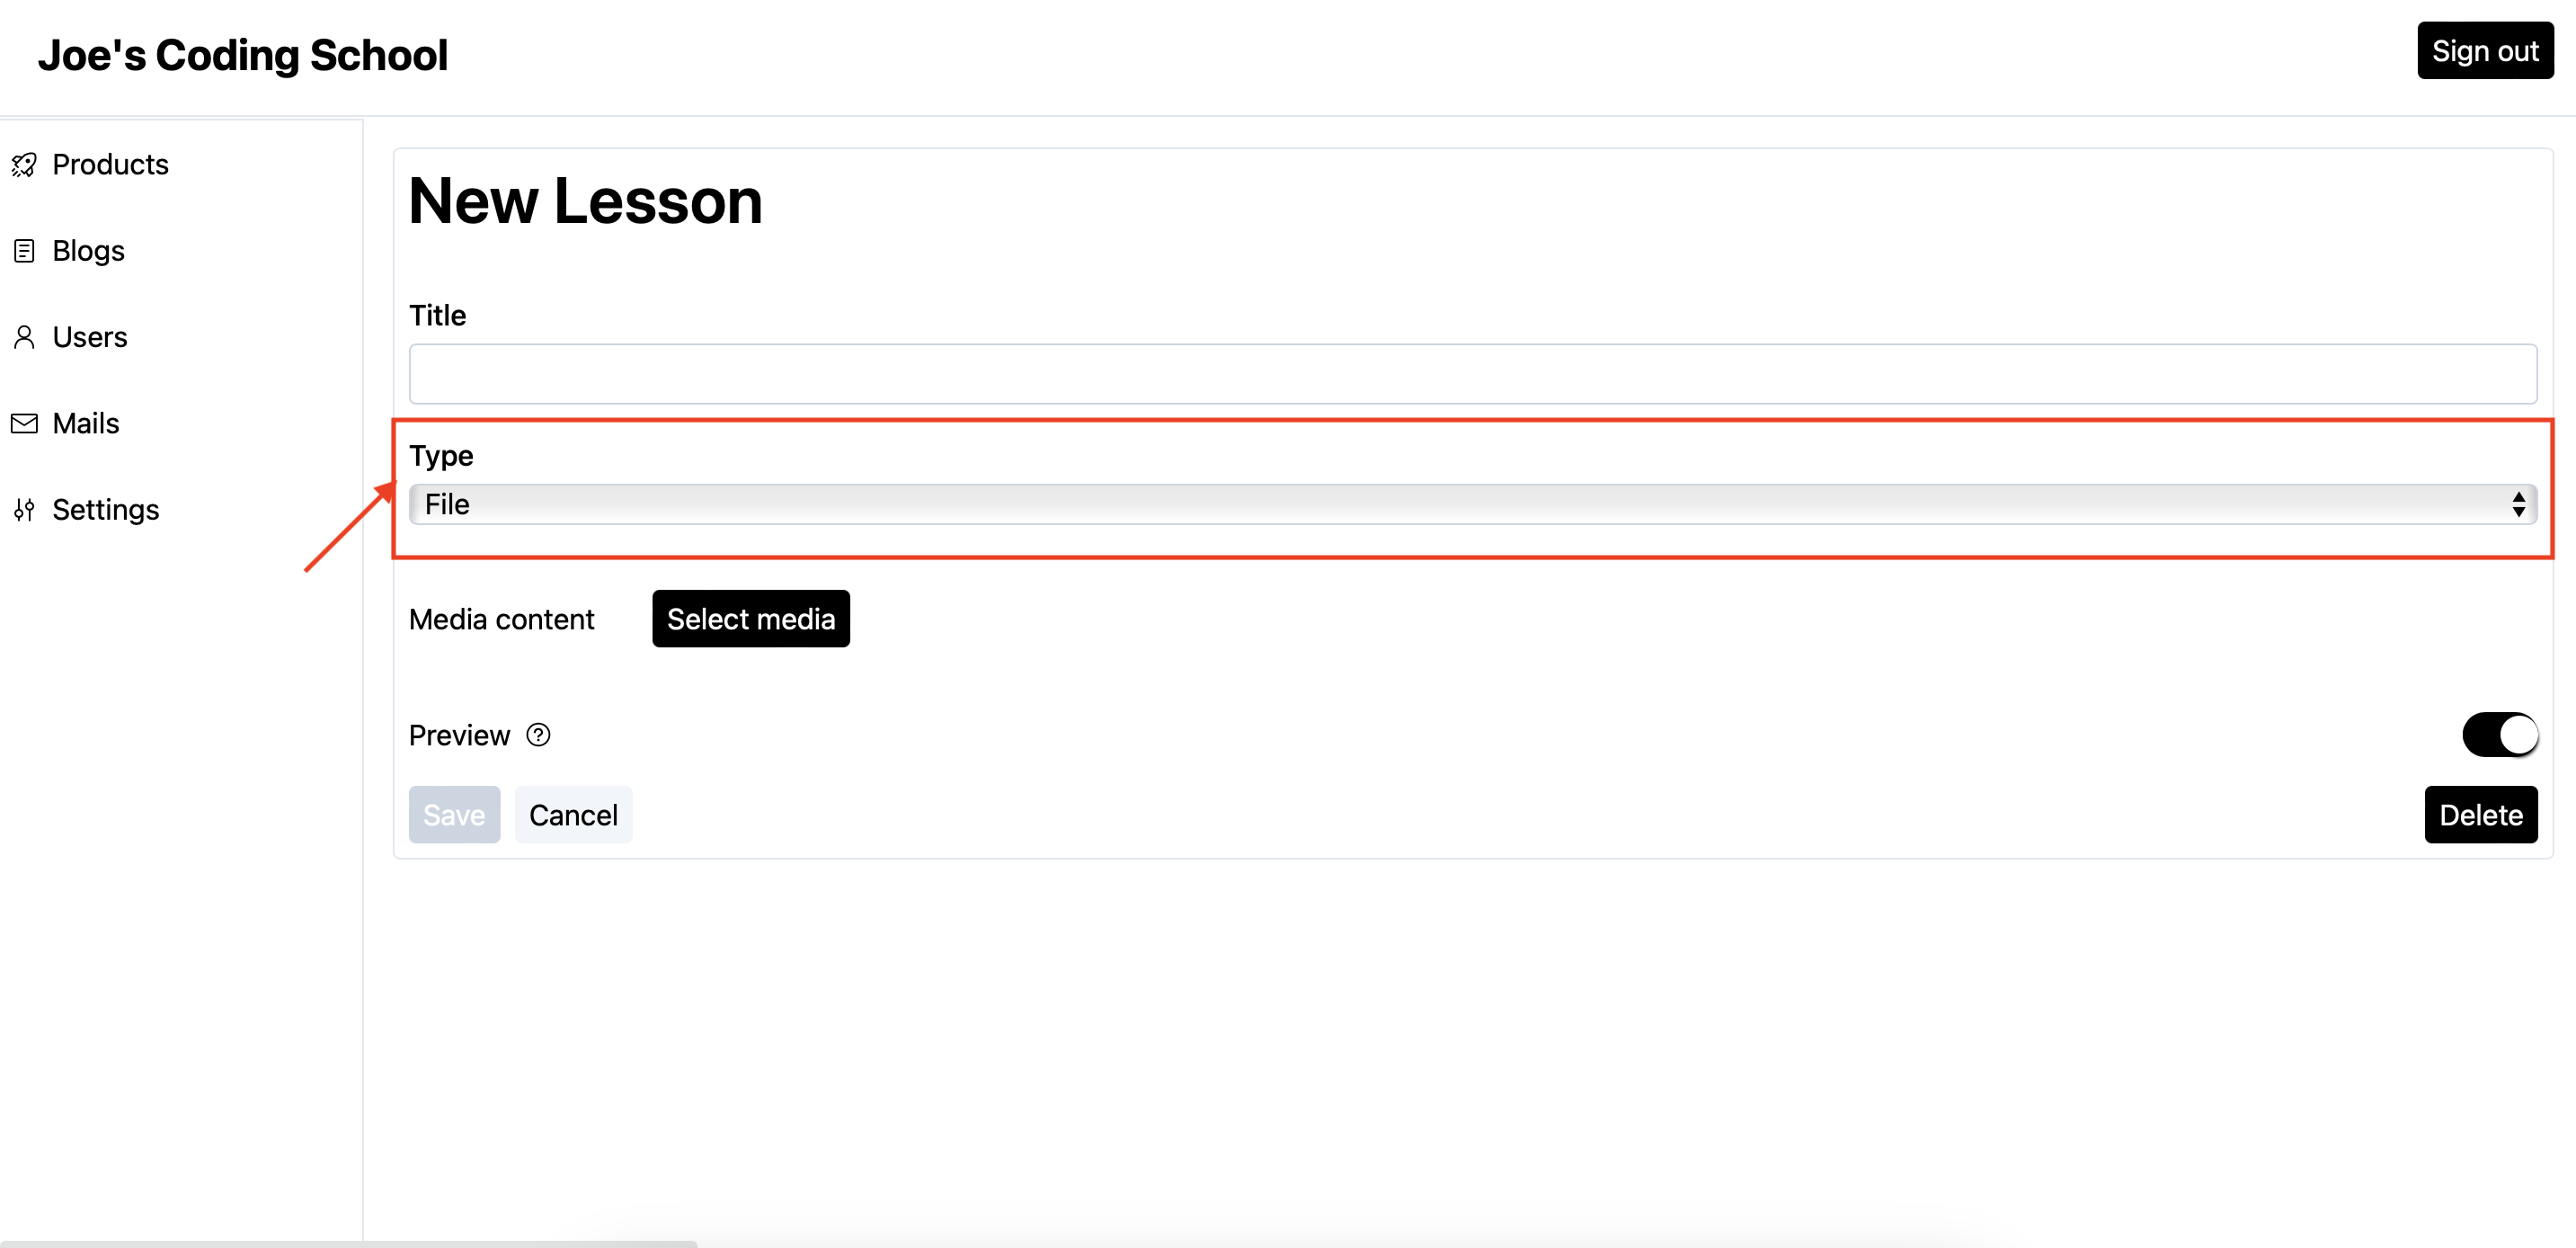
Now that we have added some content to the course, it’s time to publish. By default, any new product is in the Draft state.
-
Go back to the product dashboard by clicking on the product’s name in the breadcrumbs.

-
Next, we will have to add a pricing plan to the course. It is required to publish the course.
-
8.1. From the
Actionsmenu, selectManageto open the course’s settings.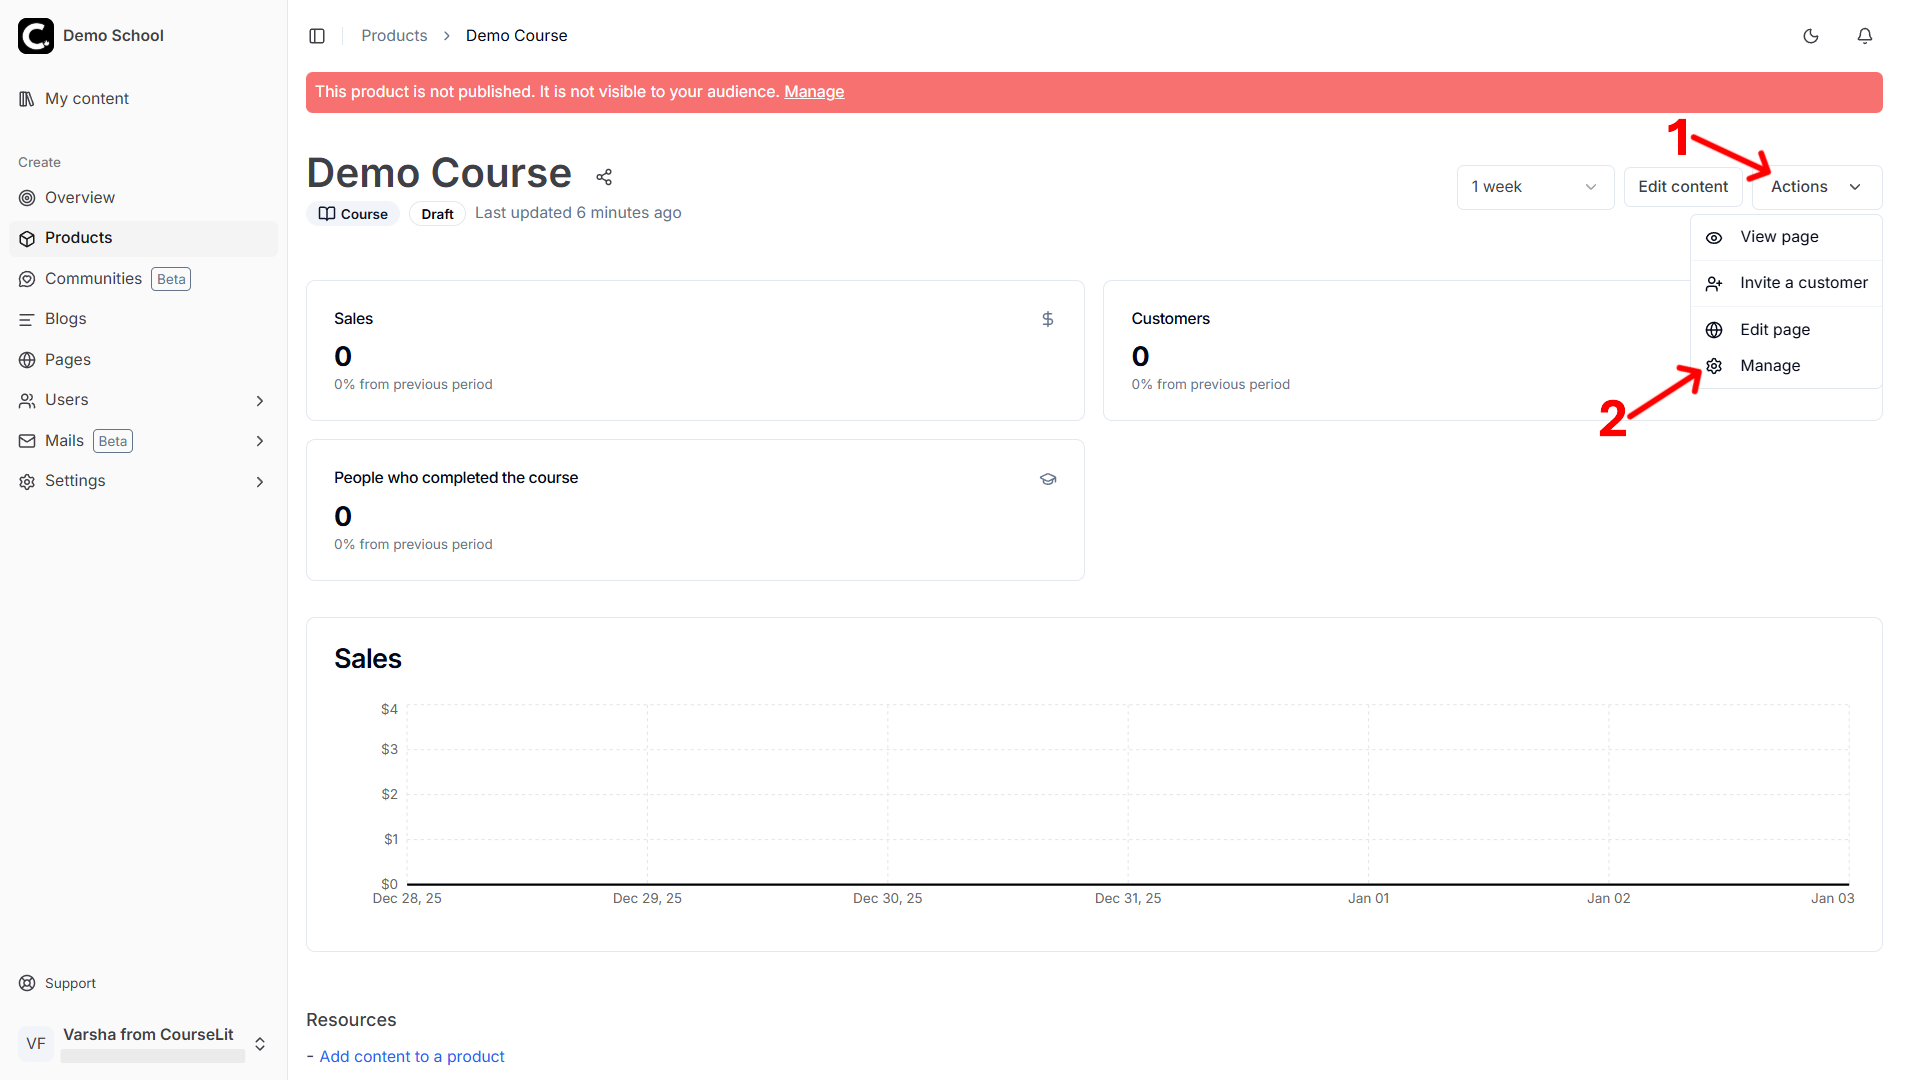
-
8.2. In the
Pricingsection, click on theNew Plancard to go to the plan creation section.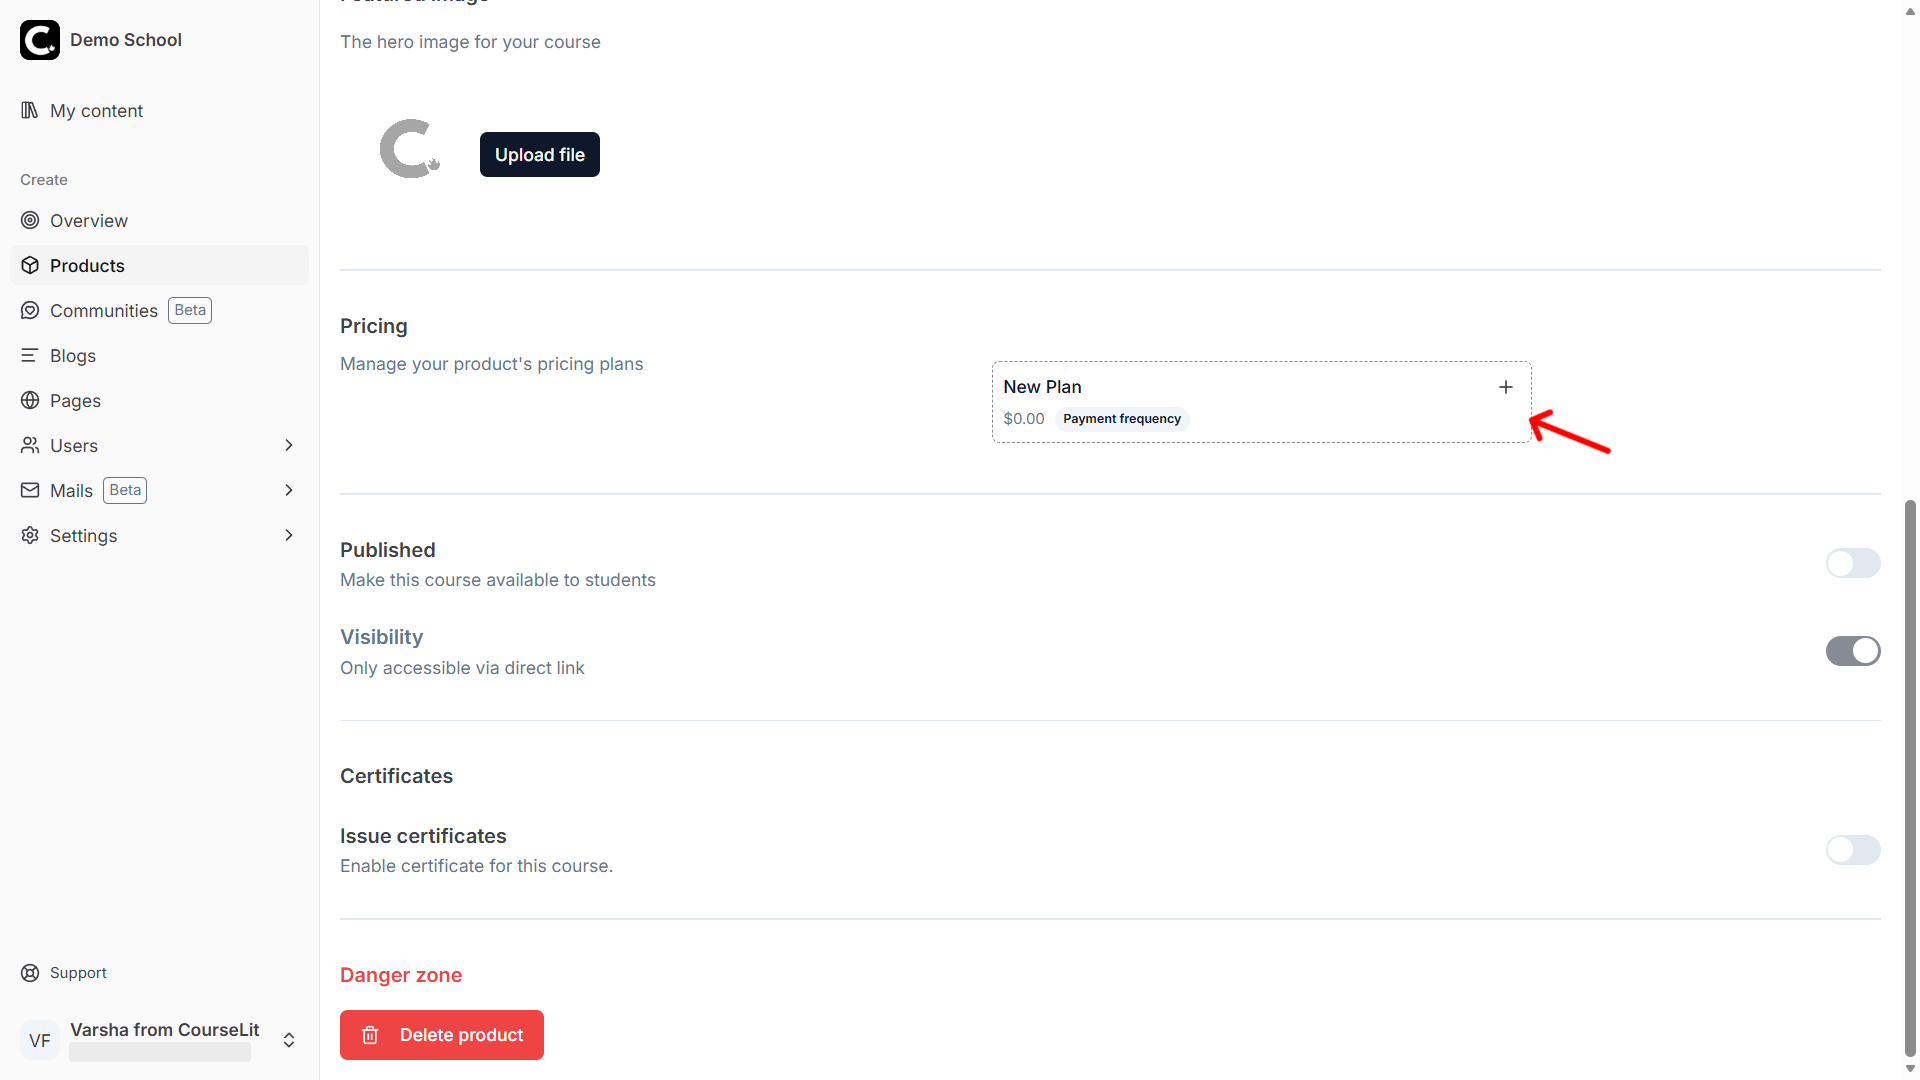
-
8.3. In the New Payment Plan screen, fill in the details of the plan and choose a pricing scheme. The four available options are:
- Free: Offer a free option.
- One-time: Offer a one-time payment option.
- Subscription: Offer a monthly (or yearly) subscription plan.
- EMI: Offer a plan with multiple installments.

Follow the steps as per the numbering in the screenshot to create a plan and go back to the
Managescreen.
-
-
Toggle on the
Publishswitch to make your course available to the users.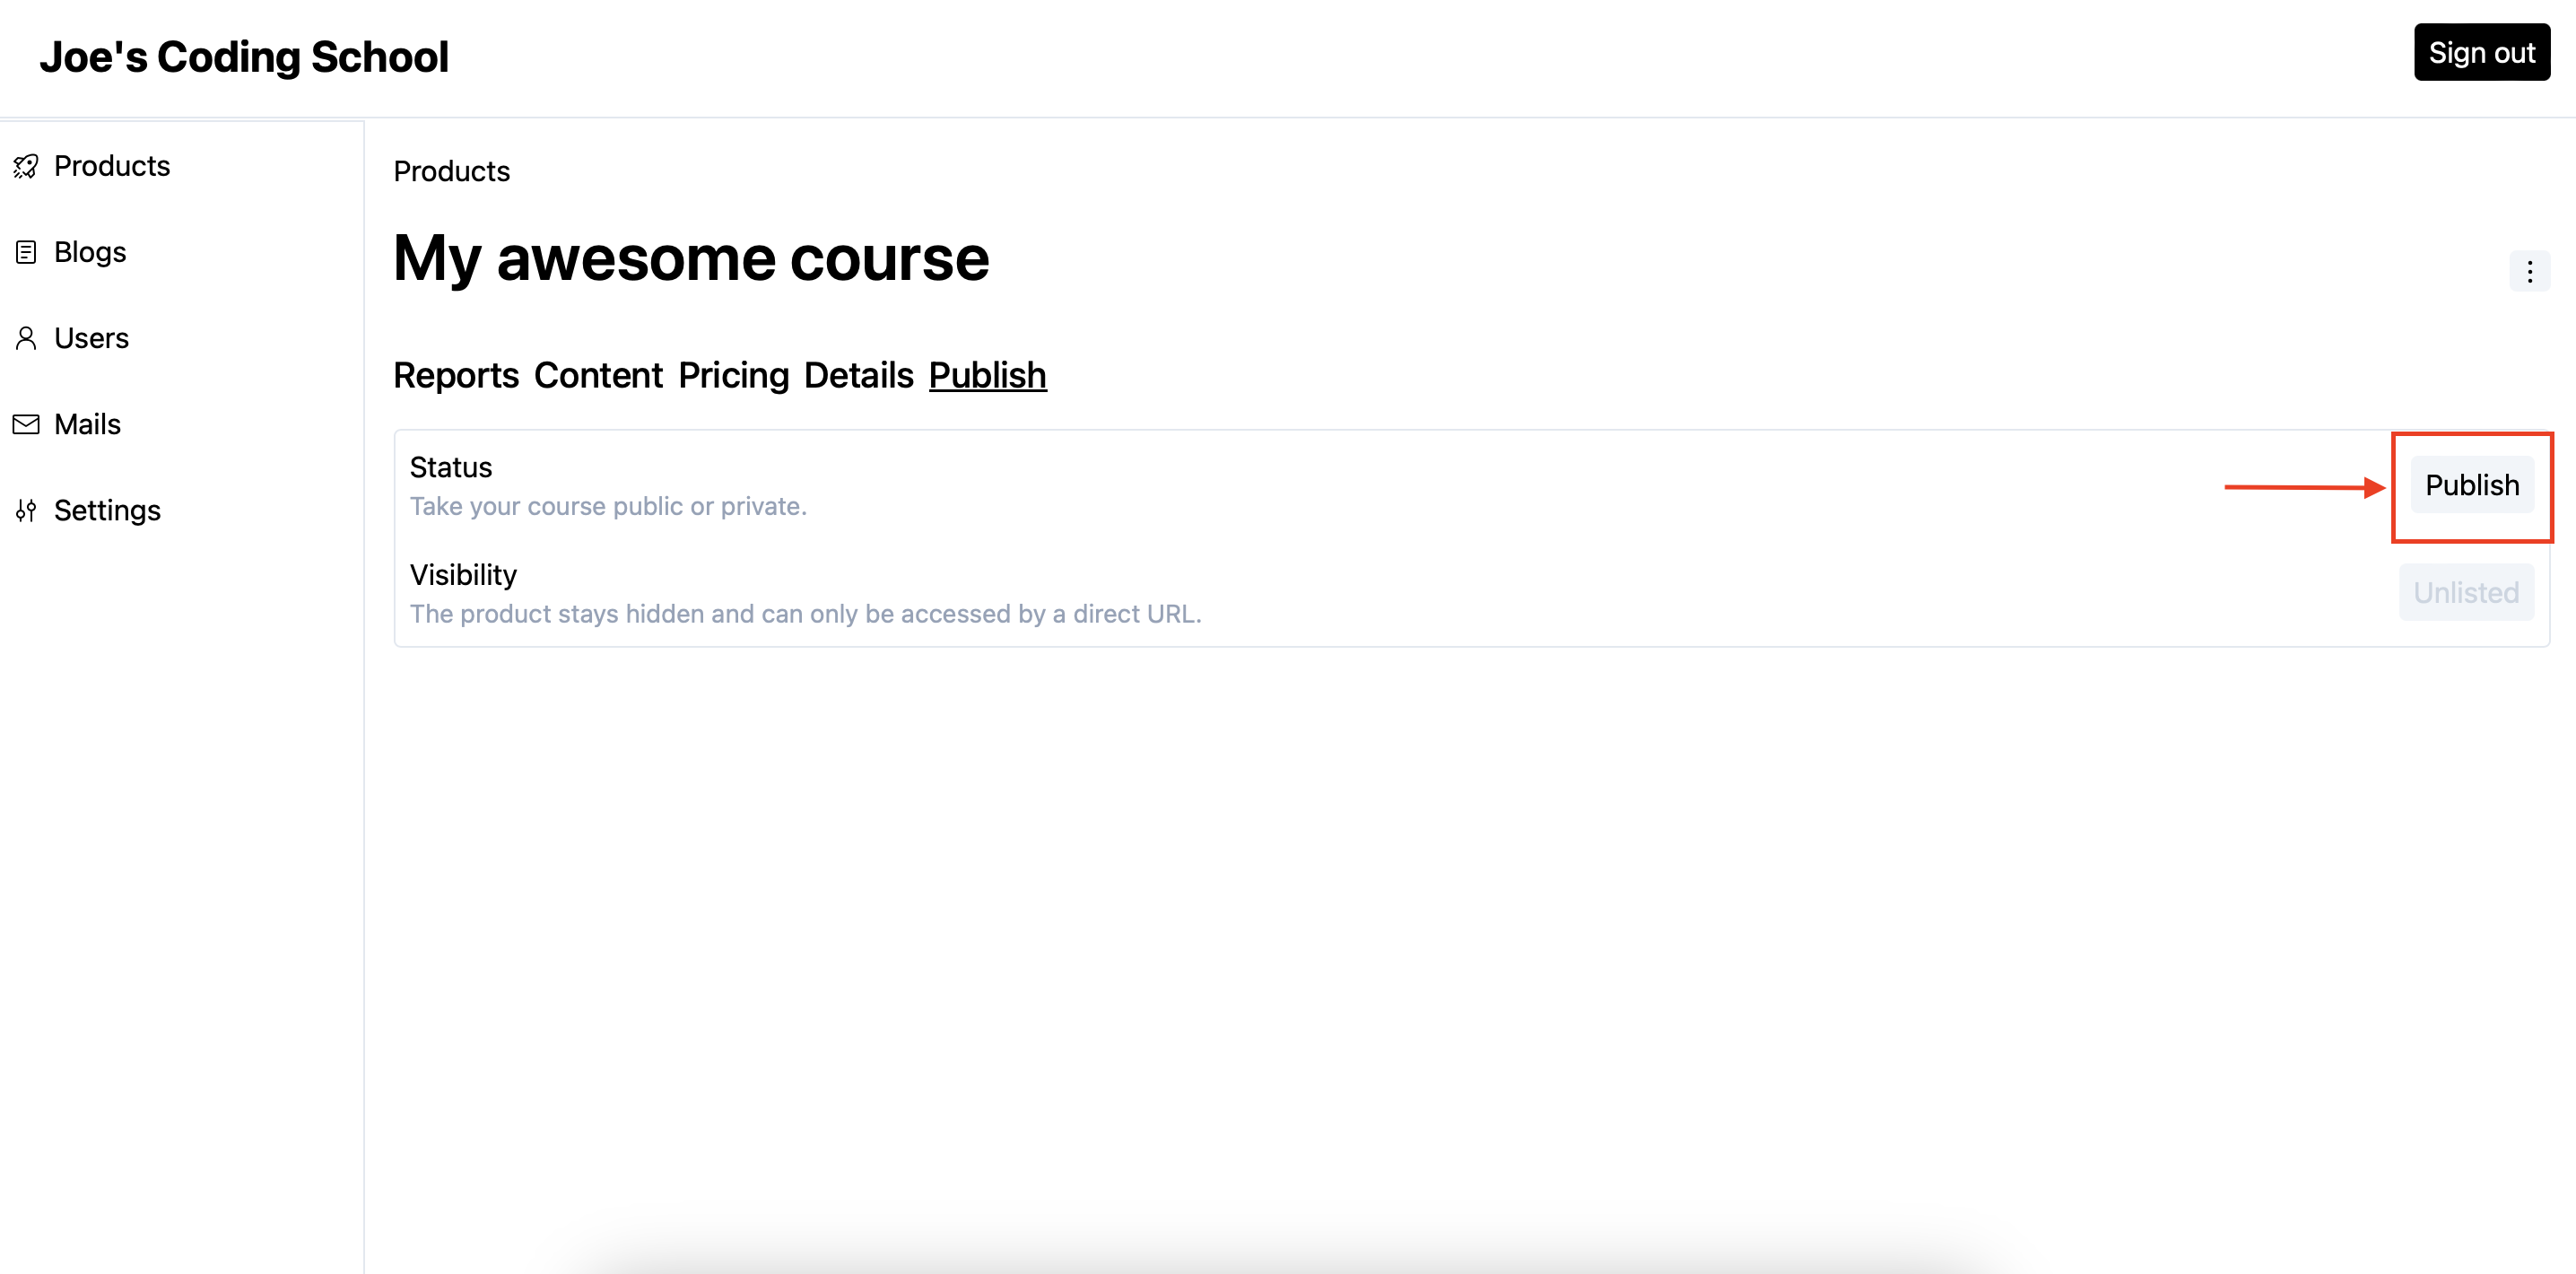
-
9.1. Optionally, if you want to make the course listed on the
Productspage, toggle on theVisibilityswitch.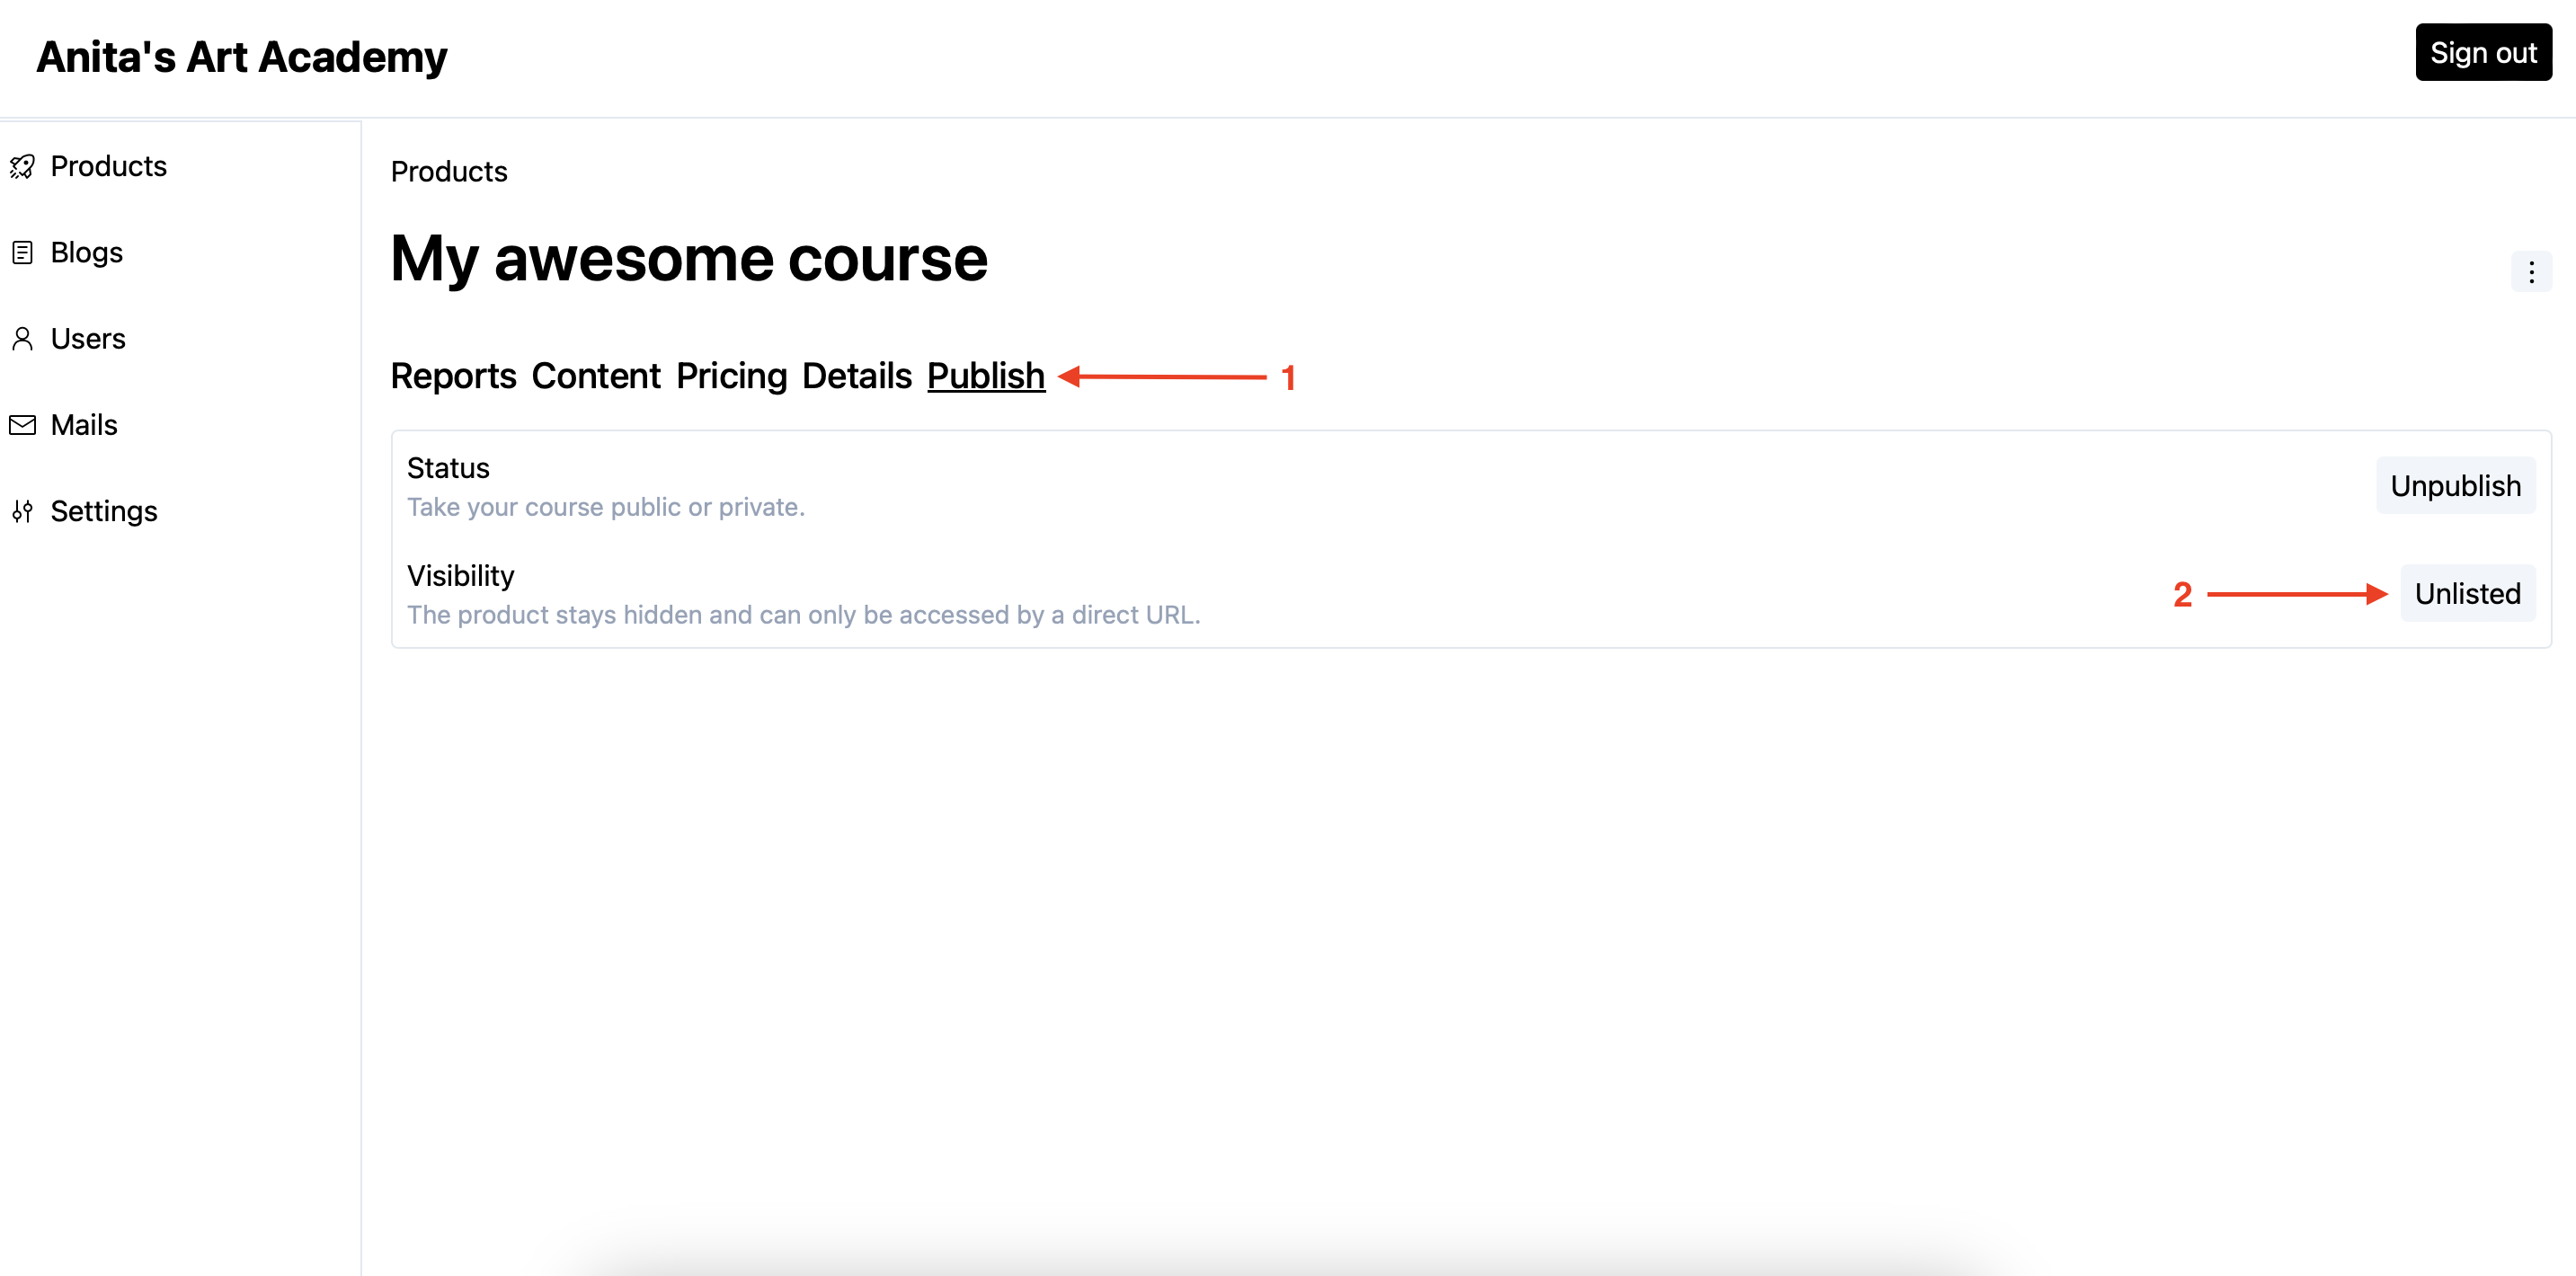
-
-
Voila! Your course is now live! You can check out its sales page by clicking the three dots menu on the right and then selecting the
View pageoption.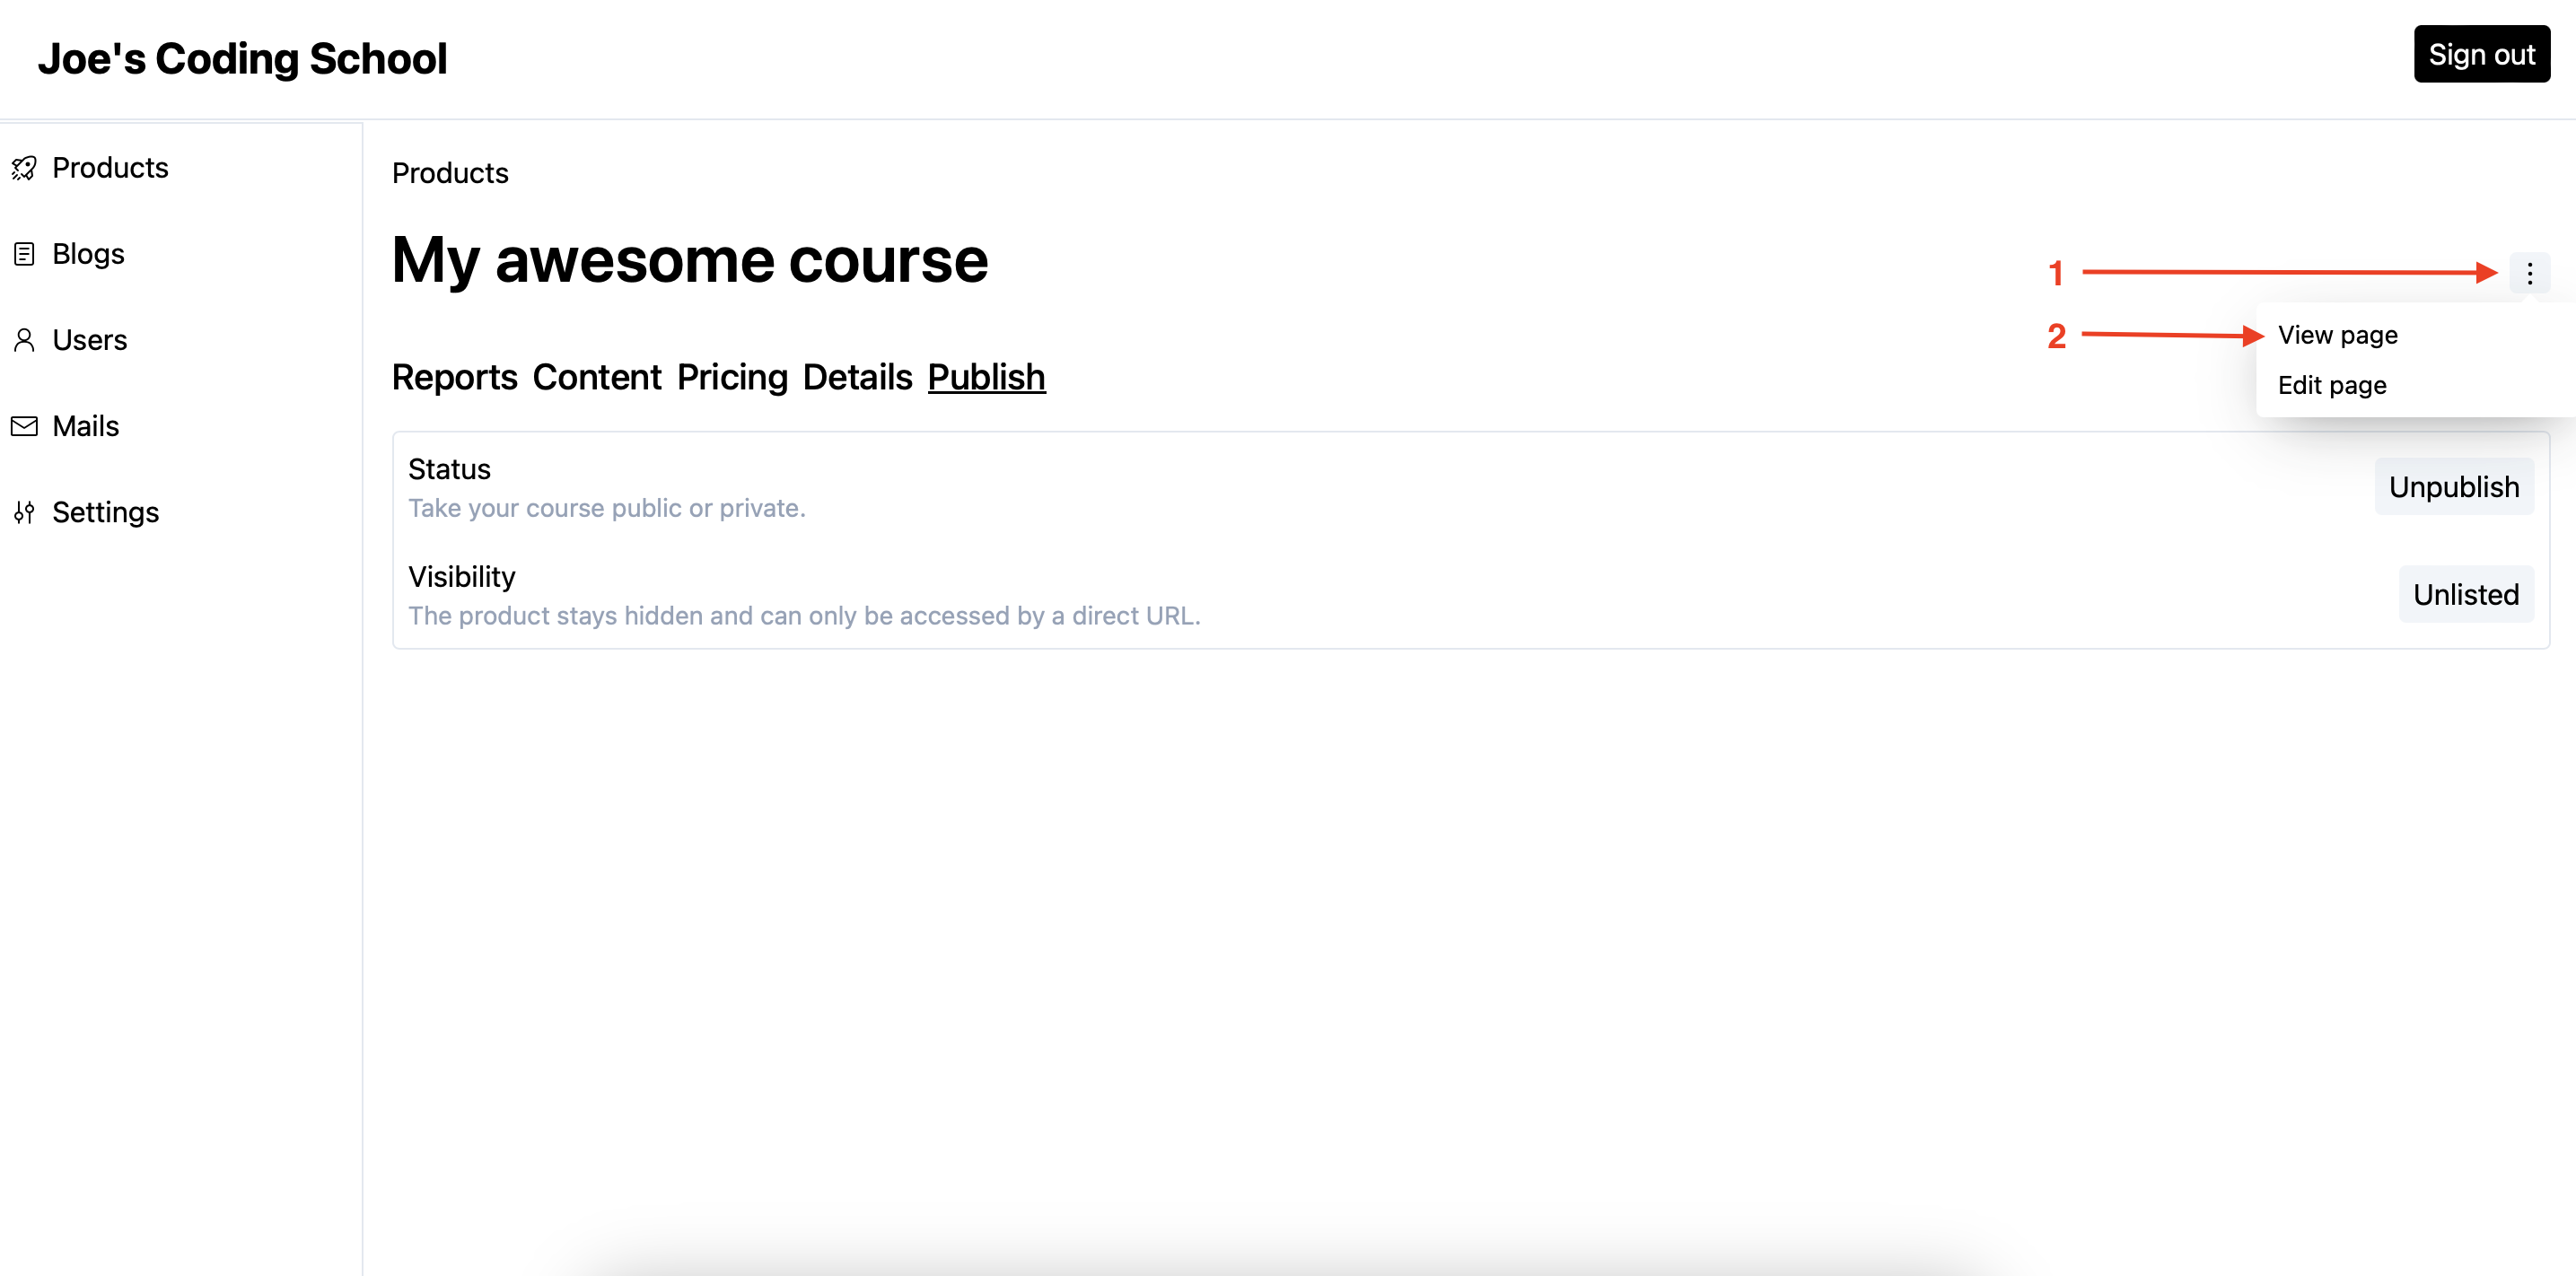
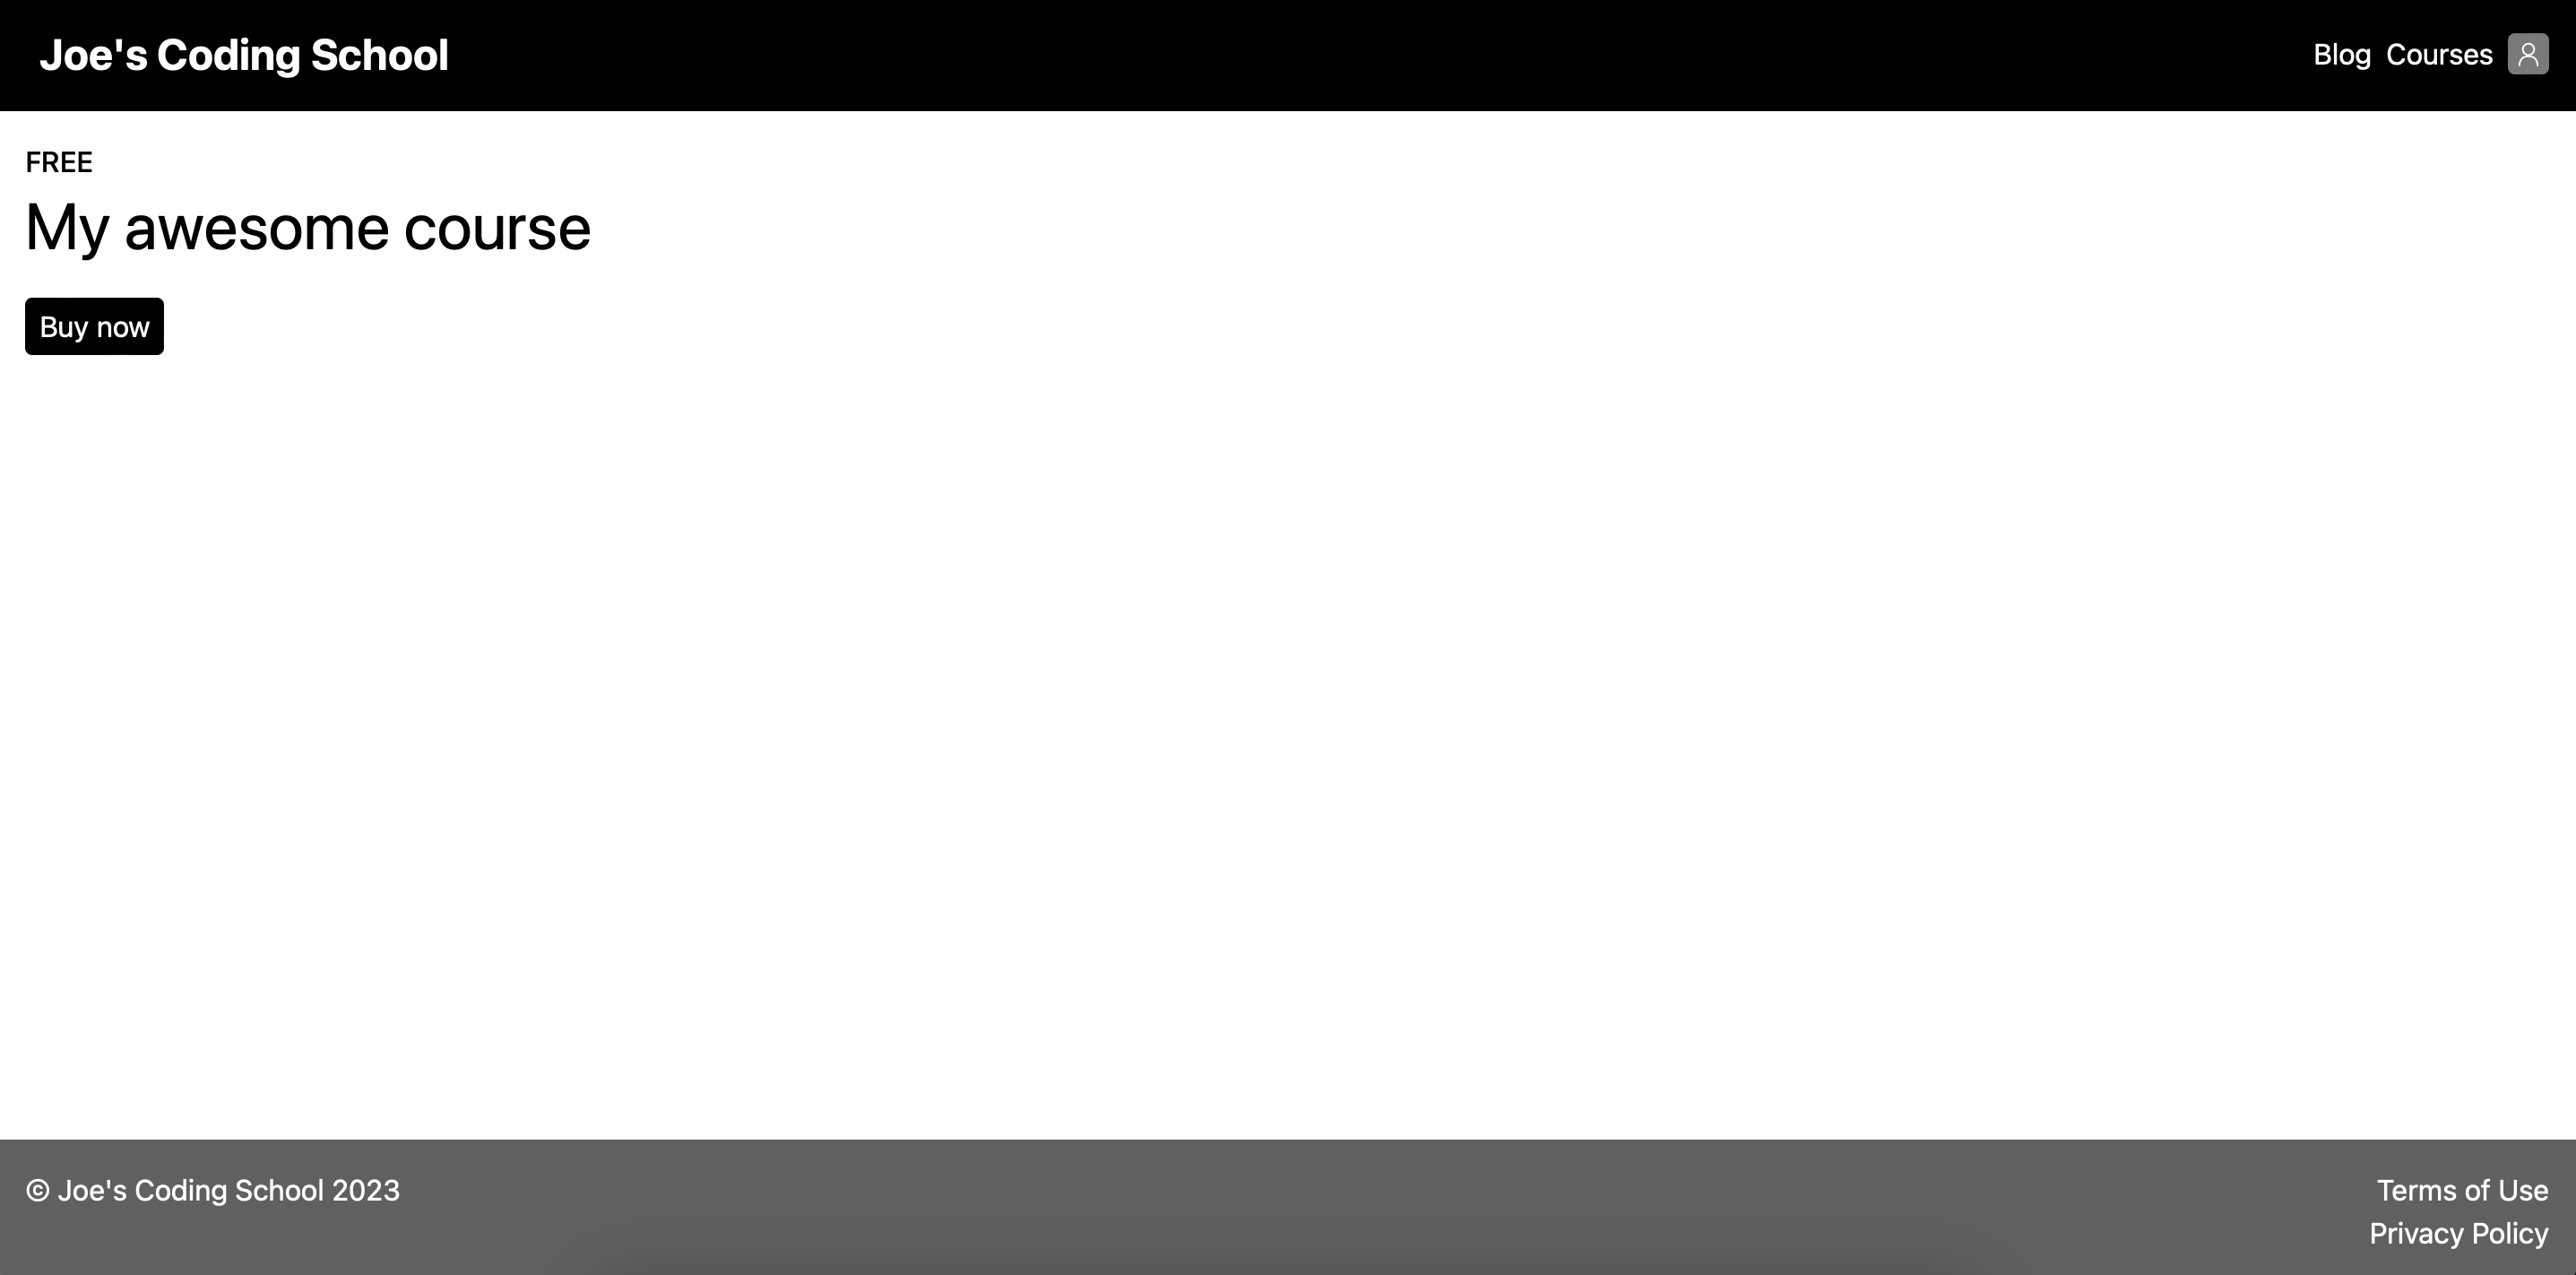
Sales Page
Every product has a sales page. You can edit it using the page builder. This is what a sales page looks like.
Stuck somewhere?
We are always here for you. Come chat with us in our Discord channel or send a tweet at @CourseLit.