Sections
A section is a logical grouping of lessons. It helps keep lessons structured and allows for the release of content in phases (called Drip content).
Look and Feel
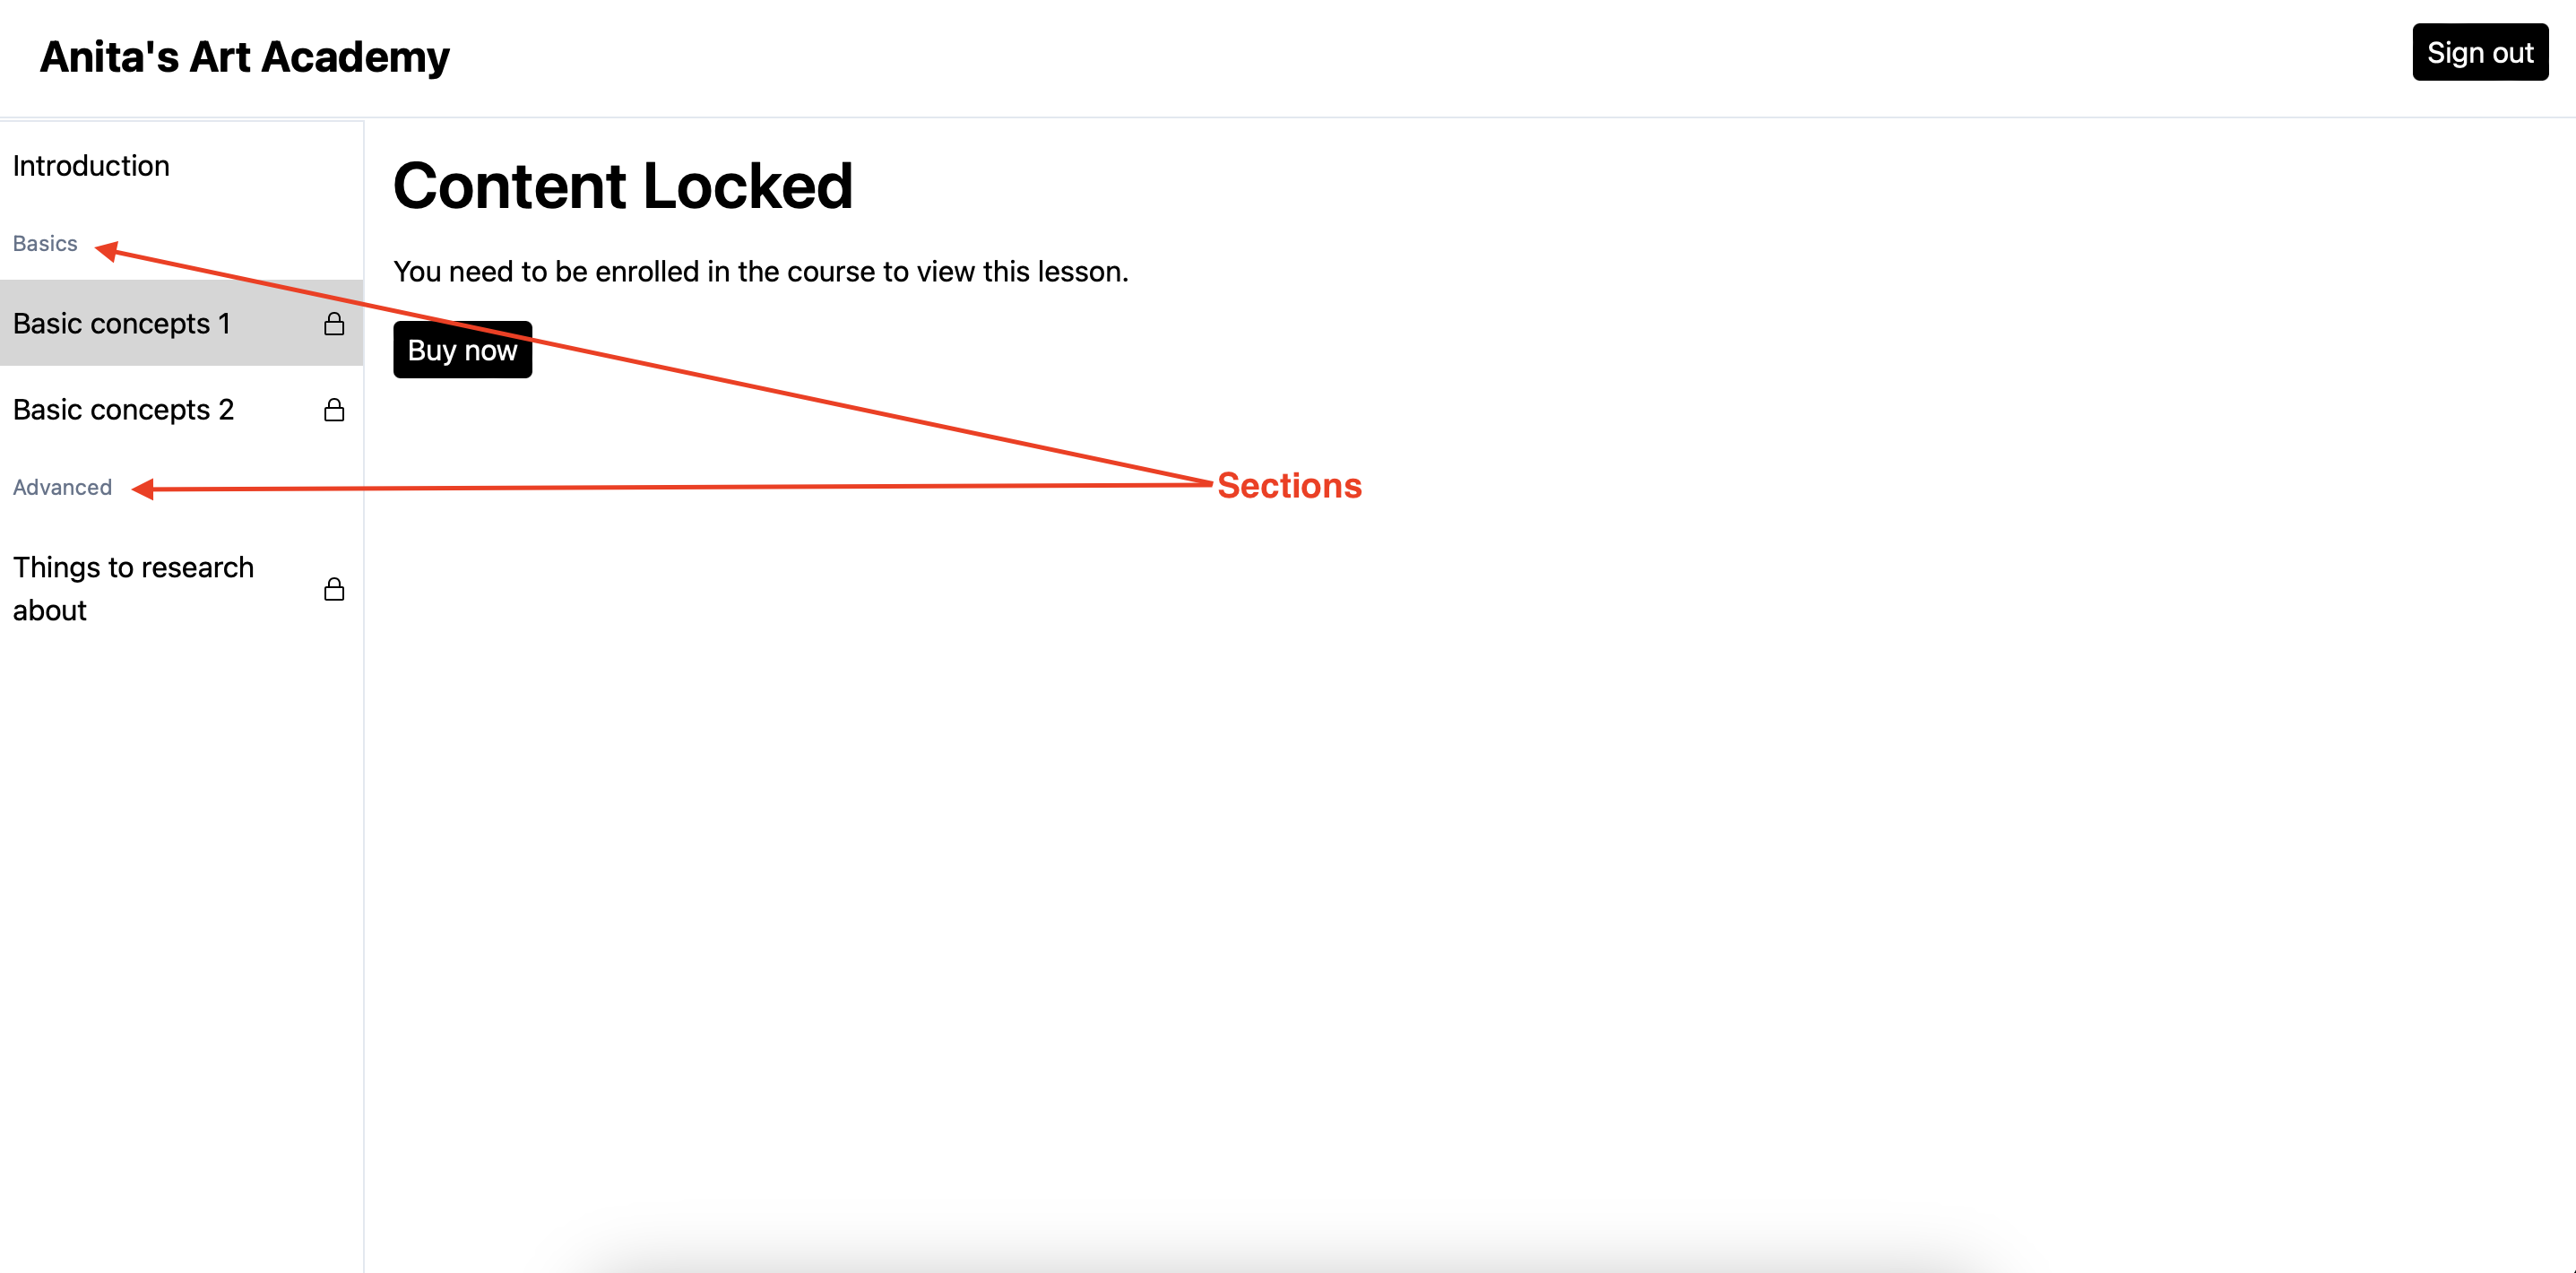
Here’s how sections look in various parts of the platform.
1. Course Viewer
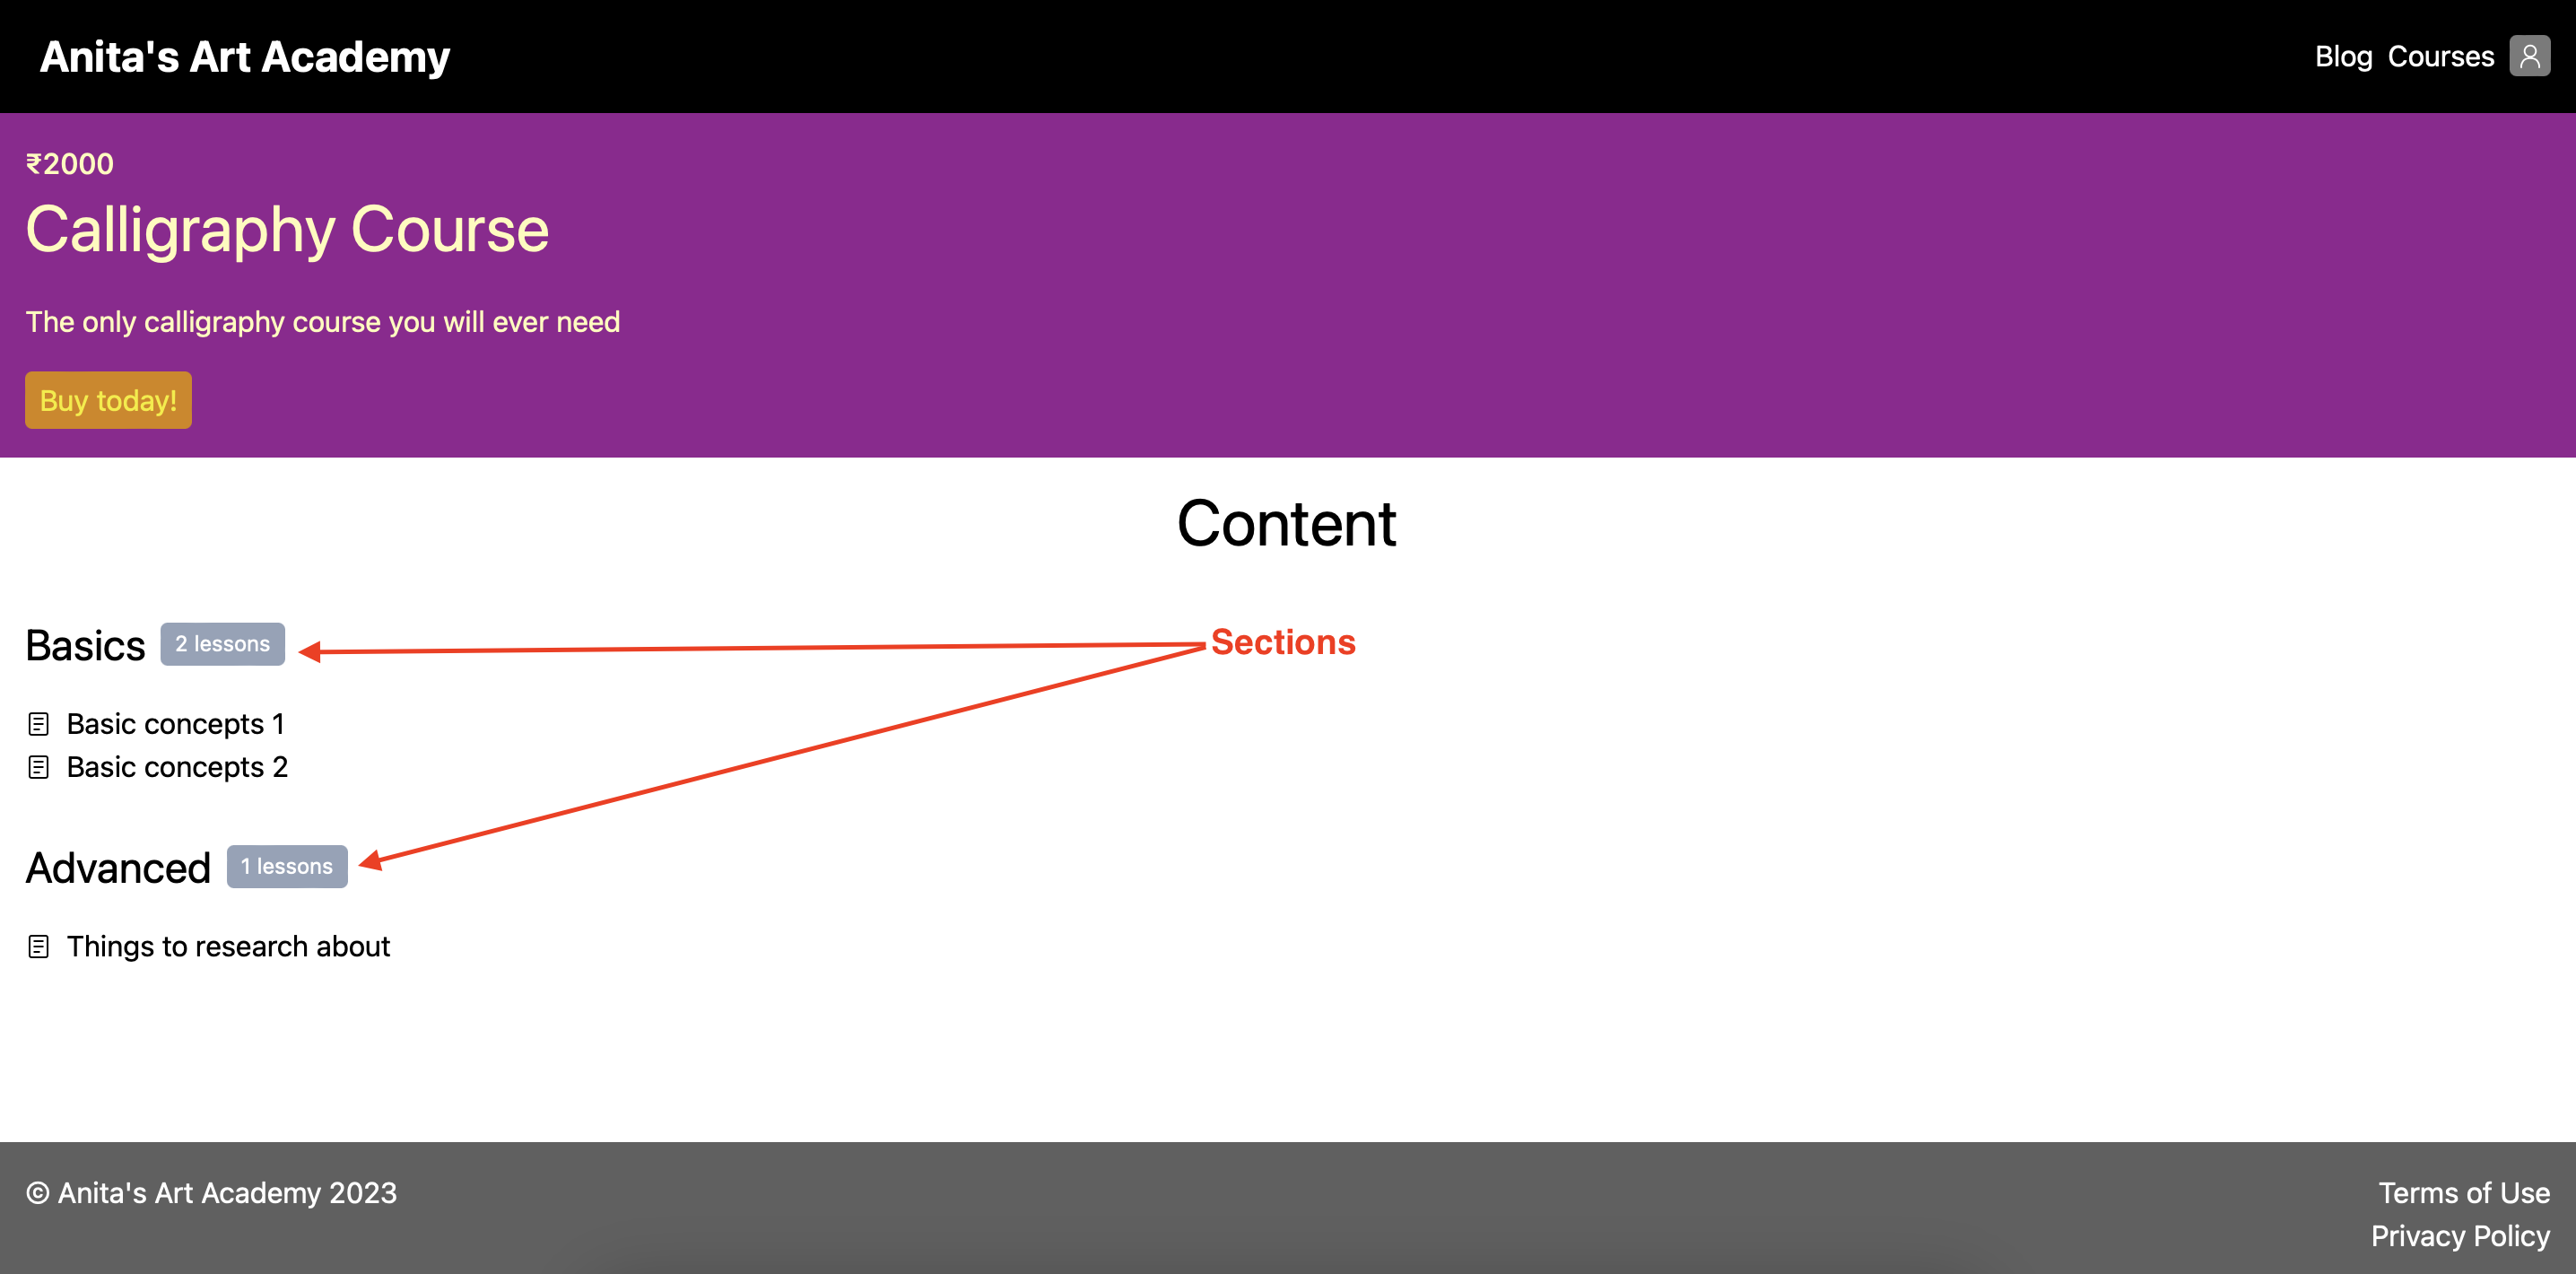
2. Product Sales Page
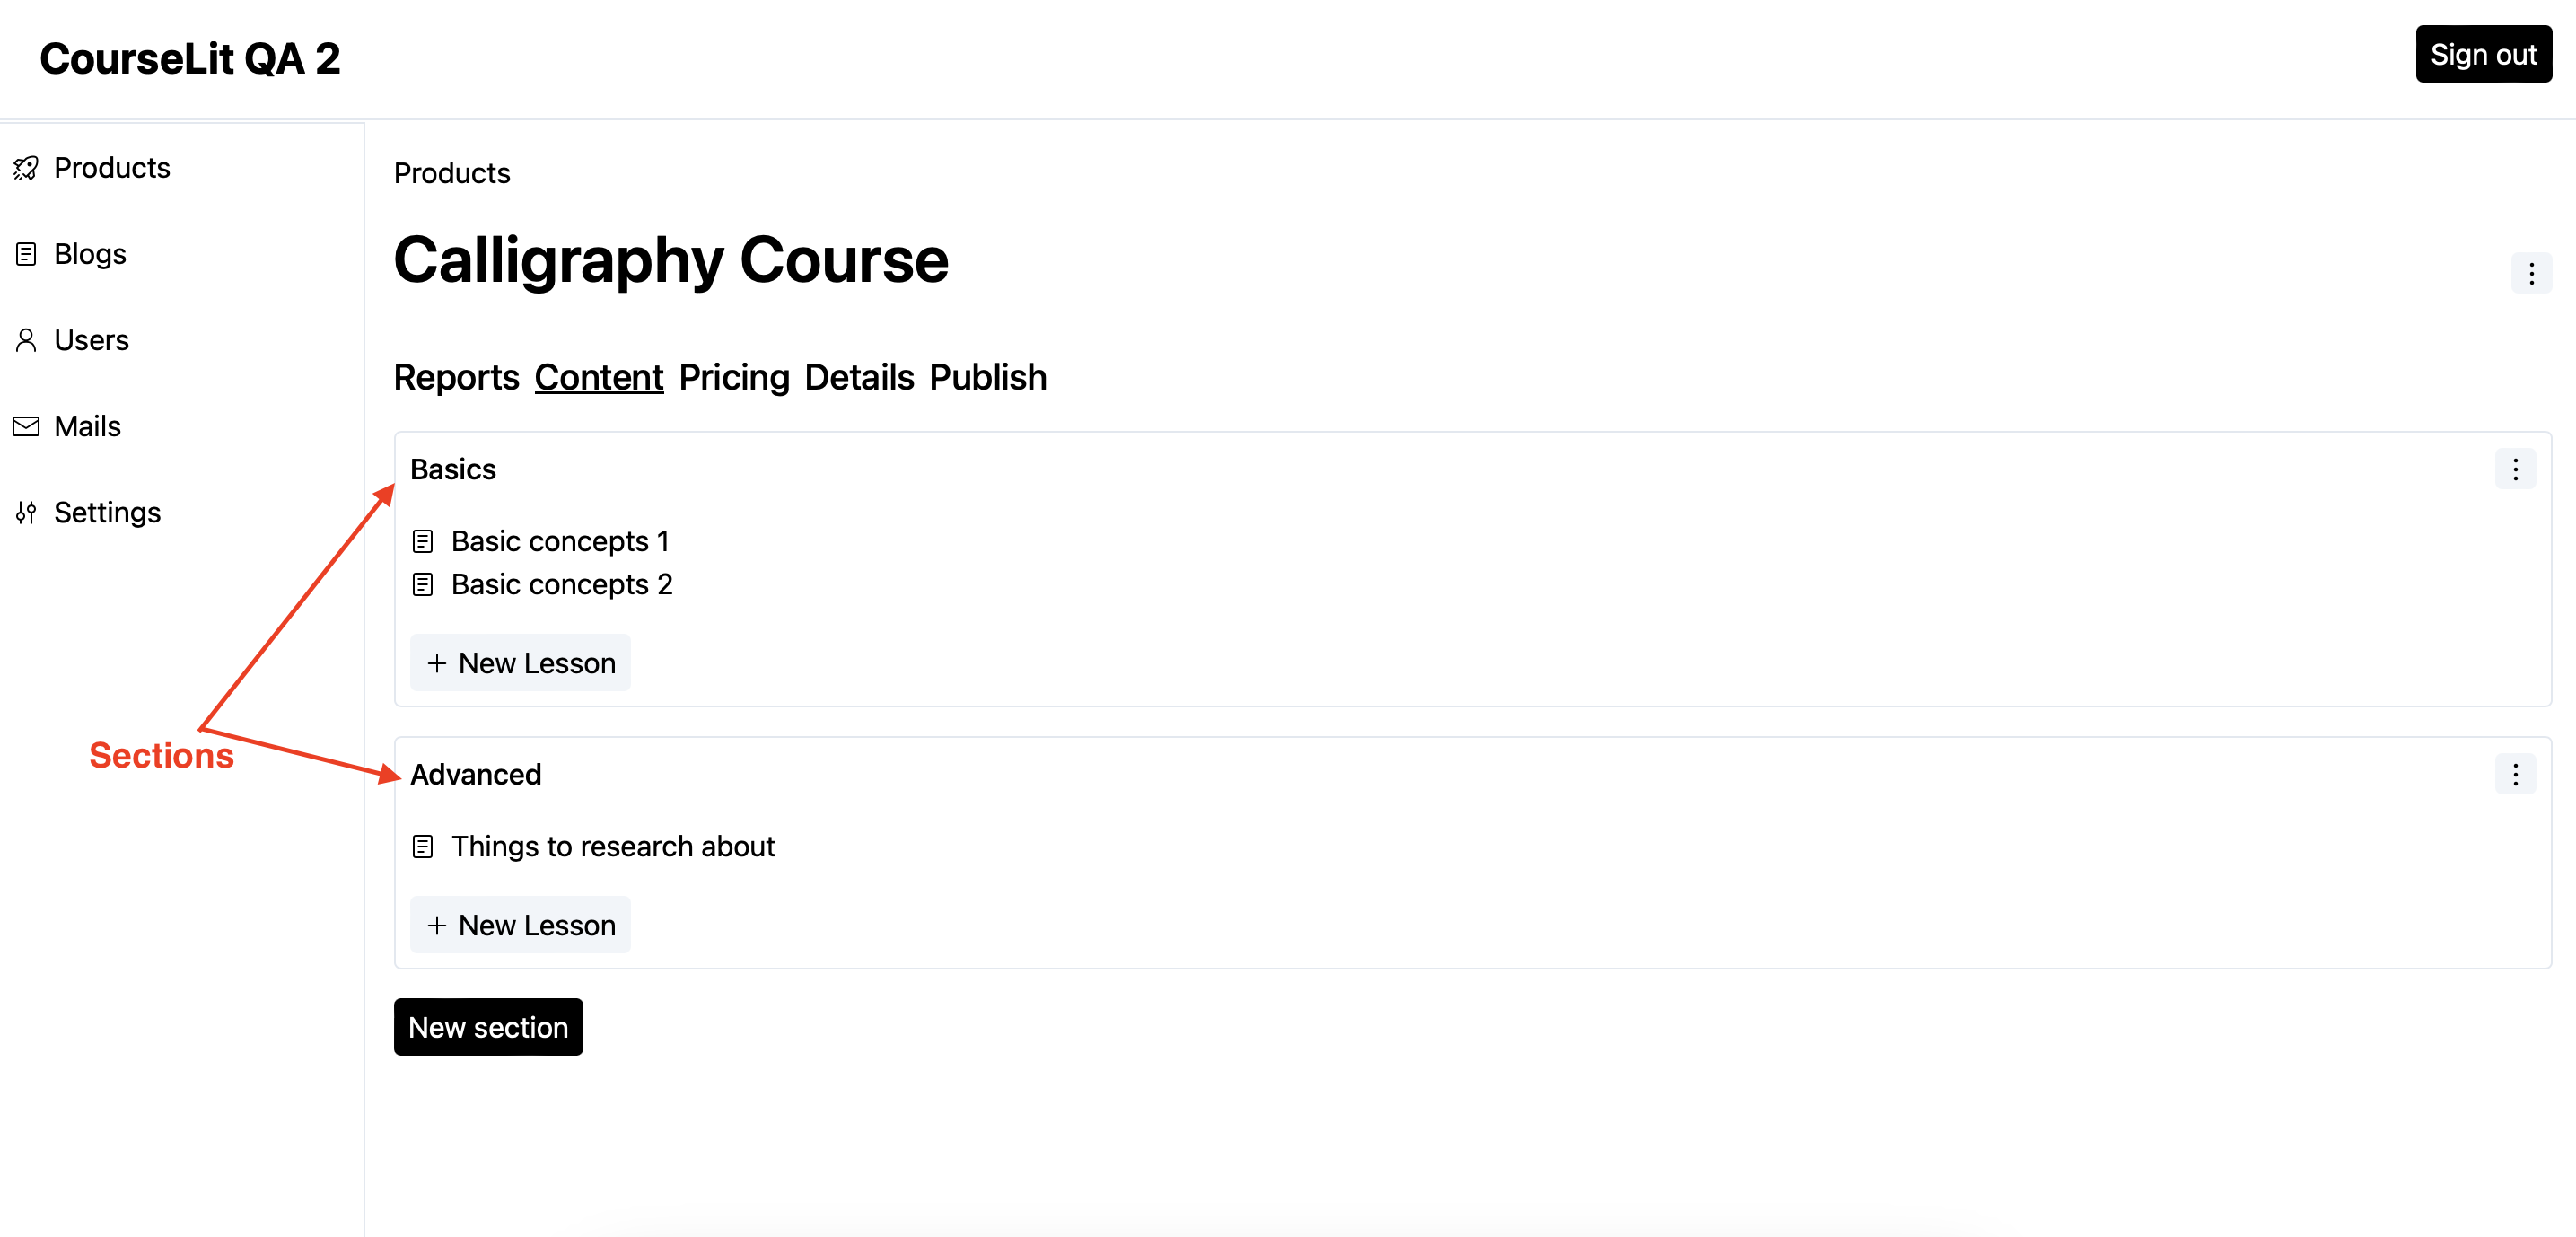
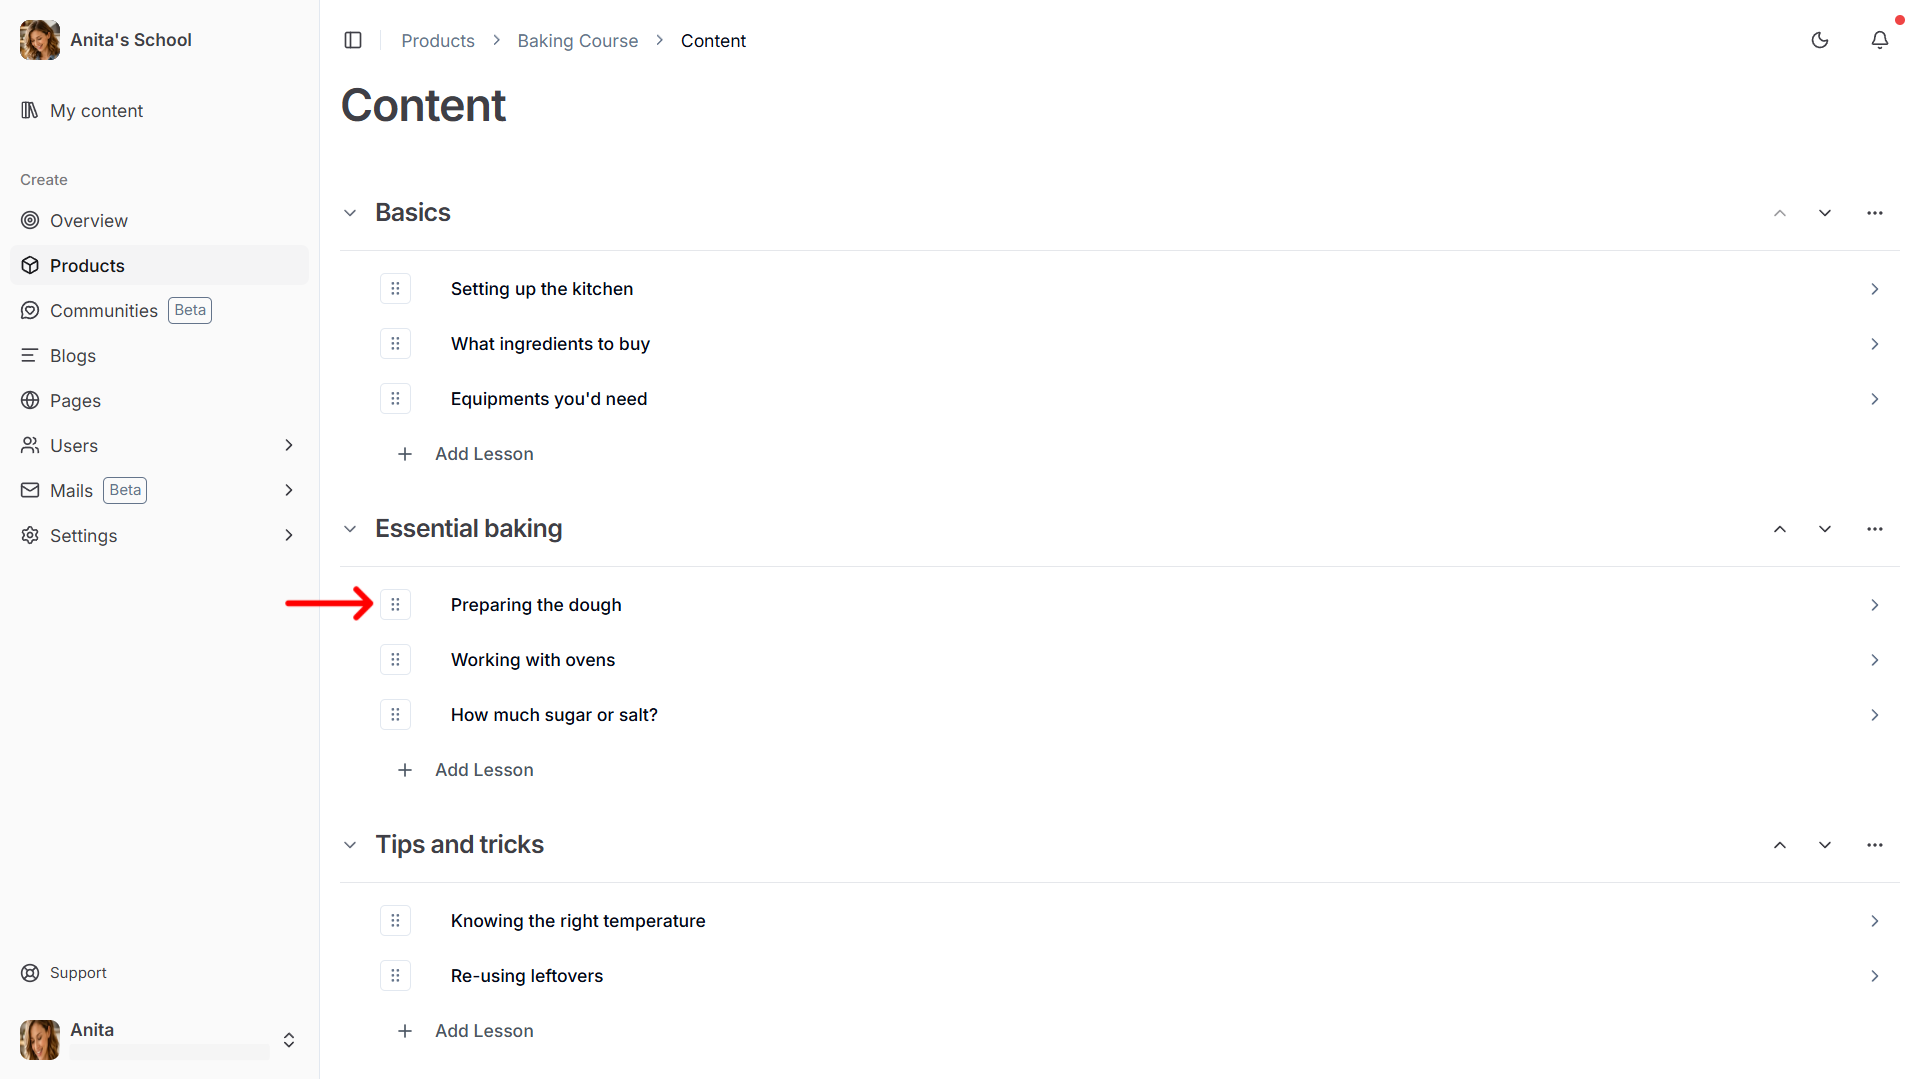
3. Product Editor
Add Section
- To add a new section, click on the
New sectionbutton on theProduct > Contentscreen.

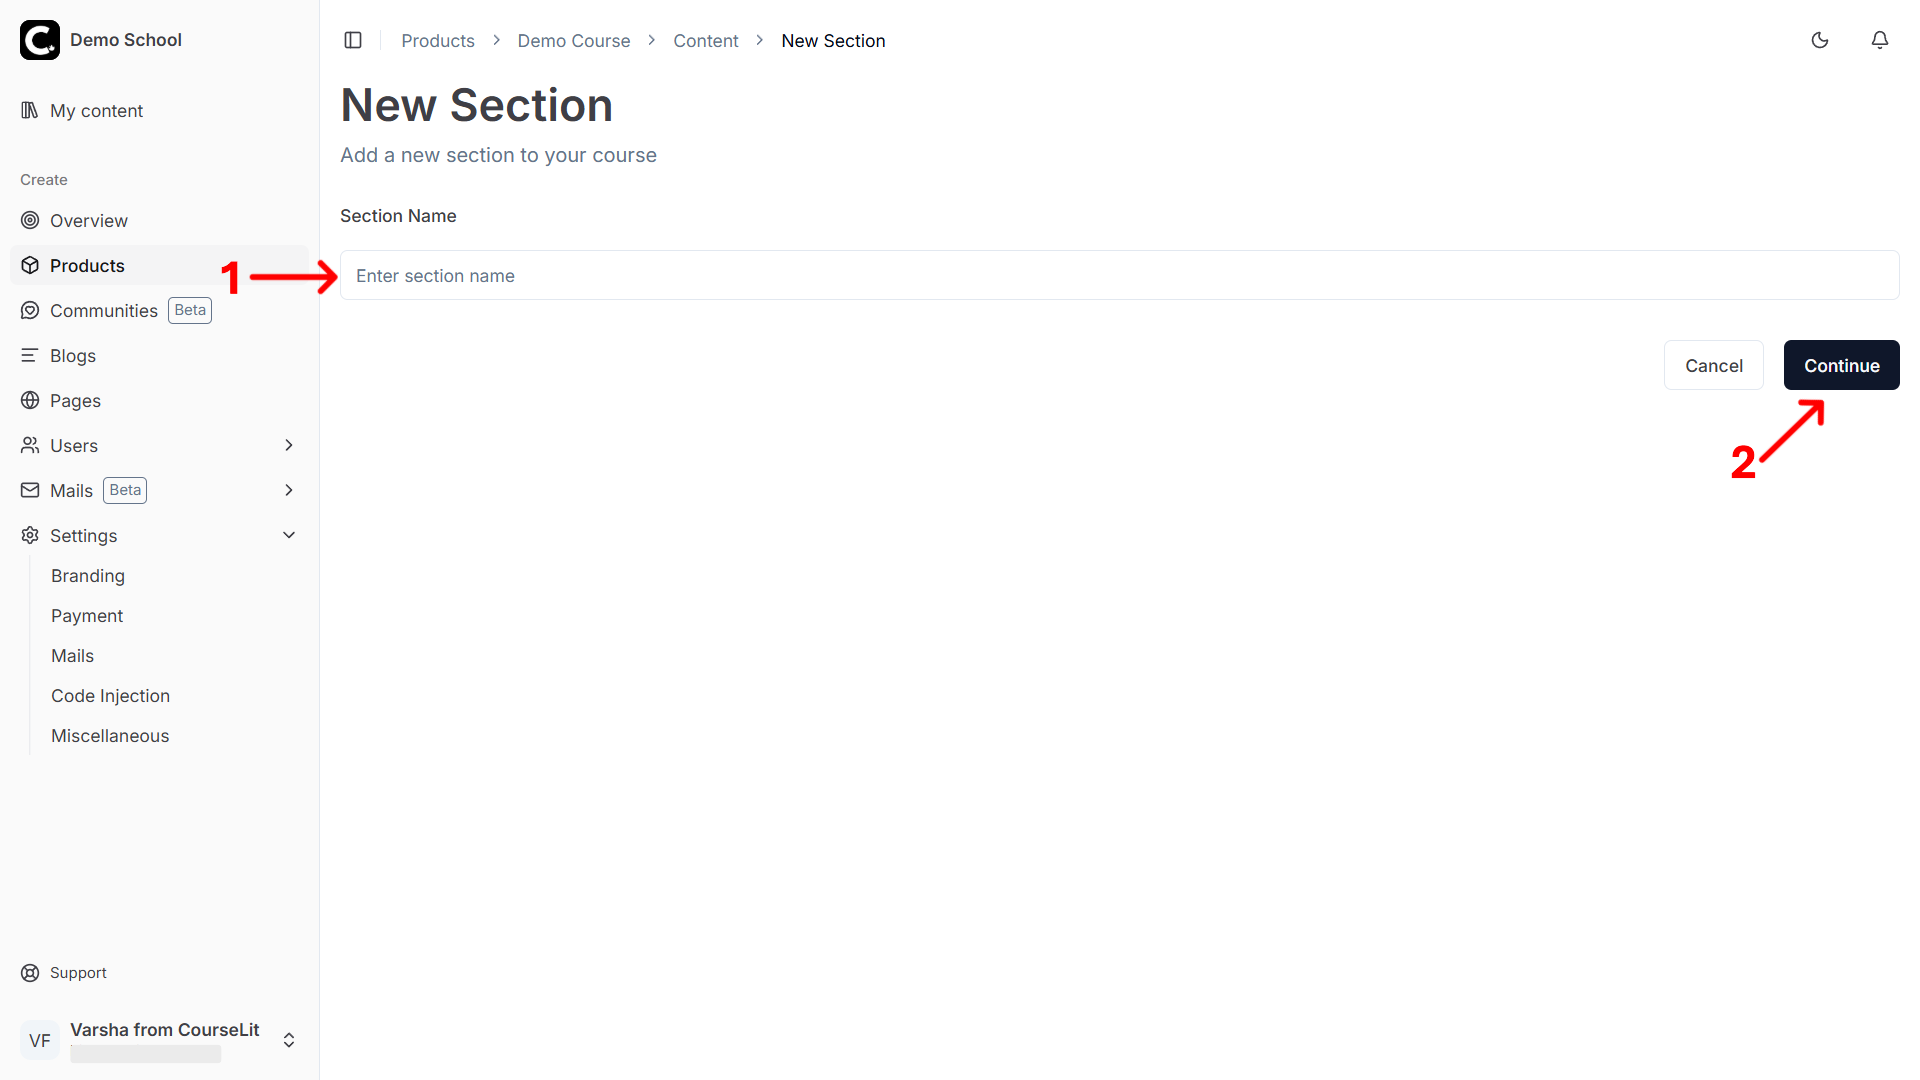
- Enter the name of the section and hit
Continue. To cancel the operation or go back, hitCancelinstead.
- The newly created section will become visible on the
Contentscreen. You can now start adding lessons to it.
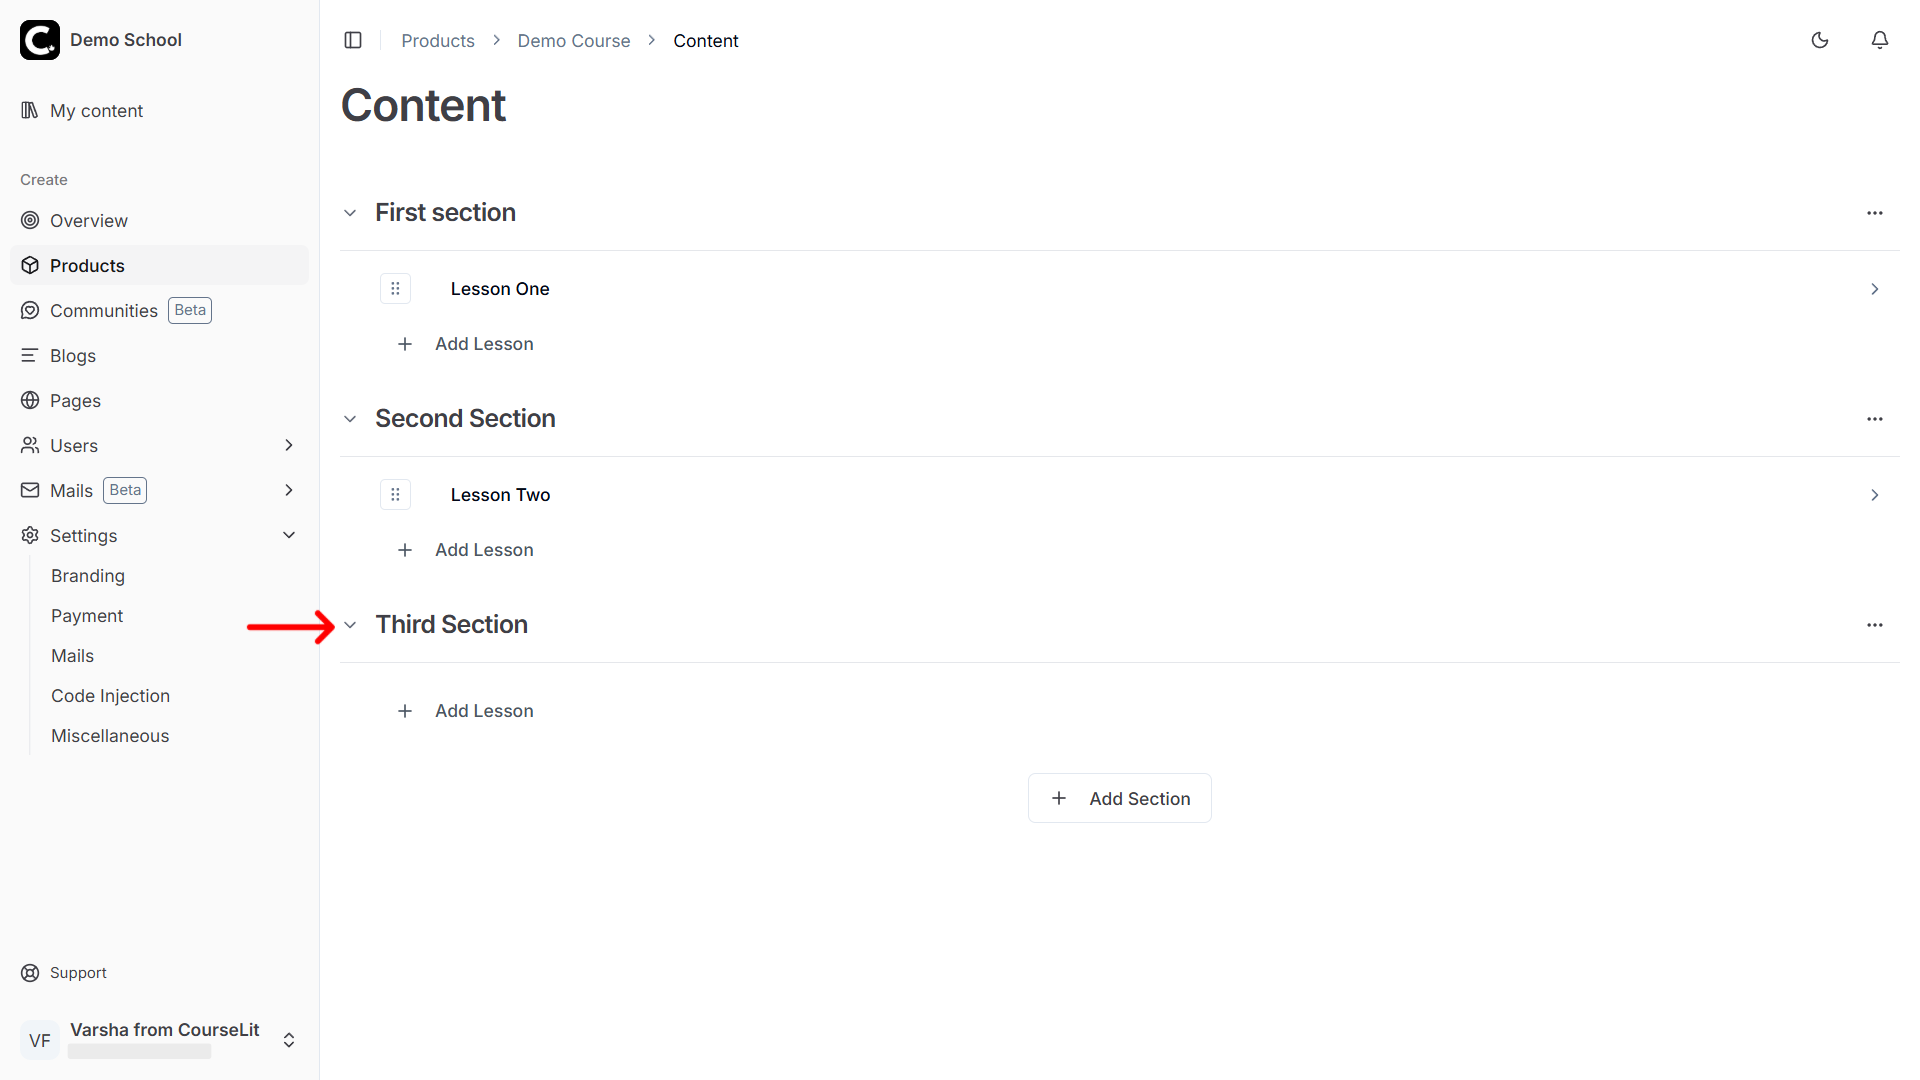
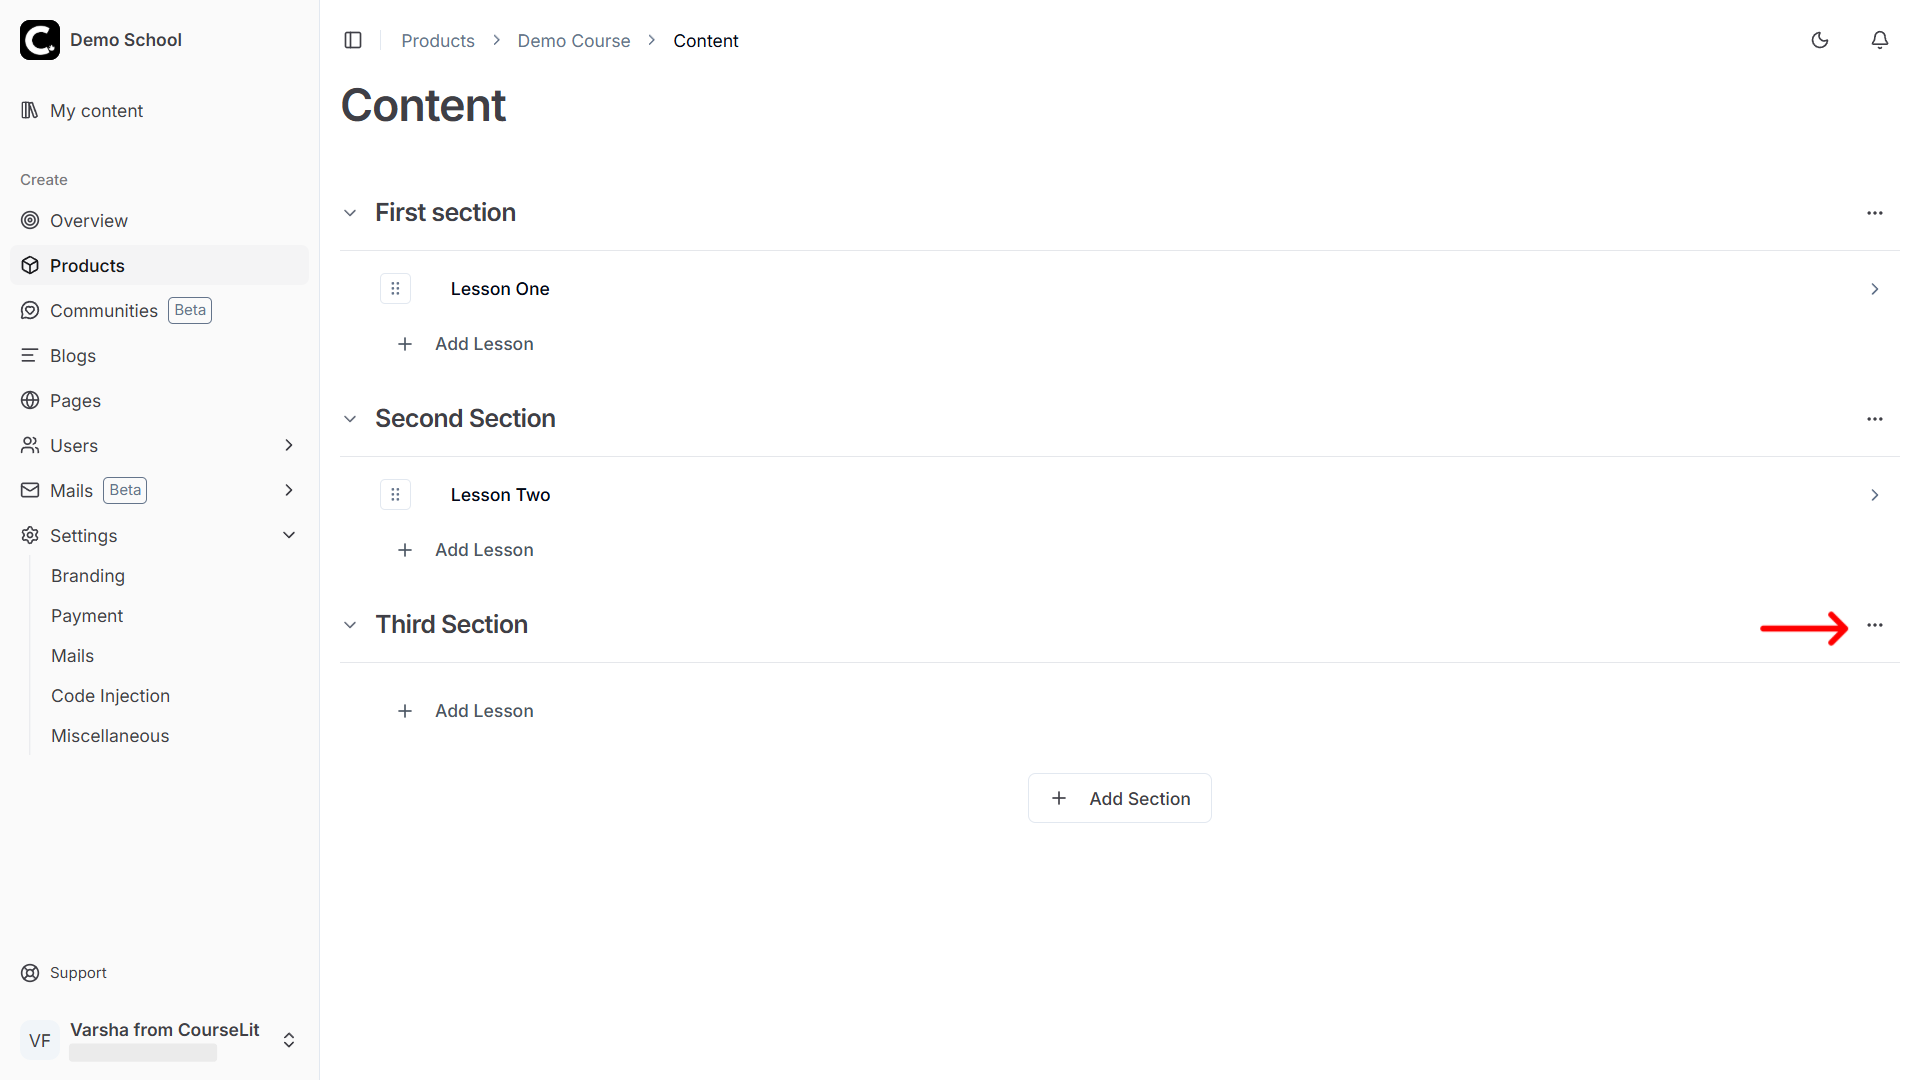
Edit Section
- To edit a section, click on its three dots menu and select
Edit sectionfrom the dropdown, as shown below.
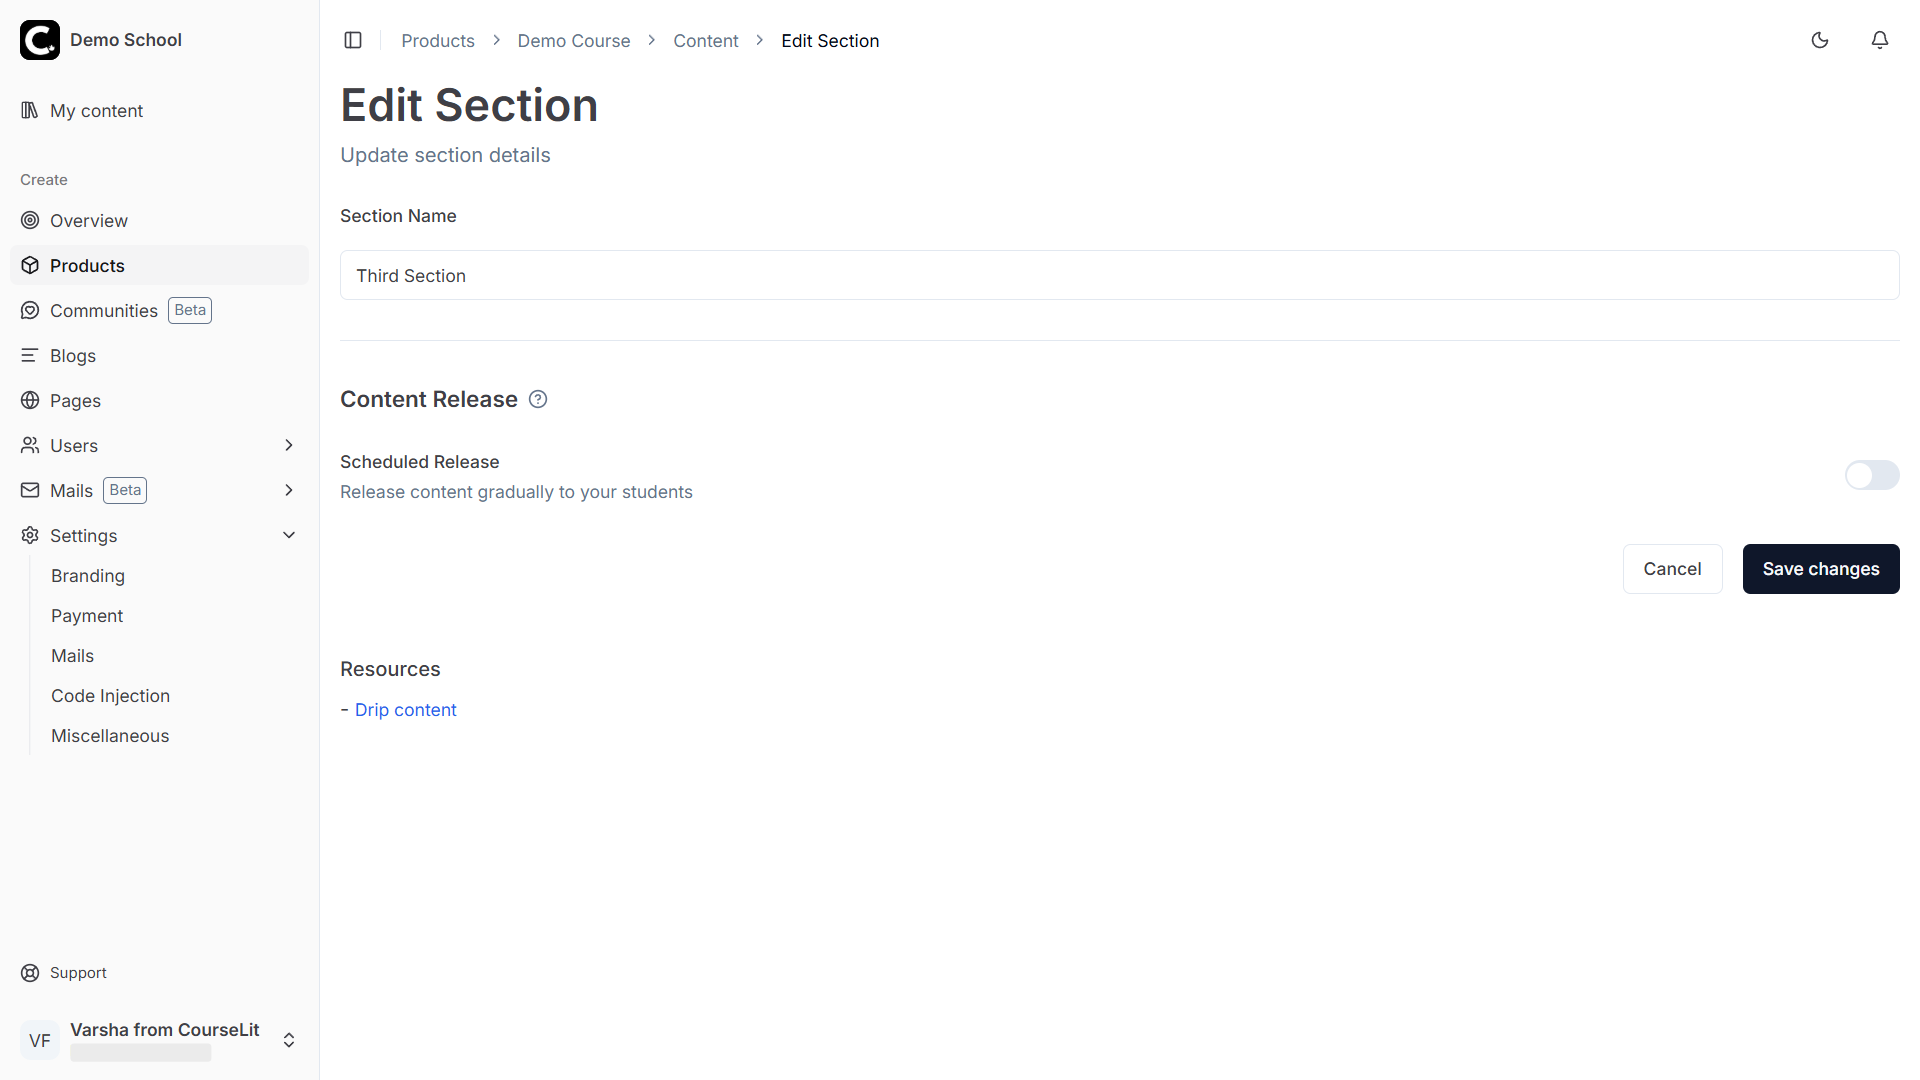
- On the
Edit Sectionscreen, you can change the name of the section and the drip settings.
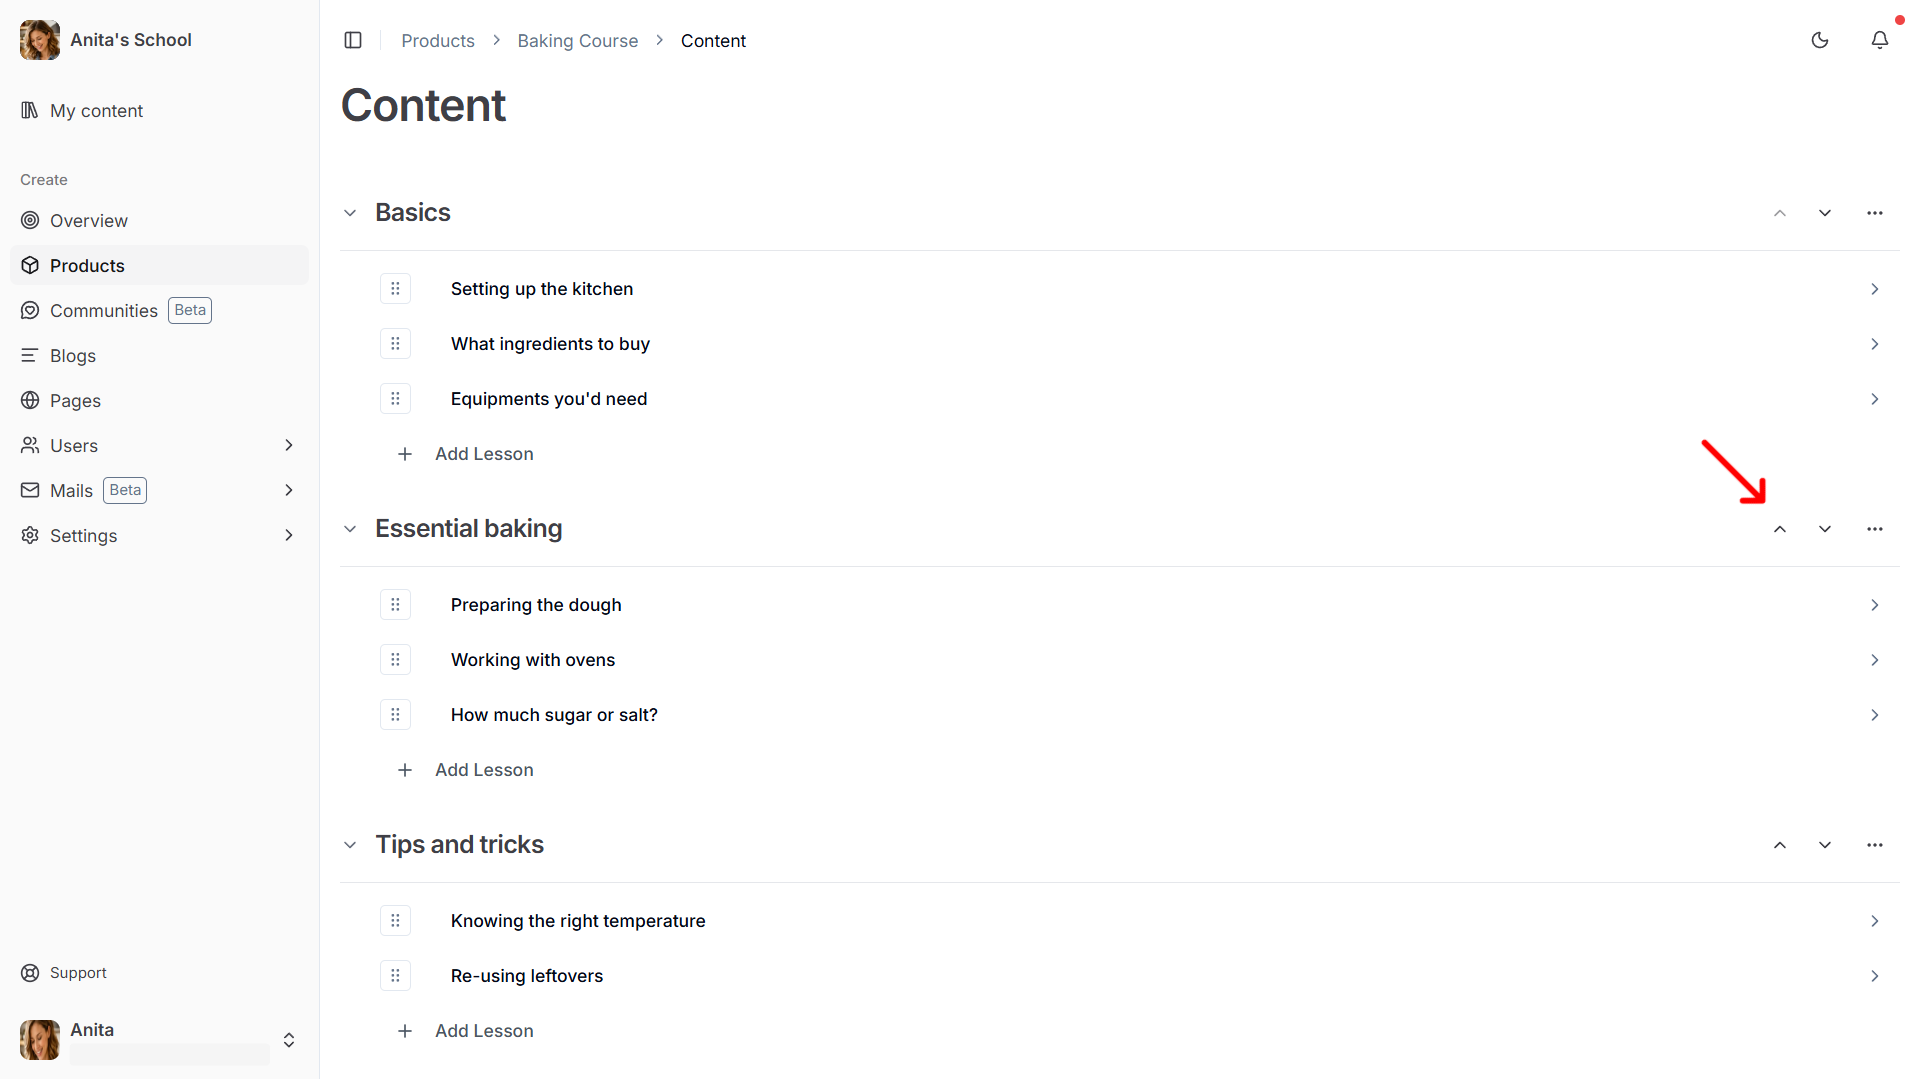
Rearranging Sections
You can move sections up or down as you like. Click the chevron up or down buttons to move a section.
Moving a Lesson Between Sections
Use the drag-and-drop handles on the left side of a lesson’s listing to move it to any section.
Drip a Section
You can release a section on a specific date or after a certain number of days have elapsed since the time a student enrolls.
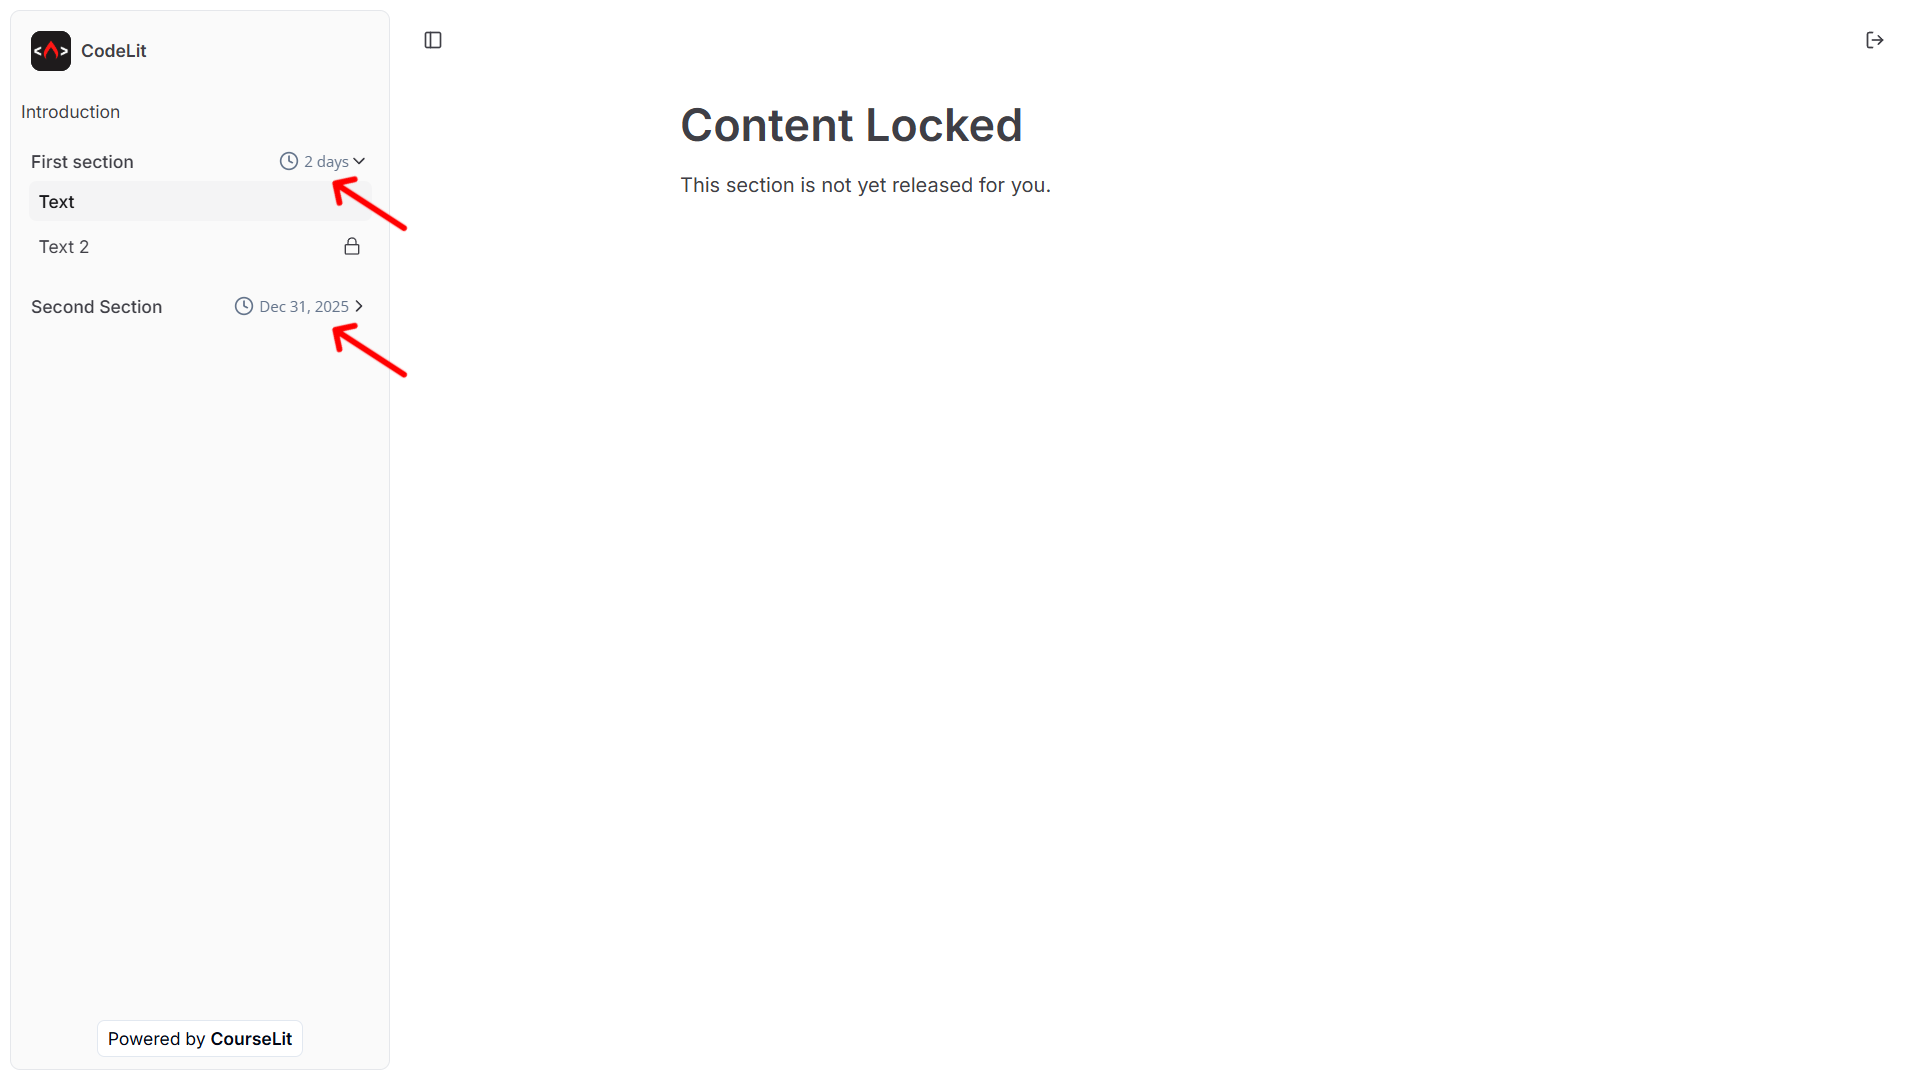
If drip configuration is enabled for a section, a student won’t be able to access it until it has been “dripped” to them.
Drip by Date
- If you want a section to be available to users on a specific date, this is the option you should opt for.
- Exact-date sections unlock only when their chosen date and time arrives.
- Unlocking an exact-date section does not change the timing of other relative drip sections.
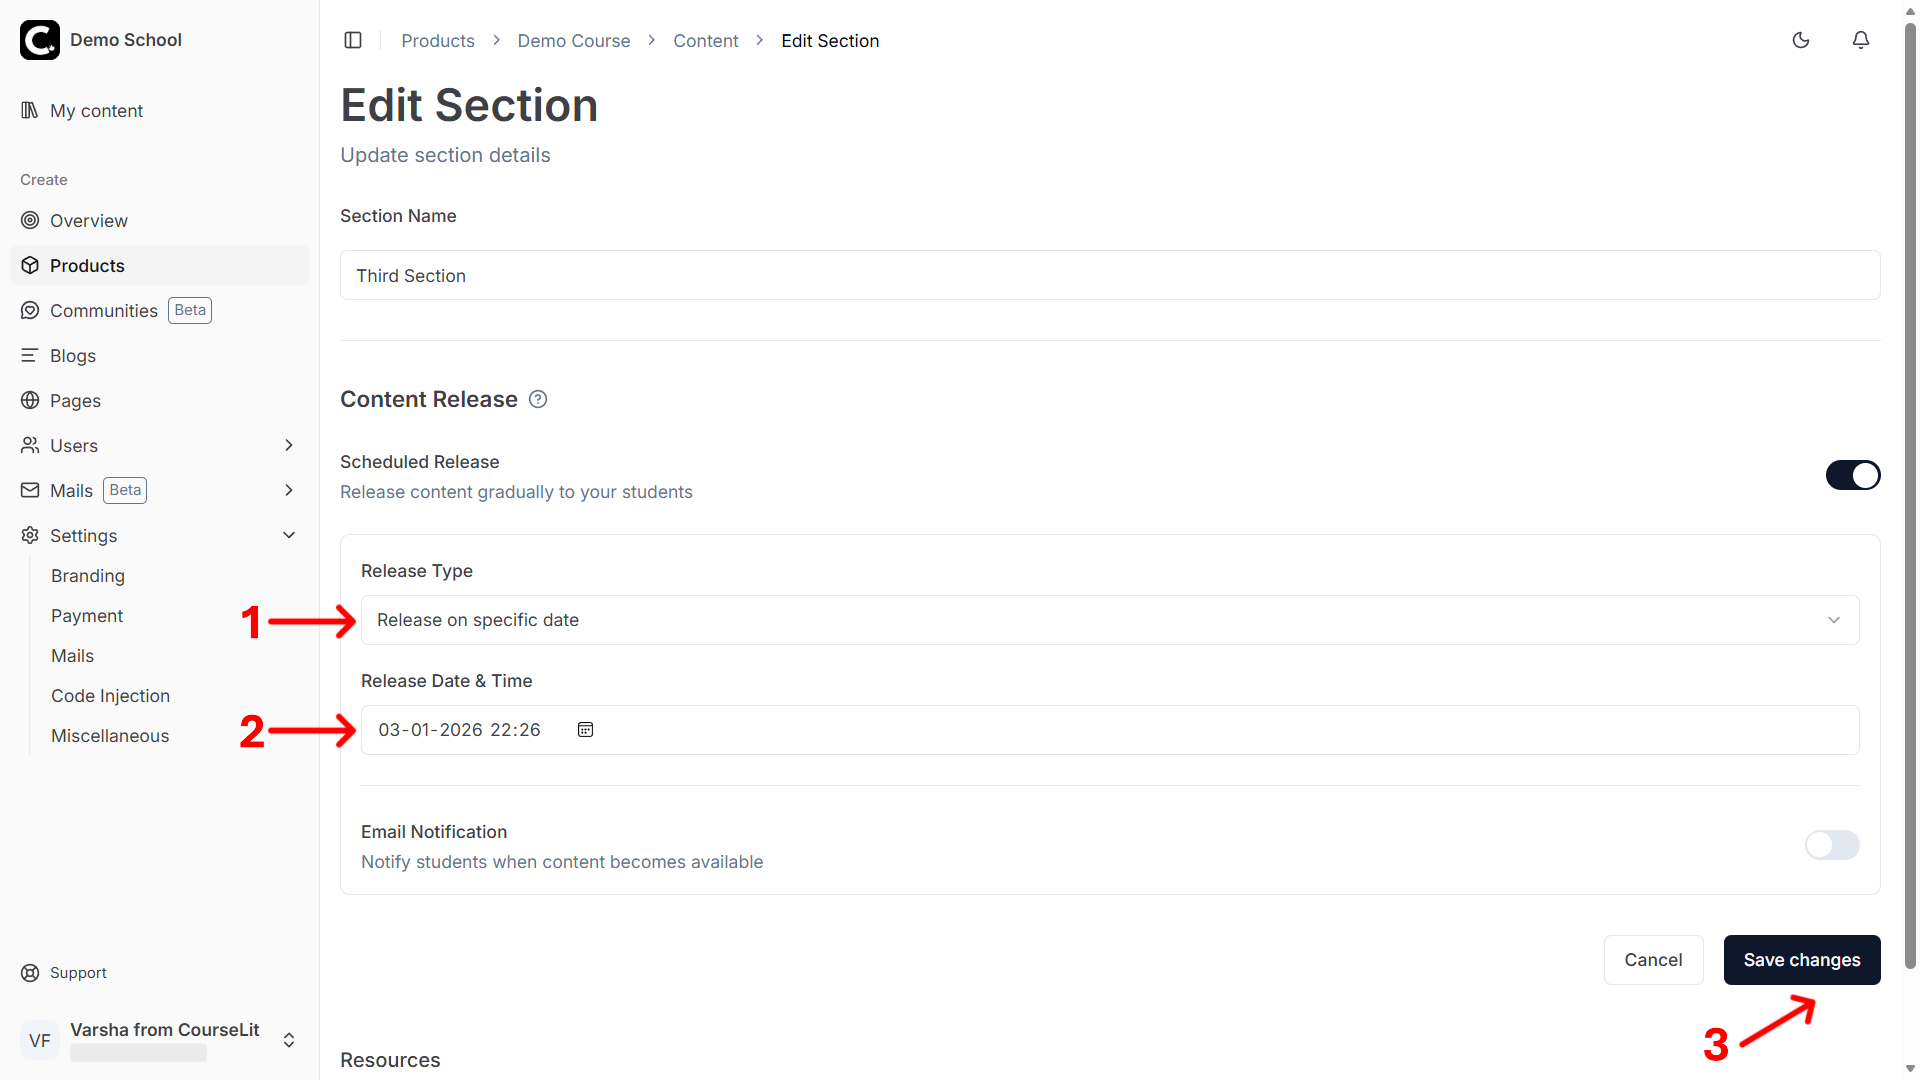
- Select the date on which this section will be dripped.
- Click
Continueto save it.
Drip After a Certain Number of Days From Last Dripped Content
- If you want a section to be available to users after a certain number of days have elapsed since the last dripped content, this is the option you should opt for.
- Relative-date sections are released in section order. A later relative section waits for the earlier relative section before its own delay begins.
- The first relative section counts from the student’s enrollment date. After that, each newly released relative section becomes the anchor for the next relative section.
For the first dripped section, the date of enrollment will be considered the last dripped content date.

- Select the number of days.
- Click
Continueto save it.
Rearranging a section with drip enabled may affect its drip schedule; use caution.
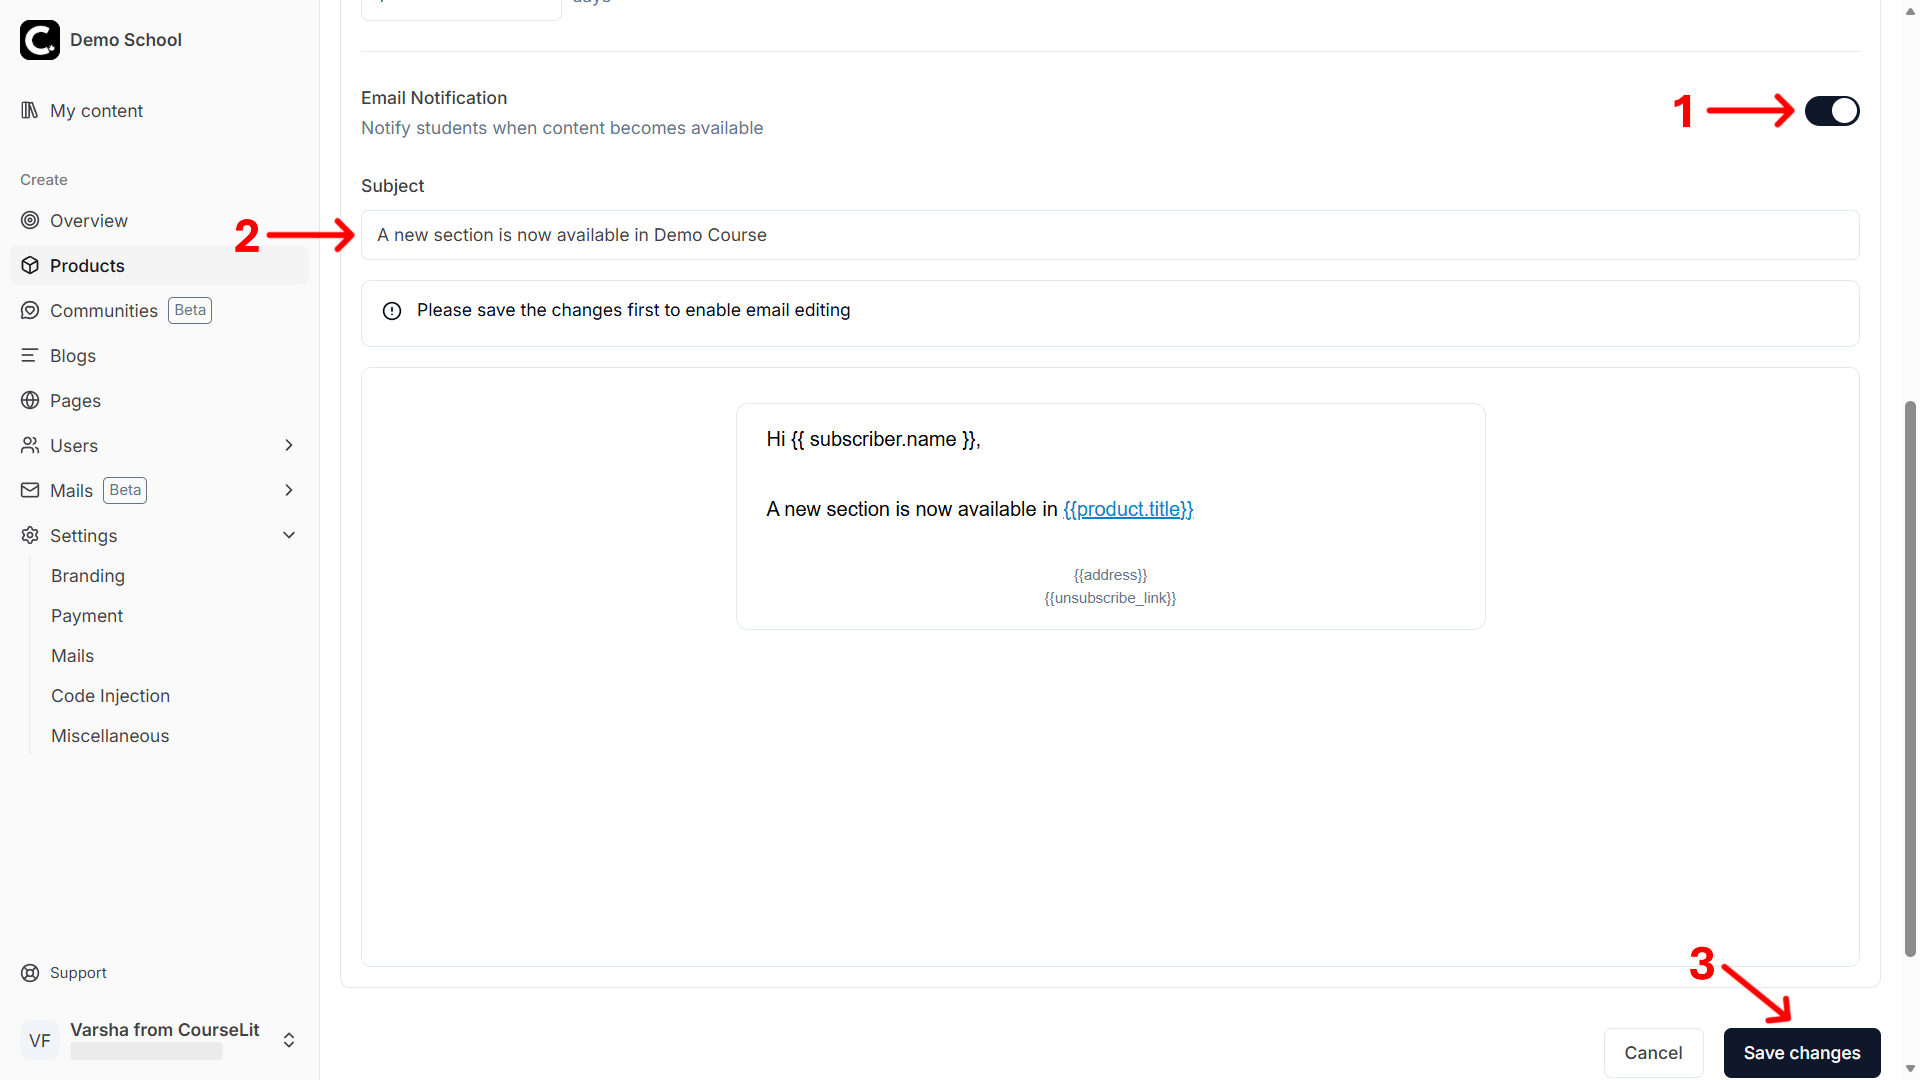
Notify Users When a Section Has Dripped
- Click on the
Email Notificationcheckbox. - Compose your email. Learn more about the email composition interface here.
- Click
Continueto save it.
Customer Experience
On the course viewer, the customer will see the clock icon against the section name until it has been dripped to them.
Delete Section
- To delete a section, click on its three dots menu and select
Delete sectionfrom the dropdown, as shown below.

- Click
Deleteon the confirmation dialog.
A section must be empty (i.e., have no lessons attached) before it can be deleted. Move any lessons to another section to make it empty.
Next Step
Learn how to sell digital downloads.
Stuck somewhere?
We are always here for you. Come chat with us in our Discord channel or send a tweet at @CourseLit.